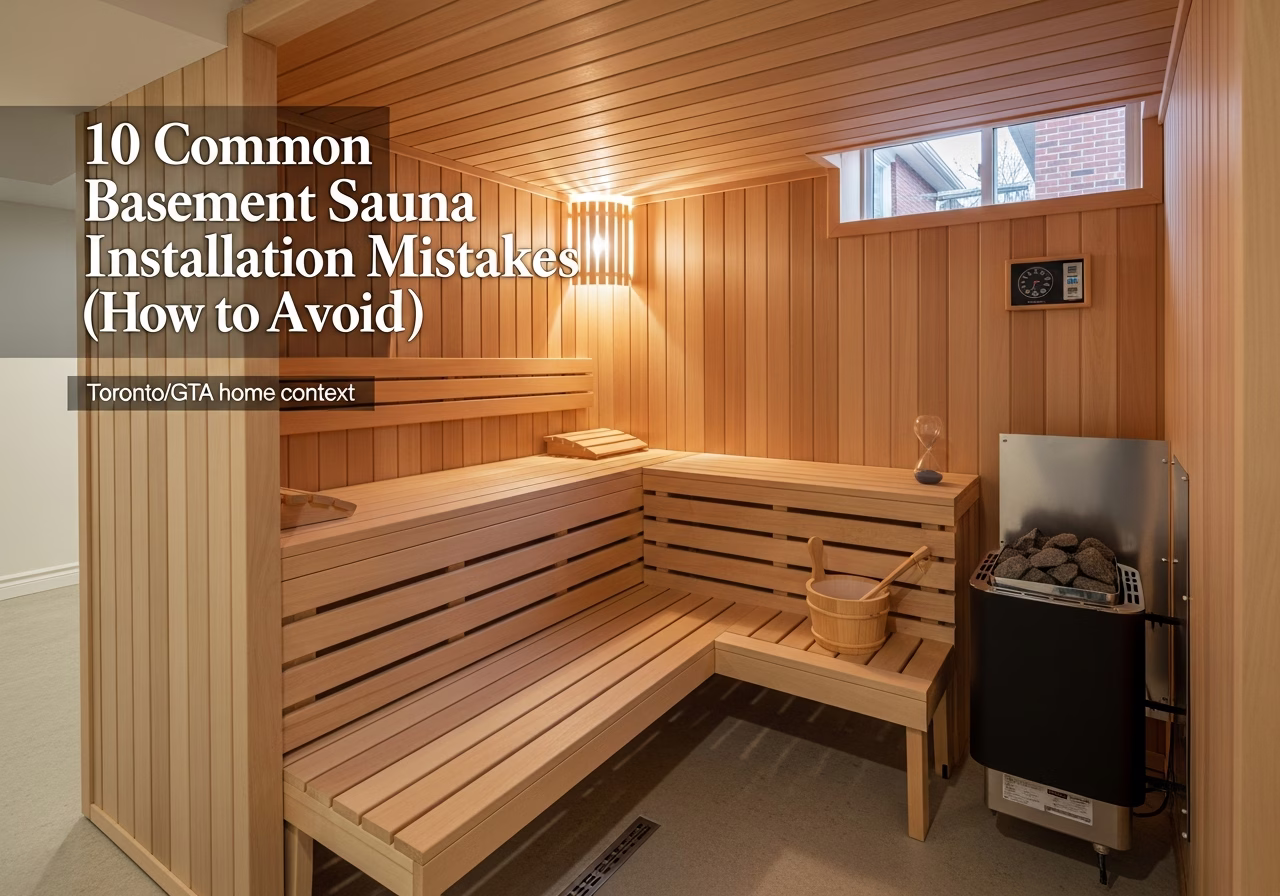
# 10 Common Basement Sauna Installation Mistakes (and How to Avoid Them)
Quick answer. Most failed basement sauna projects don't fail because of bad materials or weak heaters — they fail because of installation errors that compound over months and years. This list catalogues the 10 most common mistakes our crews see when we're brought in to fix someone else's project, ranked roughly by frequency and consequence.Most failed basement sauna projects don't fail because of bad materials or weak heaters — they fail because of installation errors that compound over months and years. This list catalogues the 10 most common mistakes our crews see when we're brought in to fix someone else's project, ranked roughly by frequency and consequence.
For the proper installation process from start to finish, see How to Add a Sauna to Your Basement: 7-Step Guide for GTA.
1. Installing Over an Unresolved Moisture Issue
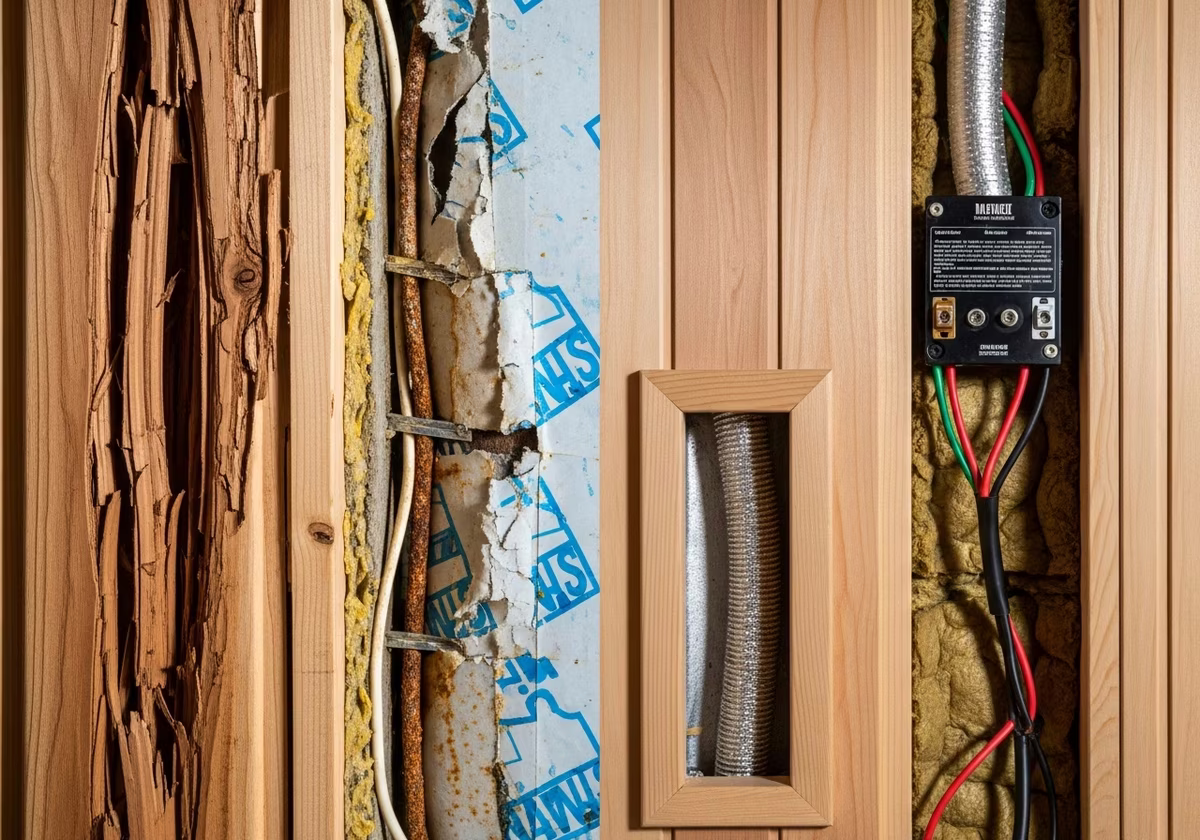
The problem: The basement slab has efflorescence (white powder), occasional dampness after heavy rain, or a hairline crack you've been "watching for years." You build the sauna anyway. Two years later, mould blooms behind the cedar T&G, the wood rots from below, and the entire interior needs to be torn out. The fix: Run a moisture meter on the slab and walls. Look for visible efflorescence, mineral staining, or seepage. Resolve any active water issue first — exterior weeping tile, interior membrane, sump pump, or French drain depending on cause. Then apply crystalline waterproofing or a 3-coat penetrating concrete sealer to the sauna footprint before framing. Cost of skipping this: $5,000–$15,000 to demo and rebuild. Cost of doing it right: $300–$900 + any underlying drainage fix.2. Wrong Vapor Barrier (6-Mil Poly Instead of Foil)
This is the single most common mistake on DIY and budget contractor builds. It's also fully verified at the City of Toronto pre-cover inspection if you've permitted the project — which is one reason permit-skipping is more expensive long-term.
3. Both Sides Vapor-Barriered
The problem: Someone installs a poly vapor barrier on the cold (basement) side of the wall *and* a foil barrier on the warm (sauna) side, thinking double protection is better. It traps moisture inside the wall cavity. Mould blooms inside the wall, invisible until the cedar starts buckling. The fix: Single barrier on the warm/interior side only. The wall cavity needs to be able to dry to one side (in this case, to the basement side). Never seal both sides.4. No 20mm Air Gap Behind the Cedar
5. Same-Wall Vents
The problem: Both intake and exhaust vents on the same wall. Air short-circuits between them — fresh air enters and immediately exits without circulating through the cabin. Stratification develops (hot at top, cool at floor), the heater works harder, and air quality suffers. The fix: High-low ventilation across opposite walls.- Intake (low): 6–12" above floor, on the heater wall, behind/under or beside the heater.
- Exhaust (high): opposite wall, near ceiling.
This is the basis of proper sauna airflow — covered in detail in Basement Sauna Ventilation: The High-Low Method Explained.
6. Exhaust Vented Into the Basement Only
7. Undersized Heater (or Oversized)
Undersized: Won't reach proper temperature. The heater runs constantly trying to keep up, never quite gets there, and you're stuck at 65°C when you wanted 85°C. Oversized: Cycles on and off too rapidly, dries the air aggressively, scorches users near the heater, and produces uneven heat. The fix: 1 kW per 45–50 cubic feet of cabin volume. Add 1 kW per 10 sq ft of glass surface. Add 0.5 kW per foot of ceiling height above 7'. Add 10–15% if there are concrete or brick mass surfaces inside.Worked example: 6'×7'×7' cabin = 294 cu ft → 6.5 kW → round up to 8 kW with standard glass door, 9 kW with full glass front.
We walk through the math in How to Size Your Sauna Heater: kW Calculator for GTA.
8. Standard Interior Light Fixtures
The problem: A regular ceiling-mount LED or pot light installed in the sauna ceiling. At 80–95°C the fixture body warps, the diffuser melts or yellows, and in the worst case the fixture can short out or ignite. The fix: Sauna-rated vapor-tight LED only. 12V/24V low-voltage is preferred (lower heat output, lower fire risk). Sealed 120V fixtures listed for sauna use are acceptable. The fixture should be rated for 90–120°C operating temperature.9. Skipping ESA Permit / Unlicensed Electrical
The problem: A handyman or unlicensed friend pulls the 240V circuit and installs the heater. No ESA Notification of Work, no inspection, no proof of compliance. Three things go wrong:- 1. Insurance is void — Ontario home insurance excludes coverage for ESA-non-compliant work. A sauna fire isn't covered.
- 2. The mandatory 1-hour timer cut-off may be missing — required by Ontario Electrical Safety Code. Without it, the heater can run indefinitely.
- 3. The home cannot be sold cleanly — buyers' inspectors flag unpermitted electrical, and the issue typically requires a deal price reduction or a re-inspection cycle.
Full compliance walk-through in Permit Requirements for Home Sauna in Toronto.
10. PT Lumber or Plywood Inside the Heated Zone
The problem: Pressure-treated framing lumber, plywood substrate, or OSB sheathing used as part of the cabin interior. At 80°C+, all three off-gas — PT releases the chemicals from the treatment, plywood and OSB release formaldehyde from the adhesives. The sauna smells chemically, breathing isn't pleasant, and prolonged exposure is genuinely unhealthy. The fix: Inside the heated cabin, use only solid sauna-grade wood — cedar, hemlock, aspen, thermo-aspen, or spruce. PT lumber is acceptable only for the bottom plate sitting on the slab (which is below the heated airspace) — and only on a foam sill gasket. No plywood or OSB anywhere inside the cabin.The wood comparison and proper material list is in Sauna Wood Comparison: Cedar vs Hemlock vs Aspen for Toronto.
Need professional home renovation?
Call RenoHouse at 289-212-2345 or get a free estimate today.
Get Free Estimate →Bonus: Five More Mistakes Worth Avoiding
11. No Post-Session Ventilation
The cabin needs to dry out after each use. Inline exhaust fan on a 30–60 minute timer running after the session, with the door fully open, is the standard protocol. Skip this and the wood stays damp; mould develops within weeks in basement humidity.
12. Soft Floors Inside the Heated Zone
Vinyl plank, laminate, carpet, or LVT inside the sauna footprint. All of these warp, off-gas, or trap moisture at sauna temperatures. Use sealed concrete, porcelain/ceramic tile, or epoxy as the floor. Top with removable cedar duckboard for foot comfort.
13. Heater Too Close to Wood
Manufacturer clearances exist for a reason — typically 2–4" from walls, 36–48" headroom above heater. Violating these creates fire risk. Always honor clearances and install the heater guard rail to prevent contact burns.
14. Smoke Alarm Inside the Sauna
Heat triggers false alarms; the alarm itself can be damaged. Place the smoke alarm just outside the sauna door, on the basement room side, interconnected with the rest of the home's alarms per OBC 9.10.19. A heat detector in the mechanical room is optional good practice.
15. Acclimation Skipped
Cedar T&G installed straight from the truck on a cold winter day will shrink as it equilibrates to indoor humidity, leaving visible gaps. Acclimate the wood in the basement for 48–72 hours before installation.
Mistake Cost Summary
| Mistake | Discovery Timeline | Fix Cost |
|---|---|---|
| Moisture issue underneath | 1–3 years | $5K–$15K rebuild |
| Wrong vapor barrier | 2–5 years | $3K–$8K rebuild |
| No air gap | 3–7 years | $3K–$8K rebuild |
| Same-wall vents | Immediately on use | $500–$1,500 reroute |
| Exhaust into basement | 6–18 months (musty smell) | $500–$1,500 reroute |
| Wrong heater size | Immediately | $1,500–$4,500 swap |
| Wrong lighting | 6 months–2 years | $200–$600 swap |
| Unpermitted electrical | At sale or insurance claim | $2K–$5K + sale risk |
| PT/plywood inside cabin | Immediately on use (smell) | $5K–$15K rebuild |
| No post-session venting | 2–6 months (mould) | $500–$2K cleaning + fix |
The pattern: most fixes are 5–20× more expensive than doing it right the first time. This is why hiring a contractor familiar with Toronto sauna builds — not just any general contractor — pays back quickly.
How to Vet a Sauna Contractor
Ask before signing:
- 1. How many sauna installs have you completed in the last 24 months? Less than 5: too few. 5–20: respectable. 20+: experienced.
- 2. Are you using sauna-grade aluminum foil for the vapor barrier? Right answer: yes, with foil tape on seams.
- 3. What's your air gap detail? Right answer: ¾" or 1" furring strips between foil and cedar.
- 4. Where does the exhaust terminate? Right answer: through the foundation/exterior wall to outside, with damper.
- 5. Who pulls the ESA? Right answer: their Licensed Electrical Contractor partner.
- 6. What's the heater sizing rule you use? Right answer: 1 kW per 45–50 cu ft + glass and ceiling adjustments.
A contractor who can answer all six confidently and consistently has built saunas before. We compare the DIY-vs-pro economics in DIY vs Professional Sauna Installation: Real Cost Comparison Toronto.
FAQ
My existing sauna has 6-mil poly. Is it ruined?Not necessarily — depends on age and condition. Pull a corner panel and inspect. If the poly is still intact and the wood behind shows no mould, you can monitor and plan a renovation in the next 1–3 years. If there's any sign of degradation, plan to remediate sooner.
Can mould inside a sauna make me sick?Yes — particularly at sauna temperatures, where mould spores aerosolize more readily. If you smell musty odours when the sauna is running, investigate immediately.
My heater takes 90 minutes to reach 80°C — is it undersized?Likely yes (or the cabin is poorly insulated). Standard heat-up for a properly sized 8–9 kW heater in a 5'×7' cabin is 30–45 minutes. Check the math against your cabin volume.
---
Already have a problem sauna? RenoHouse handles diagnostic assessments and remediation across the GTA — and we build new ones right the first time. Book on our basement sauna installation service page.
Sources & References
Authoritative sources cited in this guide:
- Ontario Building Code — OBC official text
- Toronto Building Permits — City permit portal
- Tarion Warranty — Ontario warranty regulator
- CSA Group Standards — Canadian standards
Continue Reading
- How to Add a Sauna to Your Basement: 7-Step Guide for GTA
- Basement Sauna Ventilation: The High-Low Method Explained
- Cold Plunge Installation Mistakes to Avoid