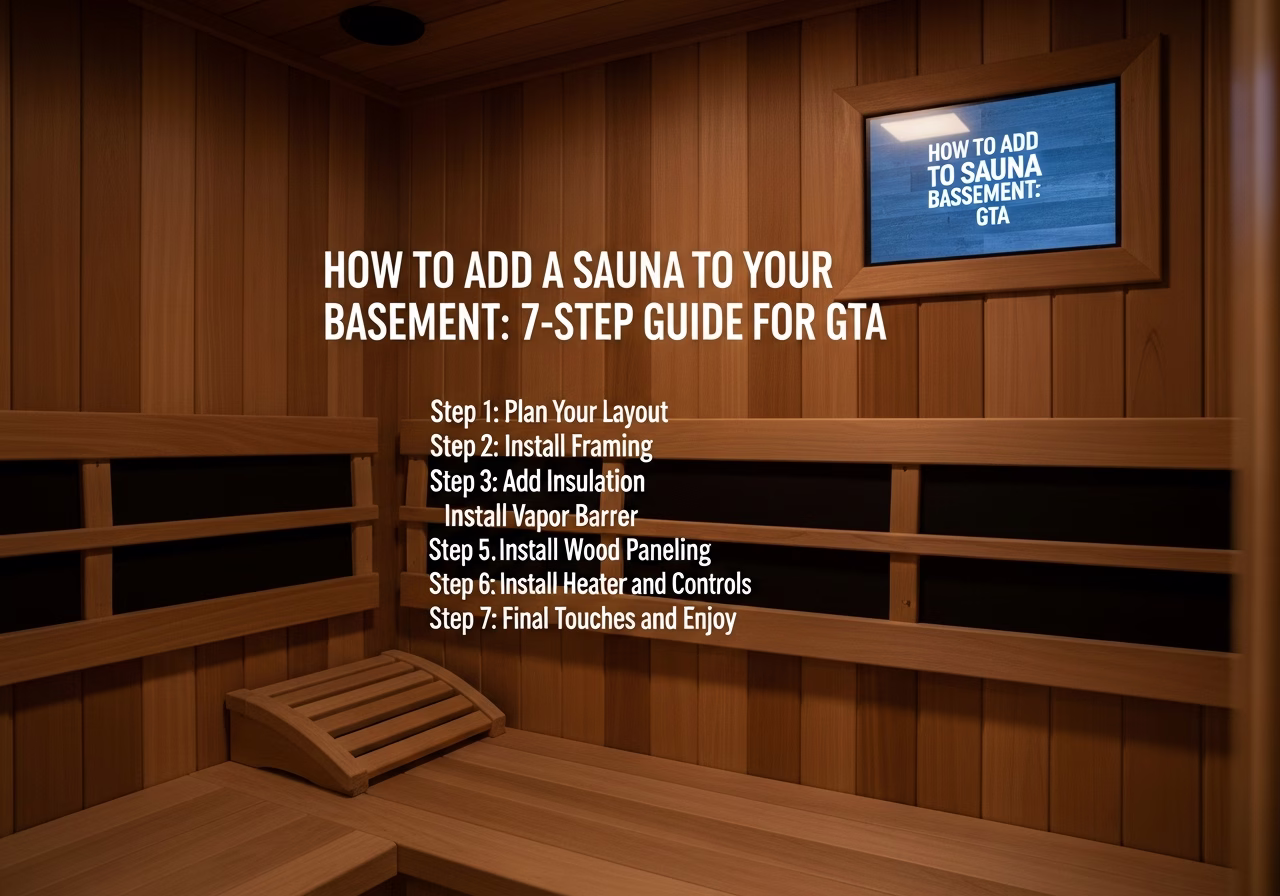
# How to Add a Sauna to Your Basement: 7-Step Guide for GTA Homeowners
Quick answer. Adding a sauna to a Toronto basement is a 2–8 week project depending on scope, with seven distinct phases — planning, demolition, framing/MEP rough-in, insulation/vapor barrier, finishing, mechanical commissioning, and handover.Adding a sauna to a Toronto basement is a 2–8 week project depending on scope, with seven distinct phases — planning, demolition, framing/MEP rough-in, insulation/vapor barrier, finishing, mechanical commissioning, and handover. This guide walks through each phase in the order a professional GTA contractor would tackle it, with the inspection checkpoints, material specs, and cost markers built in.
For the full cost breakdown and permit details that frame this whole process, start with our Basement Sauna Installation Toronto 2026 Guide.
Phase 1: Planning & Permits (1–3 weeks)
Step 1: Site assessment
Before you commit to a sauna type or location, measure your existing conditions:
- Ceiling height: Measure raw basement ceiling. You need at least 7'4" (88") for a standard 7'0" finished interior — and ideally 7'6"+ to allow for floor build-up, vapor barrier, and finished ceiling assembly. Below 6'10" raw, traditional Finnish is off the table; consider infrared.
- Slab condition: Check for visible cracks, efflorescence, or moisture. Run a moisture meter; resolve any seepage *before* building anything on top.
- Electrical capacity: Check your panel — is it 100A or 200A? How many breaker slots are open? A 9 kW Finnish heater needs a dedicated 60A breaker on 6 AWG wire. Older Toronto homes (pre-1970) frequently need a panel upgrade ($1,800–$4,500+).
- Distance to mechanical room: Run distance dictates wire and labour cost.
- Exterior wall access: You'll need to penetrate the foundation/exterior wall for the exhaust duct. Scout the exit path now.
Step 2: Choose type, size, materials
Decide between traditional Finnish, infrared, or hybrid — the Finnish vs Infrared Sauna Toronto comparison covers the trade-offs. Pick a footprint:
| Sauna size | Footprint | Capacity |
|---|---|---|
| Small | 4'×4' (16 sq ft) | 1–2 |
| Standard | 5'×6' (30 sq ft) | 2–3 |
| Family | 6'×7' (42 sq ft) | 3–4 |
| Large | 7'×8' to 8'×10' | 4–6 |
Choose your interior wood (Western Red Cedar T&G is the GTA premium default), your heater (size at 1 kW per 45–50 cu ft), and whether you want a 10mm tempered glass front, Wi-Fi controls, or a cold plunge nearby.
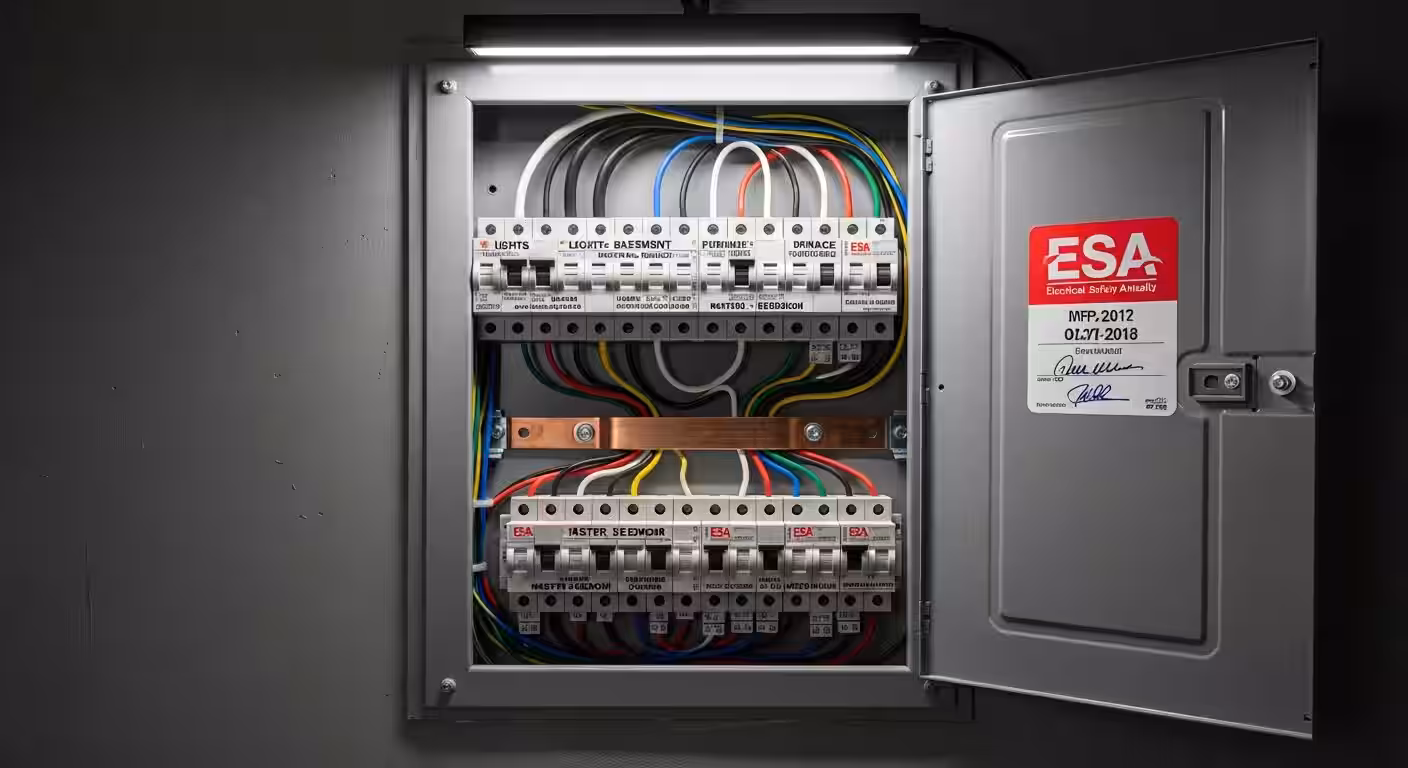
Step 3: Engage Licensed Electrical Contractor & file ESA
Per the Ontario Electrical Safety Code, a Licensed Electrical Contractor (LEC) must file an ESA Notification of Work *before* any new circuit is energized. Minimum residential fee is around $88. The LEC pulls the notification; you don't need to deal with ESA directly.
Step 4: Apply for City of Toronto building permit
Drawings required: floor plan, sections, electrical plan, ventilation plan. 2026 fees: $214.79 minimum + $92.79/hr review. Most sauna applications close at $300–$800. Processing: 2–6 weeks. Detailed permit walk-through in Permit Requirements for Home Sauna in Toronto.
Step 5: Order materials
Cedar T&G lead time is the most common delay in GTA — order 1–3 weeks ahead. Finnish heaters from Harvia, HUUM, and Tylo are stocked locally at SaunaFin (Concord) and Toronto Sauna Co., but specific models can be 1–2 weeks special-order.
Phase 2: Demolition & Rough Work (2–5 days)

Step 6: Demo existing finishes
Strip out any drywall, flooring, framing in the sauna footprint. Bag and dispose properly.
Step 7: Cut the floor drain (if applicable)
Required only if you're adding a shower or cold plunge nearby. Saw-cutting concrete and pouring repair runs $1,200–$3,500. A dry Finnish sauna by itself doesn't need a drain — löyly water volume is too small.
Step 8: Apply waterproofing
Apply a crystalline waterproofing compound or 3-coat penetrating concrete sealer to the slab and below-grade walls within the sauna footprint. This is non-negotiable — the slab is your moisture floor, and Toronto basements work hard enough as it is.
Phase 3: Framing & MEP Rough-In (3–7 days)
Step 9: Frame the walls
- 2×4 lumber, 16" on centre.
- Pressure-treated bottom plates on a foam sill gasket (the only PT lumber allowed anywhere near the sauna — not in the heated zone).
- Standard SPF studs above.
Step 10: Electrical rough-in
The Licensed Electrical Contractor pulls:
- 240V dedicated circuit, 8 AWG wire (≤6 kW heater) or 6 AWG (8–9 kW heater).
- Mandatory 1-hour timer cut-off — built into compliant Harvia, HUUM, Tylo controllers.
- Sauna-rated lighting circuit (vapor-tight LED, sealed 120V or 12V/24V low-voltage).
- Dedicated exhaust fan circuit on its own timer.
- No outlets, switches, or junction boxes inside the heated cabin. Controls live outside the door.
Step 11: Ventilation rough-in
- Intake (low): 6–12" above floor, on the heater wall, behind/under or beside the heater. Sized to ~4"×8" or 6" round.
- Exhaust (high): opposite wall, near ceiling, ducted to exterior (not into the basement) with an adjustable damper.
- Inline exhaust fan rough-in for the post-session purge.
Step 12: Plumbing rough-in (if applicable)
Only if shower or cold plunge is part of the build. Floor drain, supply lines.
Step 13: Inspections
Framing, electrical rough-in, plumbing rough-in (if applicable). Don't cover anything until the City of Toronto inspector signs off.
Phase 4: Insulation & Vapor Barrier (2–3 days)
Step 14: Insulation
- Walls: R-13 to R-20 — foil-faced fibreglass batts or rigid foil-faced PIR/ISO board.
- Ceiling: R-19 to R-22.
Step 15: Aluminum foil vapor barrier
This is the single most important step in the entire build. Use sauna-grade aluminum foil only — perm rating ~0. Do not use 6-mil poly — it off-gasses at sauna temperatures, becomes brittle, and fails. Foil also reflects 95–97% of radiant heat back into the room.
Need professional home renovation?
Call RenoHouse at 289-212-2345 or get a free estimate today.
Get Free Estimate →- Start at the ceiling, work down.
- Wall foil overlaps ceiling foil for shingle effect.
- Overlap seams 2–3", seal with aluminum foil tape (not duct tape).
- Single barrier on the warm/interior side only — never both sides of the wall (traps moisture).
Step 16: Furring strips for the air gap
Install ¾"–1" furring strips over the foil to create a 20mm air gap behind the cedar T&G. This gap is critical — it allows circulation behind the panelling and prevents moisture trapping.
Step 17: Inspection — vapor barrier / pre-cover
Don't skip this. Once the cedar goes up, the inspector can't verify the foil work.
Phase 5: Interior Finishing (3–7 days)
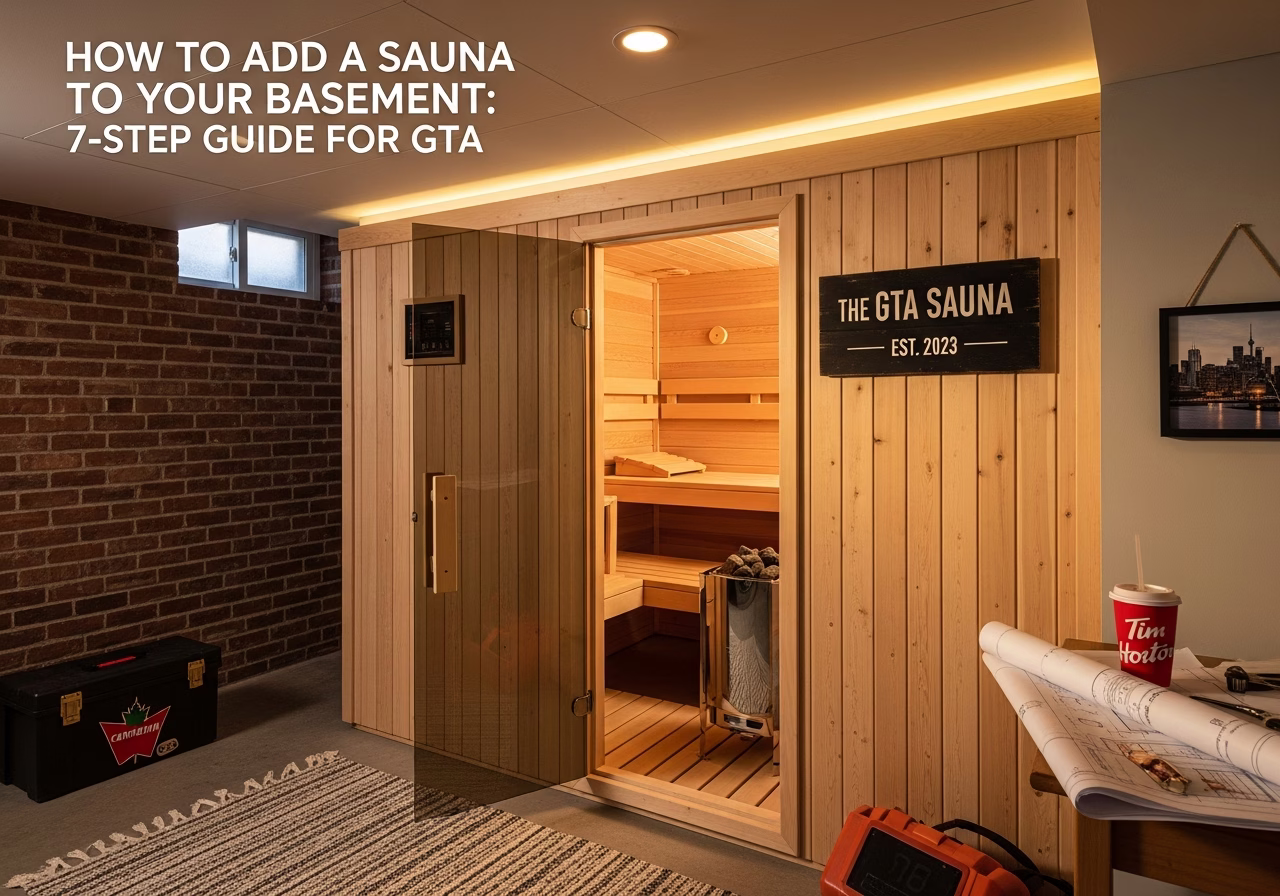
Step 18: Cedar T&G installation
- Ceiling first, then walls, top-down.
- Hidden fasteners: stainless steel or galvanized brad nails through the tongue. Never face-nail cedar in a sauna — exposed metal heats and burns skin.
- Acclimate the cedar in the basement for 48–72 hours before installation to minimize shrinkage.
Step 19: Bench framing & tops
Standard 2-tier benching:
- Upper bench: 36" deep, 18–20" below ceiling.
- Lower bench: 18–24" deep, 18" off the floor (footrest height).
Bench tops typically clear hemlock or aspen — both stay cooler to the touch than cedar.
Step 20: Door installation
10mm tempered glass with cedar frame is the 2026 GTA design default. Premium designer doors with mirror or smoked glass run $2,000+. The door swings *outward* (mandatory safety code).Step 21: Floor finish
Options:
- Porcelain or ceramic tile (best — fully waterproof, durable).
- Sealed concrete (budget option).
- Epoxy (commercial-grade option).
Top with removable cedar duckboard for foot comfort. Avoid vinyl plank in the heated zone — it can off-gas and warp.
Phase 6: Mechanical Install & Commissioning (1–2 days)
Step 22: Heater install
Per manufacturer spec — 2–4" clearance from walls, 36–48" headroom above heater. Install the heater guard rail to prevent contact burns. Load stones loosely (don't pack tight — air must flow).
Step 23: Lighting install
Sauna-rated vapor-tight LED only. 12V/24V low-voltage is preferred; sealed 120V fixtures listed for sauna use are acceptable. Never standard ceiling fixtures — they melt, fail, and can ignite.
Step 24: Controller and timer
Mounted outside the heated cabin — typically just outside the door. Compliant controllers include:
- Harvia Xenio Wi-Fi
- HUUM UKU Wi-Fi
- Tylö Pure Wi-Fi
All include the mandatory 1-hour cut-off built in.
Step 25: ESA final inspection
The Licensed Electrical Contractor coordinates the ESA inspection. Inspector verifies the 240V circuit sizing, breaker, wire gauge, timer cut-off function, GFCI on damp-location outlets, and absence of outlets inside the heated cabin.
Step 26: First heat-up cure cycle
Run the heater empty (no occupants) for 1–2 hours to cure the wood and burn off any manufacturing residue. Open the door once or twice during the cycle to vent. After this cure, the cabin is ready for use.
Step 27: Final building inspection
City of Toronto building inspector signs off the project. Now legally complete.
Phase 7: Handover (1 day)
Step 28: Owner training
Your contractor walks you through:
- How to operate the controller and Wi-Fi app.
- How to ladle löyly water (fine spray onto stones, not a flood).
- Post-session venting protocol (door open, exhaust fan 30–60 min).
- Maintenance schedule — see Sauna Maintenance Schedule: Keep Your Investment 20+ Years.
Step 29: Warranty registration
Most heater warranties (Harvia 5-year, HUUM 3-year, Tylö 5-year) require licensed electrical install and product registration within 30–60 days.
Step 30: Insurance disclosure
Notify your home insurance carrier. Some carriers require disclosure; some apply minor surcharges. Unpermitted or ESA-non-compliant work voids coverage in the event of fire or water damage.
Common Pitfalls in This Sequence
- Rushing past the Phase 1 site assessment and discovering mid-build that the panel needs upgrading.
- Skipping the vapor barrier inspection before covering with cedar.
- Using 6-mil poly instead of foil — guarantees mould within 2–3 years.
- Forgetting the 20mm air gap — same outcome.
- Same-wall vents — short-circuits airflow.
- Cheap door — non-tempered glass doors are illegal and dangerous.
The full mistake catalogue is in 10 Common Basement Sauna Installation Mistakes.
Realistic Timeline Summary
| Phase | Days |
|---|---|
| Planning & permits | 1–3 weeks (mostly waiting on ESA + permit) |
| Demolition & rough work | 2–5 |
| Framing & MEP rough-in | 3–7 |
| Insulation & vapor barrier | 2–3 |
| Interior finishing | 3–7 |
| Mechanical & commissioning | 1–2 |
| Handover | 1 |
| Total active construction | 12–25 days |
| Total calendar time | 4–8 weeks |
FAQ
Can I do any of this myself to save money?Plug-in infrared assembly is genuinely DIY. For Finnish kits, the structural framing, vapor barrier, and cedar finishing can be DIY *if* you have construction experience — but the 240V circuit, ESA filing, and final inspection must be done by a Licensed Electrical Contractor. See DIY vs Professional Sauna Installation.
What if my basement ceiling is only 7' raw?You can build a small sauna with a 6'10" finished ceiling (legal under OBC) by minimizing floor build-up — sealed concrete + duckboard rather than tile, and a thin foil vapor barrier above the ceiling joists.
Can I install a sauna in a finished basement without demoing?Sometimes — if there's an existing dedicated room with concrete floor exposed. More often, partial demo is required to access framing, run the 240V circuit, and install the vapor barrier properly.
How do I keep my basement from getting humid?High-low ventilation ducted to exterior (never into the basement), inline exhaust fan on a 30–60 min post-session timer, and door fully open after each session. Full design in Basement Sauna Ventilation: The High-Low Method Explained.
---
RenoHouse handles every phase of basement sauna installation across the GTA — from permits and ESA filing to final commissioning. Book a free assessment on our basement sauna installation service page.
Sources & References
Authoritative sources cited in this guide:
- Ontario Building Code — OBC official text
- Toronto Building Permits — City permit portal
- Tarion Warranty — Ontario warranty regulator
- CSA Group Standards — Canadian standards
Continue Reading
- Basement Sauna Installation Toronto: 2026 Cost & Permit Guide
- Permit Requirements for Home Sauna in Toronto: Building, ESA, OBC
- How to Install Cold Plunge in Basement: 7-Step Toronto Guide