
# How to Design a Walk-in Closet: 7-Step Toronto Guide
Quick answer. A walk-in closet looks simple — four walls and some hanging rods — until you actually start designing one and discover that drawer height, aisle width, valet-rod placement, and lighting kelvin temperature all matter. This is the seven-step process we walk every Toronto client through, from "we want a walk-in" to install day.A walk-in closet looks simple — four walls and some hanging rods — until you actually start designing one and discover that drawer height, aisle width, valet-rod placement, and lighting kelvin temperature all matter. This is the seven-step process we walk every Toronto client through, from "we want a walk-in" to install day. It works for tier 1 IKEA PAX builds and tier 3 full custom millwork equally.
For pricing context across tiers, see Walk-in Closet Custom Build Toronto: 2026 Cost & Design Guide. For the IKEA-vs-custom decision, IKEA PAX vs Custom Walk-in Closet Toronto: Real Cost Comparison.
Step 1 — Inventory and Lifestyle Audit
Before any drawing, measure your wardrobe. We mean literally pull every garment out and count.
A typical Toronto adult has:
- 35–80 hanging long items (dresses, coats, suits) — need 60–72" hanging height
- 60–150 hanging short items (shirts, blouses, folded pants) — need 36–42" hanging height (double-hang capable)
- 8–25 pairs of shoes per person — 12" of linear shelf per pair
- 20–60 folded items (sweaters, jeans, athletic) — 4–8 drawers
- 10–40 small items (socks, underwear, accessories) — 4–8 small/medium drawers
- 3–12 bags or totes — 2–4 cubbies or shelves
- Watches, jewelry, sunglasses, belts — dedicated trays or jewelry safe
Couples roughly double this. Measure both partners separately if it's a shared closet.
Output of step 1: a single page with linear feet of long-hang, short-hang (or double-hang), shoe count, drawer count, and special storage requests (jewelry, ties, bags).Step 2 — Measure the Room
You need:
- Width and depth of the room (in inches, to 1/8")
- Ceiling height at four corners (older Toronto homes are not level)
- Door swing and door opening width
- Window location, height, width
- Outlets and switches on each wall, their height
- HVAC supply or return if any
- Plumb and square check — measure diagonals; if they differ by more than 1/2", flag it
For a typical Toronto detached primary suite, expect:
- 8'0"–9'0" ceilings (older homes 7'8"–8'2")
- One window in 60% of cases
- One door, often centred awkwardly
- Walls within 1/2" of plumb if home was built post-1985, more out-of-plumb in older homes
Step 3 — Decide the Layout
Three layouts dominate in Toronto walk-ins:
Single-aisle (galley)
Hanging on one wall, drawers and shelves on the other. Aisle 30–36". Works in rooms as narrow as 4'6" and as wide as 6'6".
U-shape
Hanging both side walls, end wall reserved for shelving, full-length mirror, or built-in dresser. Best for 6'6"–9'0" wide rooms.
Walk-around (with island)
U-shape plus a centre island. Requires minimum 8'0" room width and 9'0" length.
Aisle minimums: 30" tight, 36" comfortable, 42"+ luxury. Two-person closets need 42"+ to avoid traffic conflict.
Need professional home renovation?
Call RenoHouse at 289-212-2345 or get a free estimate today.
Get Free Estimate →Sketch the layout on graph paper or in Closet Pro 3D / IKEA's PAX planner. Mark every hanging rod, drawer stack, and shoe shelf.
Step 4 — Hanging Heights and Zones
Standard component heights for design:
| Zone | Height | Notes |
|---|---|---|
| Long hang (dresses, coats) | 66–72" | One rod, 80" off floor |
| Double hang (shirts, pants) | 42" each, 84" total | Two rods stacked |
| Triple hang (rare) | 30" each, 90" total | Petite-only closets |
| Drawer stack | 30–42" total | Usually under hanging |
| Shoe shelves | 12" deep, 7" between shelves | Boots: 14" |
| Top shelf (storage) | 12–18" | Bins for off-season |
| Valet rod | 68" off floor | Pull-out, for outfit prep |
A standard detached primary closet has roughly:
- 70% double-hang (shirts, blouses, pants folded over hanger)
- 15% long-hang (dresses, coats)
- 15% drawers and accessories
Adjust to your inventory from step 1.
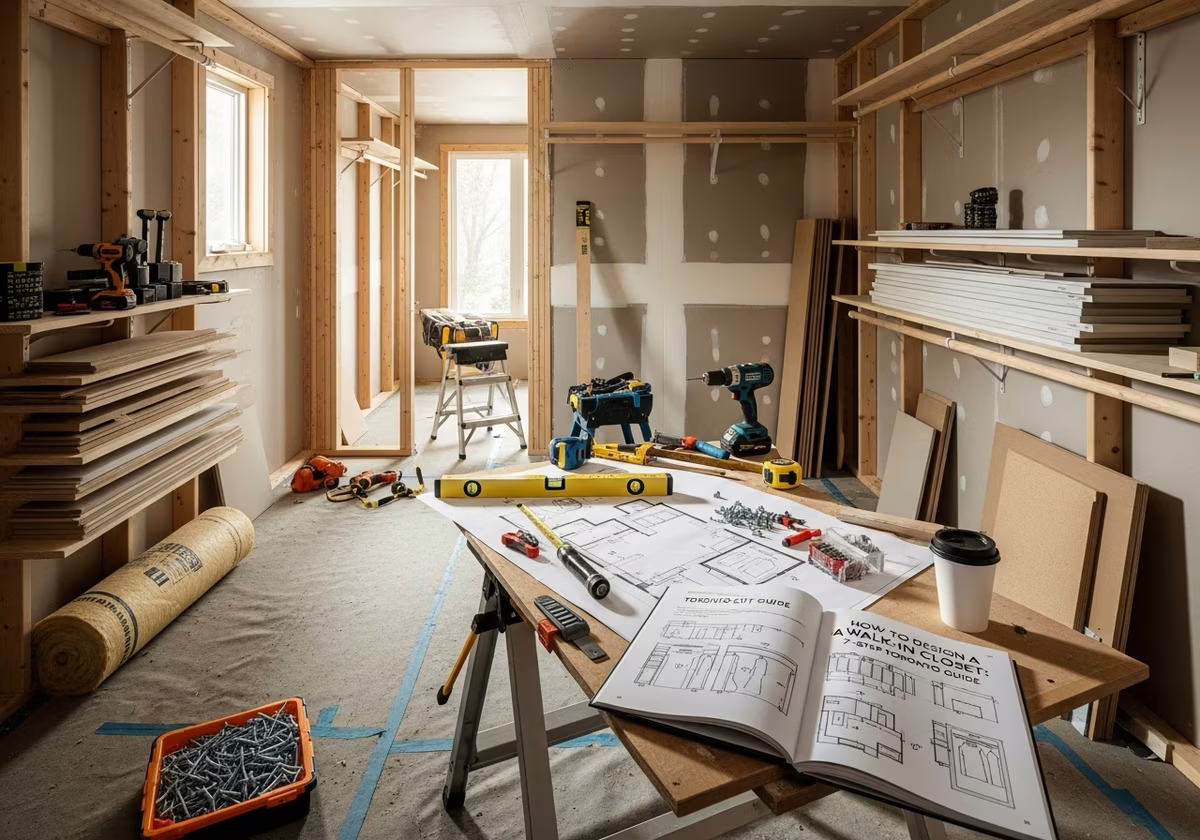
Step 5 — Electrical, Framing, and Permits
If you're converting an existing room or stealing space from the primary bedroom:
Framing a new partition wall
- Cost: $1,500–$3,500
- Time: 1–2 days
- Permit: required in Toronto. Building permit, $250–$500. Drawing usually not stamped unless load-bearing.
Adding electrical
What you're likely adding:
- Ceiling LED downlights (3–4 in a typical walk-in)
- Hanging-rod LED tape (low-voltage, dimmable)
- Drawer pucks (12V, motion sensor)
- 1–2 island outlets (for charging stations)
- Switch with motion-sensor option at door
For lighting product selection and color temperature, see Walk-in Closet Lighting: LED Strips, Motion Sensors & Color Tunable.
HVAC
If the closet is sealed off from the bedroom, add a small register or transfer grille — $150–$400. Toronto basements with walk-ins benefit from a dedicated dehumidifier register.
Step 6 — Materials and Hardware
The decision is roughly:
- Carcasses (boxes): melamine over particleboard (tier 1), thermofoil over MDF (tier 2), hardwood plywood (tier 3).
- Drawer fronts: laminate (tier 1), painted MDF (tier 2/3), stained hardwood (tier 3 luxury).
- Drawer slides: IKEA MAXIMERA (tier 1), Blum Tandem (tier 2), Blum Tandem Plus Blumotion or Servo-Drive (tier 3).
- Hanging rods: chrome (tier 1), brushed nickel (tier 2), oil-rubbed bronze or matte black (tier 3 designer).
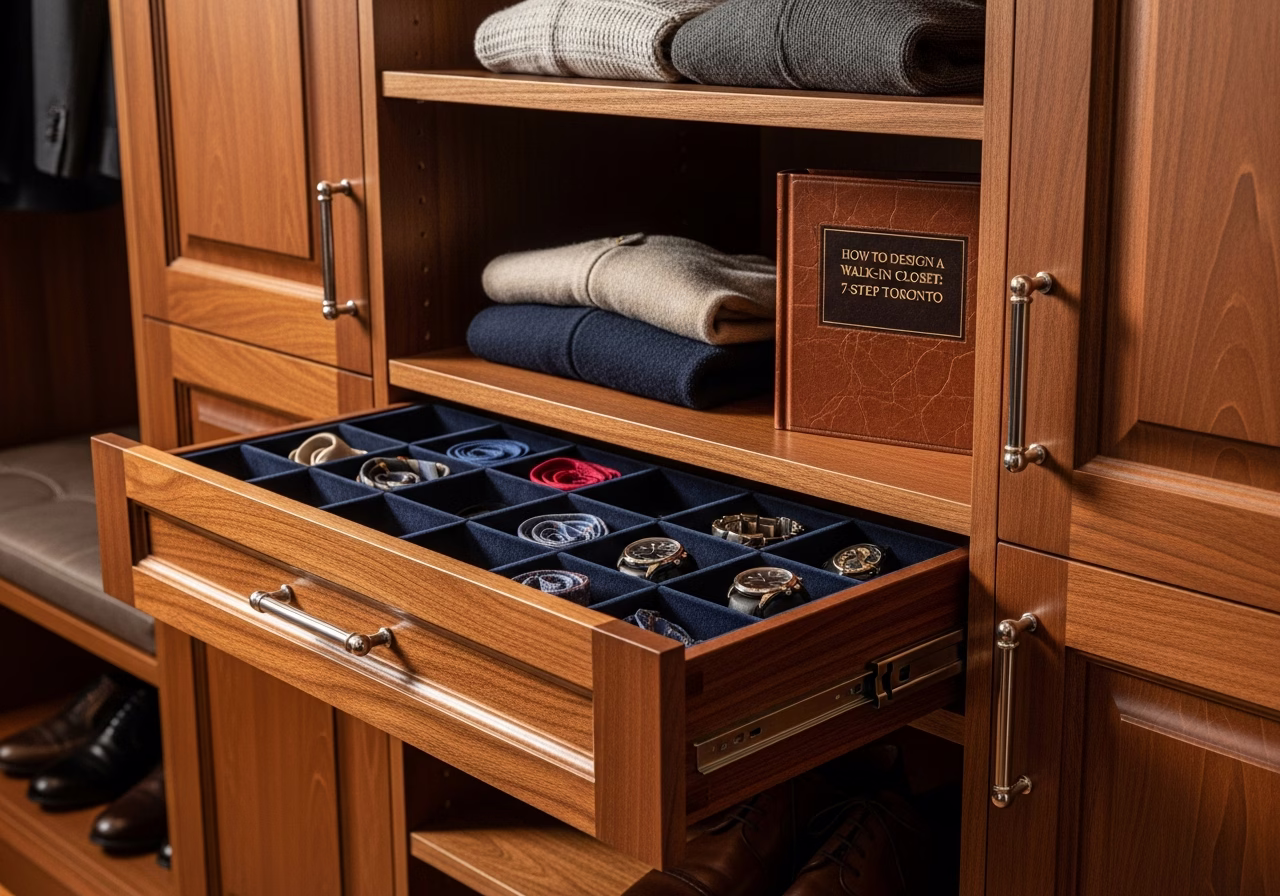
- Pull-out accessories: valet rod, tie rack, belt rack, shoe rack — Häfele or Hettich.
- Lighting: see lighting guide.
For the trade-offs: melamine is fine for renters but yellows and chips. MDF takes paint beautifully but swells if it ever gets wet. Plywood is the durability winner but costs 2–3× melamine in product.
Step 7 — Install Sequence
The order matters. Wrong order = damage and rework.
- 1. Demolition — remove old closet system, baseboards, and door if replacing.
- 2. Framing (if creating a new walk-in or adding partition wall).
- 3. Electrical rough-in — pull wiring before drywall closes up.
- 4. Drywall, mud, sand, prime, paint — paint before install. Touch-ups after.
- 5. Flooring — hardwood, LVT, or wool carpet before millwork.
- 6. Door — install final door (often pocket or French upgrade).
- 7. Closet system install — 1–2 days for tier 1/2, 2–4 days for tier 3.
- 8. Lighting trim and final connection — switches, dimmers, motion sensor commissioning.
- 9. Mirror, accessories, hardware — full-length mirror, valet rod, jewelry trays.
- 10. Punch list and reveal — touch-up paint, hardware adjustment, drawer alignment.
Total elapsed time on-site: 1–3 weeks (excluding system production lead time).
Common Design Mistakes
- 1. Designing for clothing you don't own. Use real inventory from step 1.
- 2. Forgetting the hamper. Every closet needs at least 1 hamper bay.
- 3. No island in a 7×9+ closet. Massive missed opportunity.
- 4. Lighting on a single switch. You want at least 2 zones — ceiling ambient and rod/drawer accent — on separate dimmers.
- 5. Door swings inward. Eats 10 sq ft of usable space. Pocket or barn door instead.
- 6. Outlets only on one wall. Add at least one outlet on each long wall plus the island.
- 7. Skipping the full-length mirror. Always include.
- 8. Carpet too soft. Wool loop or low-pile patterned, not plush cut-pile.
Toronto-Specific Considerations
- Older homes (pre-1985): expect out-of-plumb walls and ceiling height variation. Add 5–10% to install labour for scribing and shimming.
- Condos: check renovation rules with property management. Hours, elevator booking, dust containment all matter. Some buildings prohibit drilling into specific walls.
- Heritage districts (Cabbagetown, Riverdale, parts of the Annex): internal closet renovations are usually exempt from heritage review — confirm with City of Toronto Heritage Preservation Services.
- Basement walk-ins: add closed-cell insulation behind any exterior wall, dehumidifier register, and ensure the floor drain in the mechanical room is functioning.
When to Hire a Designer vs DIY the Design
- DIY-able: any tier 1 IKEA PAX layout. Pull from IKEA's planner.
- Hire a designer: tier 2 with custom drawer counts, tier 3 always.
- Designer cost: $1,500–$4,000 standalone, often included free with semi-custom dealers.
A good designer will identify storage volume gains of 15–30% over your initial sketch.
FAQ
How long does the design phase take?2–4 weeks from first measure to signed-off drawings.
Can I design my own and bring it to a custom shop?Yes — most Toronto millwork shops will quote your design. Expect 1–2 rounds of revisions where they push back on impractical details.
Should I add an outlet for a TV in the closet?Increasingly common in 2026 luxury builds. Small wall-mount TV plus mirror is a daily-use upgrade.
What about scent or air freshener integration?Discreet plug-in diffusers on the island or in a corner are common. Avoid heavy fragrance — fabrics absorb it.
Do I need a building permit?Only for new partition walls or load-bearing changes. Lighting and outlets need ESA, not a building permit.
---
Designing your walk-in? RenoHouse provides full design-build service for Toronto walk-ins — measurement, 3D drawings, material spec, and install on one contract. Book a free design consultation on our walk-in closet custom build service page.
Sources & References
Authoritative sources cited in this guide:
- Ontario Building Code — OBC official text
- Toronto Building Permits — City permit portal
- Tarion New Home Warranty — Ontario new-build warranty regulator
- HCRA — Home Construction Regulatory Authority — Ontario builder/vendor licensing
Continue Reading
- Walk-in Closet Custom Build Toronto: 2026 Cost & Design Guide
- Walk-in Closet Cost Toronto: $3K Budget vs $50K Luxury
- Walk-in Closet Lighting: LED Strips, Motion Sensors & Tunable


