# DIY vs Professional Murphy Bed Install Toronto
Quick answer. A Murphy bed install looks DIY-friendly on YouTube — assemble cabinet, anchor to wall, install mattress, done in a weekend. The reality in 2026 Toronto is more nuanced. Tier 1 IKEA-hack installs in wood-stud walls are genuinely DIY-able for an intermediate handyperson.A Murphy bed install looks DIY-friendly on YouTube — assemble cabinet, anchor to wall, install mattress, done in a weekend. The reality in 2026 Toronto is more nuanced. Tier 1 IKEA-hack installs in wood-stud walls are genuinely DIY-able for an intermediate handyperson. Tier 2 and Tier 3 installs in concrete or steel-stud walls reward professional install — the wall verification, anchor calculation, mechanism calibration, and finish-grade trim all push the project beyond comfortable DIY territory.
This post is the honest framework for the decision. For the broader project context, see the Murphy Bed Installation Toronto pillar guide. For step-by-step install procedure, see How to Install a Murphy Bed in Toronto: Step-by-Step Guide.
What Determines DIY-Suitability
Three factors separate "DIY-able" from "hire it out":
- 1. Wall type. Wood-stud is DIY-friendly. Concrete and steel-stud benefit from professional anchoring.
- 2. Cabinet weight and bulk. 200+ lb cabinets can't be moved or anchored alone — you need 2–3 people.
- 3. Mechanism complexity. Tier 1 mechanisms are forgiving. Tier 2/3 require calibration that benefits from experience.
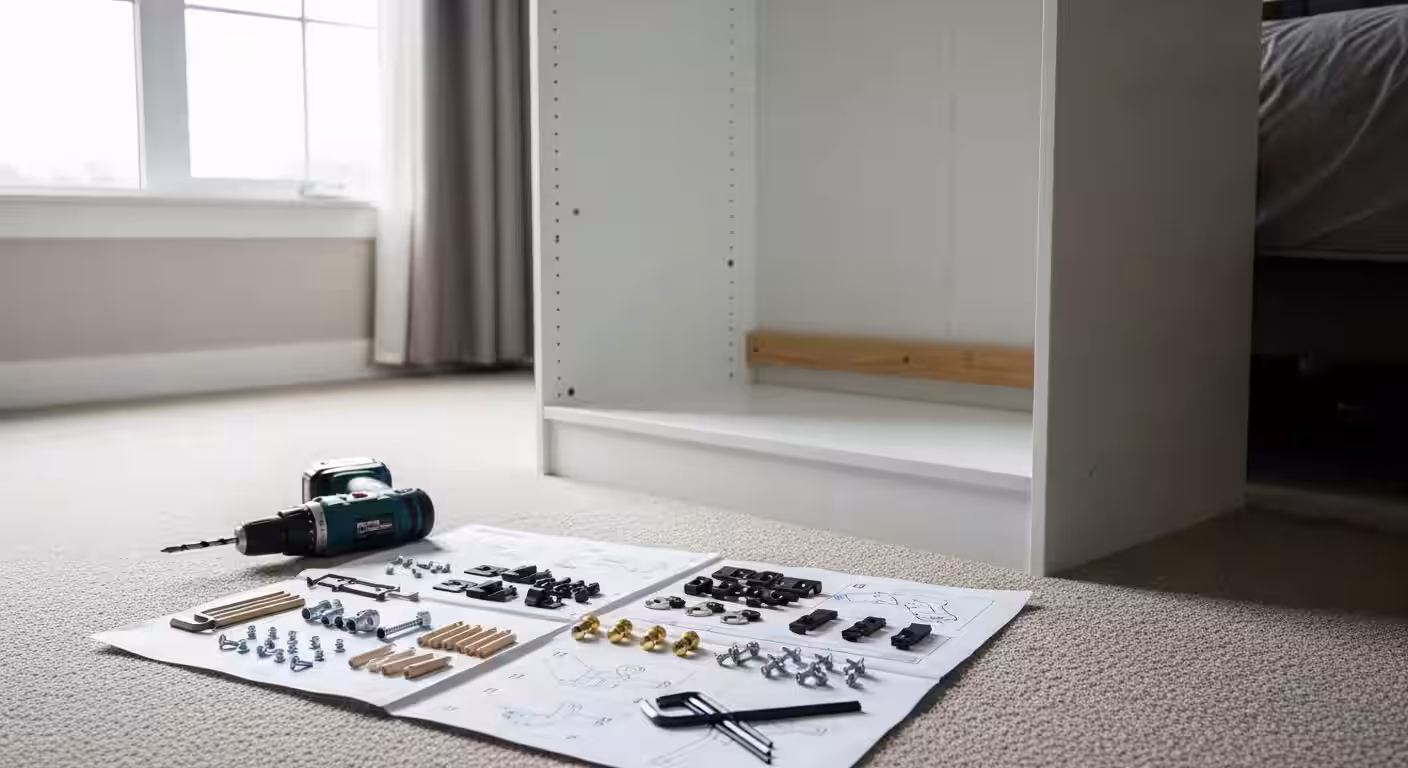
Tier 1 IKEA-Hack: DIY-Friendly
Tier 1 imported piston cabinets (Bestar, Night and Day, generic Wayfair models) are designed for DIY install. Cabinet weighs 150–220 lbs queen, ships flat-pack with detailed instructions.
What an Intermediate DIY-er Can Do
- Assemble cabinet per instructions (typically 4–6 hours, two people).
- Locate wood studs with stud finder.
- Drill pilot holes and drive lag bolts.
- Position cabinet (with helper) and anchor.
- Install mattress.
- Test deployment.
- Install simple trim (paint-grade MDF crown).
What to Hire Out (Tier 1)
- Concrete walls: If the cabinet anchors into concrete, hire a handyman with hammer drill experience for $200–$400.
- Heavy lifting if alone: If you don't have a helper, hire a 2-person mover for the cabinet positioning ($150–$300).
Realistic DIY Cost
- Cabinet: $1,000–$1,800.
- IKEA surrounds: $400–$800.
- Mattress: $600–$900.
- Tools (if don't own): $100–$300 (stud finder, drill, level).
- Total DIY: $2,100–$3,800.
Vs. hired install: $2,800–$4,800. DIY savings: ~$700–$1,000.
Time Cost
- 1–2 weekends if intermediate skills.
- 2–3 weekends if learning as you go.
Tier 2 Wallbeds n More / Murphy Wall Bed Co.: Hire Pro
Tier 2 cabinets are heavier (250–350 lbs queen), the mechanism is more sensitive to calibration, and most installations are into condo concrete or steel-stud walls.
What a Determined DIY-er CAN Do (But Probably Shouldn't)
- The procedural steps are similar to Tier 1.
- Anchor in wood studs is similar.
Why Pro Install Wins for Tier 2
- Concrete-anchor experience. Tapcons require correct embedment depth, hammer-drill technique, and anchor selection (some require pre-drilled holes specific to the anchor diameter).
- Mechanism calibration. Tier 2 pistons require torque-spec calibration to mattress weight. Pros have done it 50+ times; first-time DIY often results in slamming or springing bed.
- Heavy cabinet handling. 300+ lb cabinet can damage hardwood floors, walls, or the cabinet itself if mishandled.
- Warranty implications. Some Tier 2 manufacturers void warranty if installation isn't done by certified installer. Verify before DIYing.
Cost Difference
- Tier 2 with included pro install: $4,500–$8,500.
- Tier 2 cabinet-only with DIY: $4,000–$7,500.
- DIY savings: ~$500–$1,000.
The savings are modest because Tier 2 manufacturers price install-included quotes competitively (they make money on cabinet, not labor).
When DIY Tier 2 Makes Sense
- You're a contractor or have professional install experience.
- Your wall is wood-stud (not condo concrete).
- You're willing to forfeit some warranty coverage.
- You've installed Murphy beds before.
Tier 3 Resource Furniture / Clei: Always Pro
Tier 3 installs are professionally installed by the manufacturer's white-glove team or designated subcontractor. DIY is not offered (and not advised).
Why DIY Doesn't Work for Tier 3
- Cabinet weight 400–600 lbs for queen full-wall systems.
- Mechanism is European-engineered with tight tolerances; calibration requires manufacturer training.
- Finish-grade trim integration requires cabinet-maker-level skill.
- Custom dimensions mean each install is unique — no instructions, just specifier drawings.
- Warranty requires certified install. Voided otherwise.
Cost
Tier 3 pricing already includes pro install — no DIY option.
Need professional renovation?
Call RenoHouse at 289-212-2345 or get a free estimate today.
Get Free Estimate →Toronto-Specific DIY Considerations
Condo Concrete Walls
Most Toronto condo demising walls are 8" poured concrete. Drilling Tapcons:
- Requires hammer drill (not regular drill) — $150–$300 to buy or $80–$120 to rent for a day.
- Carbide bits ($30–$60).
- Vacuum to clear dust — necessary for full anchor engagement.
- Skill: intermediate DIY can learn in 1–2 hours of practice.
If you don't own a hammer drill and don't want to buy one, hire a handyman for the anchor drilling specifically ($200–$400) and DIY the rest.
Steel-Stud Walls (Modern Condos)
Steel-stud walls without blocking are NOT DIY-friendly:
- Standard wood-screw anchors don't hold reliably in 25-gauge steel.
- Heavy-duty toggles (Toggler Snaptoggle) work but installation requires specific technique.
- Better solution: install 2x6 or 2x8 wood blocking between studs (requires opening drywall), then anchor cabinet to blocking.
For steel-stud installs, hire a pro who has done multiple installs.
Heritage Plaster Walls (Annex, Cabbagetown)
Plaster over wood lath is fragile. DIY install risks:
- Plaster cracking when drilling.
- Lath splitting under anchor stress.
- Cabinet pulling away from wall over time.
If your wall is old plaster, hire a pro who knows how to install blocking through plaster or use specialty anchors rated for the substrate.
Permit Considerations
Most Murphy bed installs don't require permits. Exceptions:
- Hardwired lighting. If the install includes hardwired (not plug-in) interior LED lighting, an ESA inspection is required. Typically $200–$400.
- Structural modifications. If you're cutting into a load-bearing wall, structural engineer + building permit required. Rare in Murphy installs.
- Condo board approval. Most don't require approval but may require notification if drilling concrete walls. Check status certificate.
DIY-ing electrical work in Ontario without ESA inspection voids home insurance and can cause problems at resale.
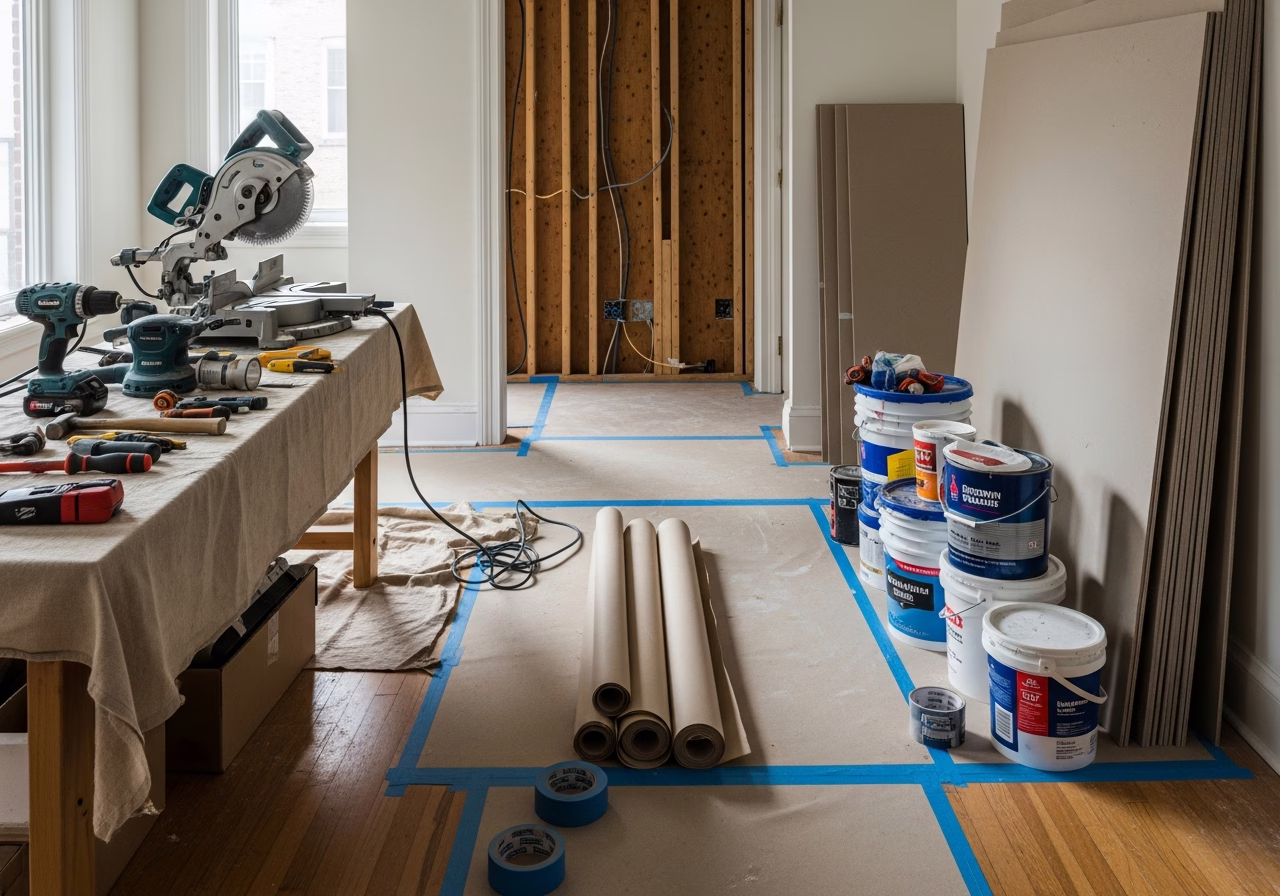
Tools You'll Need
For Tier 1 DIY install in a wood-stud wall:
- Stud finder ($25–$80).
- Drill ($80–$200) or hammer drill if concrete ($150–$300).
- 1/4" drill bits and 1/4" lag-bolt bit ($20).
- 4' level ($30–$60).
- Tape measure ($15).
- Pencil, painter's tape.
- Phillips and Robertson screwdrivers ($20).
- Allen-key set (often included with cabinet) ($15).
- Furniture sliders for moving cabinet ($20).
- Drop cloths to protect floors ($20).
Total tool cost if you don't own any: $300–$600. After this project, you have a tool set for future DIY.
When DIY Backfires
Common DIY install failures:
- 1. Anchor pulled out of drywall. Cabinet was anchored only into drywall (no studs/blocking). Bed fell off wall first time it deployed.
- 2. Cabinet not square. Cabinet was assembled out of square; bed binds when deployed.
- 3. Mechanism slamming. Piston not calibrated to mattress weight. Bed slams down dangerously.
- 4. Mattress doesn't fold. DIY-er bought 14" pillow-top thinking thicker is better. Cabinet won't close.
- 5. Concrete anchor too short. DIY-er used 1" Tapcons in concrete. Anchors pulled out under load.
Cost to remediate after DIY failure: $500–$2,500 typically. Plus the 6–18 months of frustration.
When DIY Works Well
- 1. Tier 1 imported cabinet, wood-stud wall, two-person install team, intermediate skills.
- 2. Following manufacturer instructions exactly.
- 3. Verifying anchor engagement before deploying bed for first time.
- 4. Calibrating mechanism per spec before mattress install.
- 5. Testing deployment 5–10 times before considering install complete.
Quick Decision Framework
- Tier 1, wood-stud wall, intermediate DIY skill: DIY makes sense. ~$700–$1,000 savings.
- Tier 1, concrete wall: DIY anchoring with hammer-drill rental. Pro option for confidence.
- Tier 1, steel-stud wall: Hire pro or install blocking first.
- Tier 2: Pro install (included in most quotes anyway).
- Tier 3: Always pro (not optional).
- Heritage plaster walls: Always pro.
- Hardwired lighting: Always licensed electrician.
For installation steps in detail, see How to Install a Murphy Bed in Toronto: Step-by-Step Guide. For mistakes to avoid, see Murphy Bed Installation Mistakes to Avoid.
---
Considering DIY vs pro install for your Toronto Murphy bed? RenoHouse offers transparent quotes for installation-only services if you've sourced the cabinet yourself, plus full-service Tier 2/3 installs. Book a free consultation on our Murphy bed installation service page.
Sources & References
Authoritative sources cited in this guide:
- Ontario Building Code — OBC official text
- Toronto Building Permits — City permit portal
- Tarion New Home Warranty — Ontario new-build warranty regulator
- HCRA — Home Construction Regulatory Authority — Ontario builder/vendor licensing
Continue Reading