
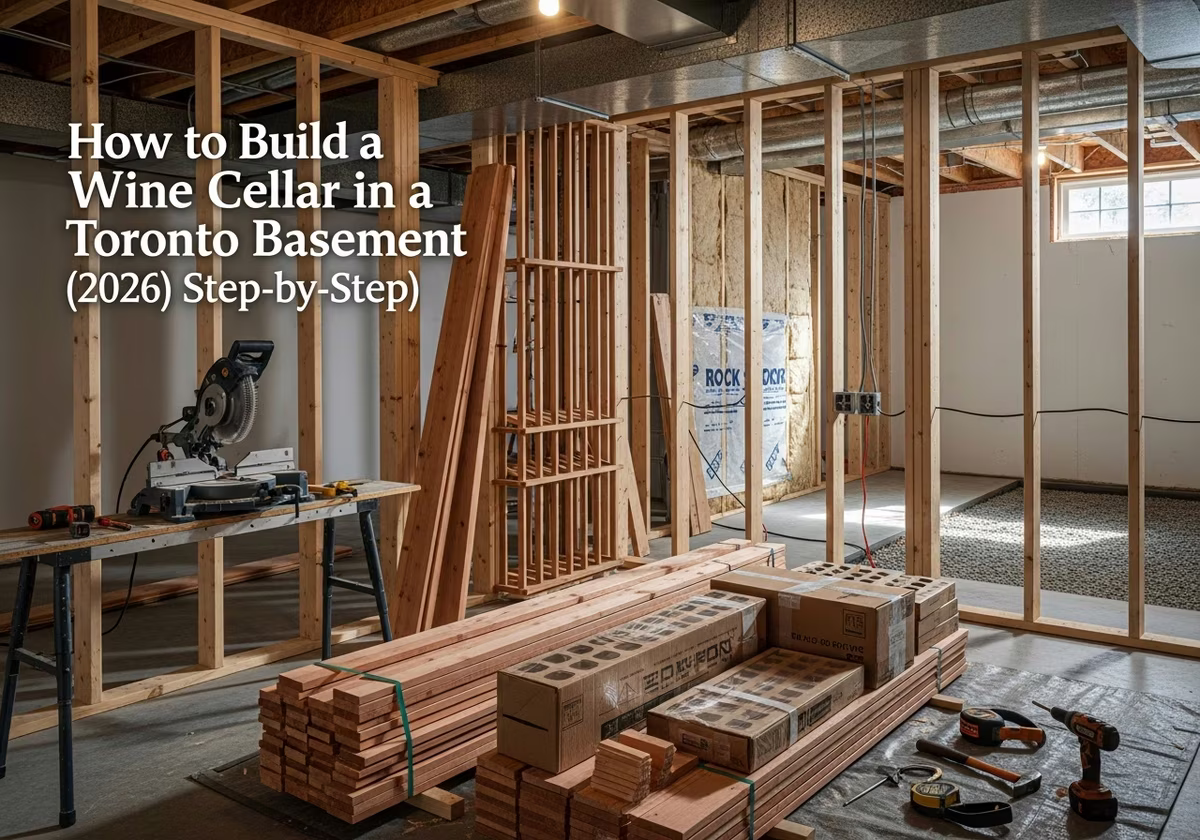
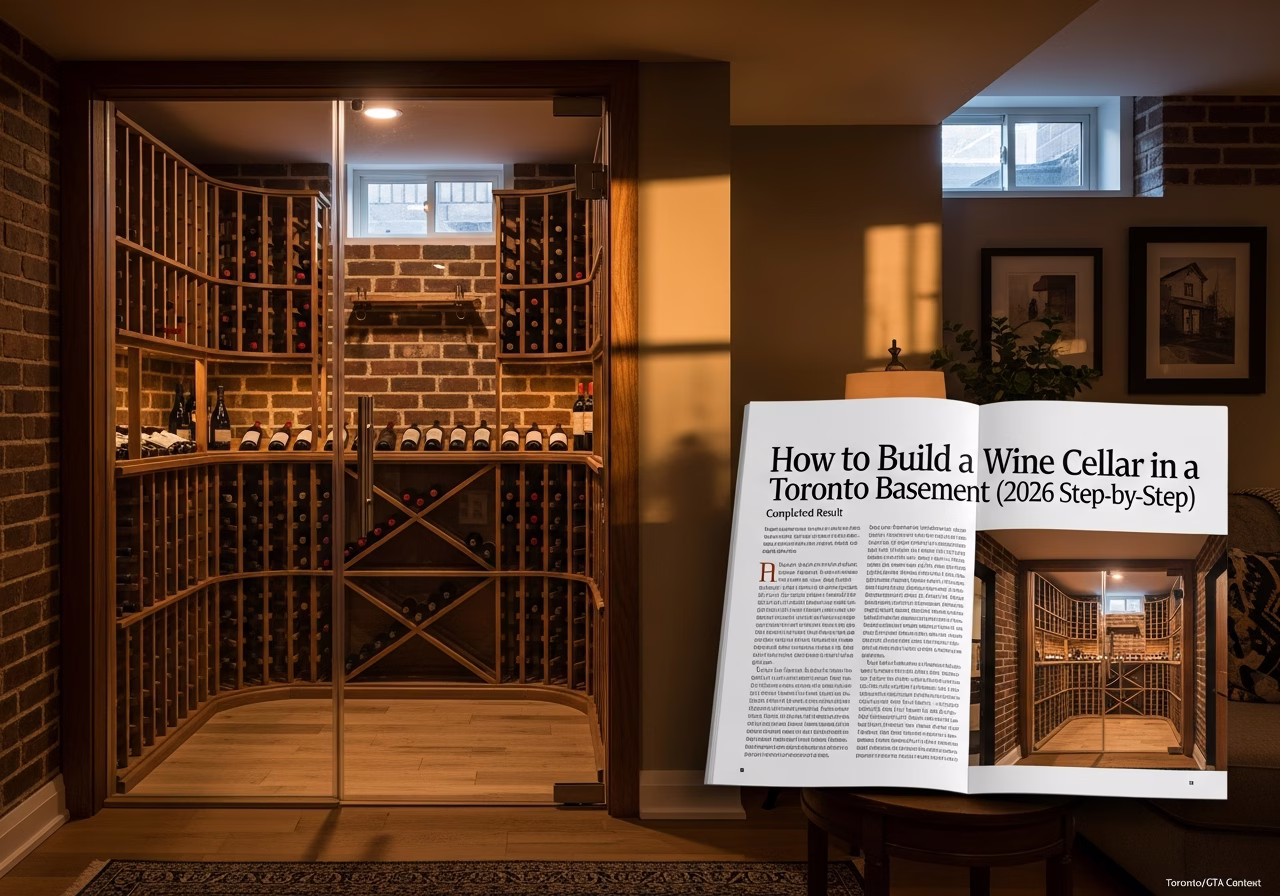
# How to Build a Wine Cellar in a Toronto Basement (2026 Step-by-Step)
Quick answer. The Toronto basement is the natural home for a wine cellar. The subgrade slab sits at 12–14 C year-round, the surrounding earth dampens external temperature swings, and the typical GTA basement already has a finished floor, electrical service, and drainage nearby.The Toronto basement is the natural home for a wine cellar. The subgrade slab sits at 12–14 C year-round, the surrounding earth dampens external temperature swings, and the typical GTA basement already has a finished floor, electrical service, and drainage nearby. This guide walks the full sequence — site selection, framing, insulation, vapor barrier, cooling, racking, finishing — at the level of detail a Toronto homeowner needs to know what their contractor should be doing and why.
For the cost stack, see wine cellar installation Toronto 2026. For the format choice, see walk-in vs glass-enclosed wine cellar Toronto.
Step 1: Site Selection in the Basement
The right corner of the basement matters more than people think. Best candidates:
- Northeast or northwest corner. Coolest in summer, lowest cooling load.
- Adjacent to an exterior wall (below grade). Stable surrounding temperature.
- Away from the furnace, water heater, dryer vent. Heat sources kill cooling efficiency.
- Within 6 m of the electrical panel. Cooling unit circuit run is shorter.
- Near a floor drain. Helpful for condensate management.
Avoid:
- Walls shared with a heated garage.
- Spaces directly under a south-facing main-floor sunroom.
- Tight under-stair triangles less than 24" deep at the wide end.
The under-stair void in a Toronto Victorian or semi-detached works beautifully if it has at least 36" of depth and 60" of height at the narrow end.
Step 2: Sizing and Layout
A 6x8 ft (48 sf) cellar fits 400–600 bottles with floor-to-ceiling racking on three walls. That is the sweet spot for most Toronto households.
Layout rules of thumb:
- Aisle width: 30" minimum, 36" preferred.
- Rack depth: 14" for label-out, 12" for traditional bin-style.
- Rack height: Stop at 80" for comfortable retrieval; use the top section for case storage.
- Cooling unit clearance: 24" of breathing room around any self-contained unit's exhaust side.
- Door swing: Out into the basement, not into the cellar (saves rack space).
For full capacity guidance, see wine cellar capacity 50 vs 3000 bottles.
Step 3: Permit Filing
ESA permit for the cooling unit's dedicated circuit. Filed by your Licensed Electrical Contractor. $88 filing + $130–$220 inspection. City of Toronto building permit if you are framing new partition walls. $300–$700, 2–4 week turnaround. Required if walls exceed 4' in height. Plumbing permit if you tie a humidifier or condensate drain into the home plumbing. Most builds gravity-drain to a floor drain, no permit.Pull the permits before demo. Skipping them creates a problem when you sell the house — Toronto property law disclosure includes "permitted vs unpermitted" basement work, and a buyer's home inspector will spot an unpermitted cellar within minutes.
Step 4: Framing
Step 5: Vapor Barrier and Insulation (The Critical Step)
This is the single most important assembly in the entire build. Get this wrong and the cellar fails within 36 months.
Toronto cellar wall assembly, warm side to cool side:- 1. Drywall (interior of the heated basement) — already exists.
- 2. Stud cavity, R-22 mineral wool or R-22 closed-cell spray foam (closed-cell preferred for vapor properties).
- 3. Continuous 6 mil polyethylene vapor barrier, all seams sealed with acoustical sealant or vapor-barrier tape, taped to the slab and to the concrete or perimeter.
- 4. New stud wall (cellar side).
- 5. Closed-cell spray foam in the new cavity, R-15 to R-22.
- 6. Mold-resistant drywall (CertainTeed M2Tech or equivalent) on the cellar interior.
Detail and decision-tree in wine cellar vapor barrier insulation.
Step 6: Cooling System Selection and Install
For a 400–600 bottle cellar with R-30 walls and R-40 ceiling:
- WhisperKool Platinum 4000. Self-contained through-wall. $2,200 supplied. Vents into the adjacent unconditioned utility room. Most common Toronto choice for this size.
- Wine Guardian DS025. Ducted split. $5,800 supplied + $1,500 install. Compressor in a remote utility room. Premium choice.
- CellarPro 1800XTSx. Self-contained, top-vented. $2,800 supplied. Good if the rejection space is above (e.g., a closet on the floor above).
Sizing principle: 0.5 BTU/hour per bottle for a well-insulated cellar. A 500-bottle cellar needs 250 BTU/hour cooling capacity at design conditions. Multiply by 2.5 for safety margin: 625 BTU/hour minimum. The WhisperKool 4000 delivers 1,400 BTU/hour at 12.5 C, well above the requirement.
Install steps:
- 1. Cut the through-wall opening per manufacturer template.
- 2. Run the dedicated 120V/20A circuit (or 240V for ducted splits).
- 3. Mount unit, gasket the sleeve.
- 4. Run condensate line to floor drain via 3/4" PVC, with P-trap and air gap.
- 5. Power up, set to 12.5 C, 65% RH, run for 48 hours before loading bottles.
Full comparison in wine cellar cooling systems comparison.
Need professional home renovation?
Call RenoHouse at 289-212-2345 or get a free estimate today.
Get Free Estimate →Step 7: Door
A wine room door is not an interior door. It needs:
- R-12 minimum core.
- Magnetic perimeter seal.
- Automatic door bottom or threshold sweep.
- Solid frame, square within 1/8".
- Hinges sized for the door's actual weight (typically 90+ lbs).
Wood-clad insulated doors run $1,200–$2,500. Glass-front doors with thermal break run $3,500–$7,500.
Hang the door before flooring. Check seal continuity with a smoke pencil — any visible drafts means re-shimming or replacing the seal.
Step 8: Flooring
Three options, ranked by Toronto frequency in 2026:
- 1. Stone or porcelain tile (Schluter Ditra underlayment). Most durable. Reads luxury. $18–$35/sf installed. 50% of GTA cellars.
- 2. Engineered hardwood acclimated to 60–70% RH. Warm visual. $14–$22/sf. 30% of GTA cellars.
- 3. Cork. Quiet, period-appropriate. $10–$18/sf. 15% of GTA cellars.
- 4. Stained or polished concrete. Low-cost, urban industrial look. $6–$14/sf. 5% of GTA cellars.
Avoid carpet (mold trap), laminate (cannot handle humidity), and solid hardwood (cups). Engineered hardwood is fine but requires 14-day acclimation in a 60–70% RH staging area before install.
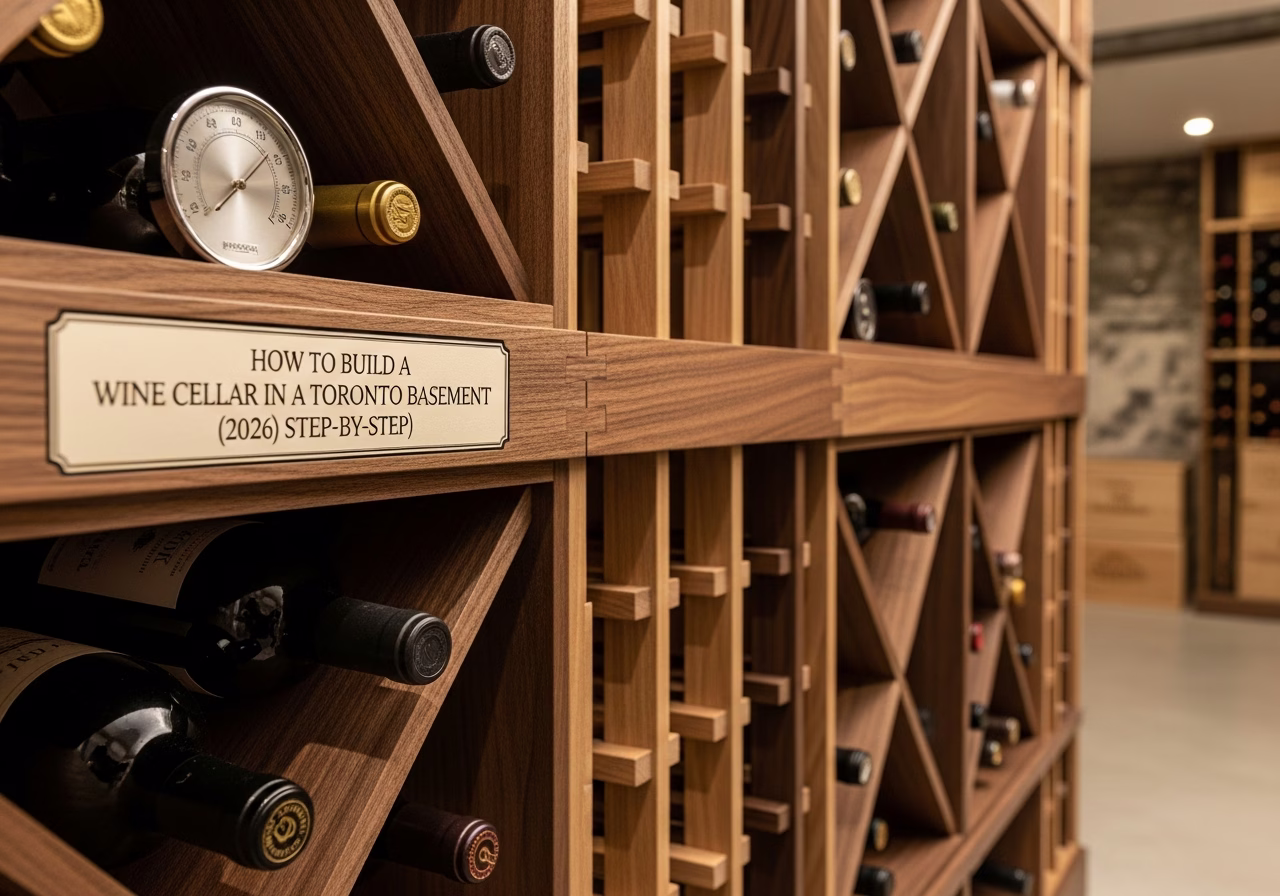
Step 9: Racking
Rack against the longest wall first. Center the door on the shorter wall. Reserve the wall opposite the door for the "feature wall" — typically a label-forward Vintage View display or a glass-back lit case section. Build floor-to-near-ceiling, leaving 14" at the top for the cooling unit's air return path if it vents to the cellar.
Anchor everything to studs, not just to drywall. A 600-bottle wood rack assembly weighs 250–400 lbs empty and 1,400–2,200 lbs loaded. Anchors matter.
Full racking guidance in wine cellar racking systems guide.
Step 10: Lighting and Humidification
Lighting. UV-free LED, 2700K color temperature, dimmable. Cove lighting plus rack-mounted strip lights. Total 1,500–2,500 lumens for a 6x8 cellar. Lutron Caseta dimmer + pico remote. Humidification. Most Toronto basements run 50–55% RH in summer (already close to target). In winter the basement drops to 30–35%, which is too dry for wine. Add an ultrasonic humidifier with humidistat: Aircare EP9 or similar, $150–$250. Sits on the floor under the racking, refills weekly.Detail in wine cellar lighting temperature humidity.
Step 11: Commissioning
Run the cellar empty for 48–72 hours before loading bottles. Verify:
- Temperature stable at 12.5 C (plus or minus 0.5).
- Humidity stable at 65% (plus or minus 5%).
- No condensate visible on the cooling unit's exterior face.
- No air leaks at the door (smoke pencil test).
- ESA inspection passed and sticker on the panel.
Then load bottles in batches over 7–14 days to avoid thermal shock.
Step 12: Maintenance
Monthly:
- Wipe down the cooling unit's evaporator face.
- Check humidifier water level.
- Check temp and RH log.
Annually:
- Replace cooling unit air filter ($20).
- Check door seal integrity.
- Clean condensate drain.
Every 5 years:
- Service the cooling unit professionally (refrigerant check, capacitor inspection).
- Recoat any exposed wood with food-safe finish.
Build Sequence Timeline
| Week | Activity |
|---|---|
| 1 | Design, capacity planning, finishes selection |
| 2–3 | Permit filing, equipment ordering |
| 4 | Demo, framing |
| 5 | Insulation, vapor barrier |
| 6 | Drywall, primer |
| 7 | Cooling unit install, electrical, ESA inspection |
| 8 | Flooring, door |
| 9 | Racking install |
| 10 | Lighting, humidification, commissioning |
Total: 8–10 weeks from contract signing to first bottle loaded.
Common Toronto Basement Surprises
- 1. Knob-and-tube wiring in older Forest Hill / Cabbagetown homes. A new dedicated circuit on knob-and-tube fails ESA. Typically requires replacing the affected circuit.
- 2. Asbestos vermiculite in older basements. Disturbing it triggers a remediation requirement. Test before opening any old framing.
- 3. Insufficient slab in 1920s–1950s homes. Some have only 2–3" of concrete. Saw-cutting for a drain may require slab replacement.
- 4. Foundation moisture. A wet exterior wall must be addressed (interior or exterior waterproofing) before insulating; otherwise the assembly fails.
A quality contractor flags these in the site visit, not after demo. If your contractor did not look at the panel, the slab, and the exterior walls before quoting, get a second opinion.
FAQ
Can I build a wine cellar under the basement stairs?Yes — this is a top configuration. Verify clear height (60" minimum at narrow end) and depth (36" minimum). Capacity 200–400 bottles.
Do I need to replace my floor drain?Only if the existing drain is too far away (more than 4 m) or above grade (some 1920s homes). Otherwise, condensate runs to it via a 3/4" PVC line with air gap.
Can I use a window AC unit instead of a wine cooling unit?No. Wine cooling units are designed for low set-points (12.5 C) with proper humidity control. Window ACs cannot hold this set-point safely; they freeze up below about 16 C.
How long until the cellar is "ready" after construction?Empty cellar reaches steady state in 48–72 hours. After loading bottles, the bottle temperatures stabilize over 7–14 days.
What's the biggest mistake to avoid?Vapor barrier on the wrong side or with discontinuous coverage. See wine cellar installation mistakes to avoid.
---
Building a wine cellar in your Toronto, Oakville, Mississauga, or Vaughan basement? RenoHouse handles framing, vapor barrier, electrical, cooling, racking, and finishes. Book a free consultation on our wine cellar installation service page.
Sources & References
Authoritative sources cited in this guide:
- Ontario Building Code — OBC official text
- Toronto Building Permits — City permit portal
- Tarion New Home Warranty — Ontario new-build warranty regulator
- HCRA — Home Construction Regulatory Authority — Ontario builder/vendor licensing
Continue Reading
- Wine Cellar Installation Toronto: Complete 2026 Cost & Design Guide
- Wine Cellar Vapor Barrier and Insulation: Toronto 2026 Build Spec
- DIY vs Professional Wine Cellar in Toronto: 2026 Reality Check


