# Smart Light Switches Installation Toronto: 2026 Guide
Quick answer. Smart light switches are the highest-impact smart home upgrade per dollar spent. Unlike smart bulbs, they keep working with your existing fixtures, do not depend on the bulb being powered, and let any guest operate the lights without an app.Smart light switches are the highest-impact smart home upgrade per dollar spent. Unlike smart bulbs, they keep working with your existing fixtures, do not depend on the bulb being powered, and let any guest operate the lights without an app. But installing them in Toronto is more complicated than the YouTube videos suggest — older homes have wiring quirks, three-way switches need careful brand-matching, and the Electrical Safety Authority requires a permit for any switch replacement that involves opening the panel or changing circuit configuration.
This guide walks through smart switch installation specifically for Toronto homes in 2026: how to check for a neutral wire, how to handle 3-way and 4-way circuits, brand selection for old vs new wiring, ESA permit rules, and realistic pricing.
For broader smart home context, see Smart Home Installation Toronto: Complete 2026 Guide. For brand-specific comparison, see Lutron Caseta vs Leviton Decora Smart Toronto. For mistakes to avoid, see Smart Home Installation Mistakes Toronto.
Step 1: Verify Neutral Wire Presence
Before buying anything, turn off the breaker and pull a switch out of the box. You are looking for a bundled white wire (or wires) capped with a wire nut at the back of the box. That is the neutral. The switch itself does not need to be connected to it — what matters is that a neutral exists in the box.
Three scenarios in Toronto:
- Neutral present in box, not connected to switch: Easy install. Any smart switch brand works. Connect the smart switch's white pigtail to the neutral bundle.
- Neutral present and already connected to switch: This means the box currently has a non-standard switch (illuminated toggle or an existing smart switch). Easy install with any brand.
- No neutral present (only hot, switched-leg, ground): Common in pre-1980 Toronto homes. Use Lutron Caseta dimmers (PD-6WCL) which do not require a neutral. Avoid Leviton Decora Smart, Kasa, GE Enbrighten, and most other brands.
Toronto neighbourhoods most likely to lack neutrals: Cabbagetown, Riverdale, Leslieville, Parkdale, Roncesvalles, the Beaches (older blocks), parts of the Annex, Bloor West Village.
Step 2: Identify the Switch Configuration
Walk through the home and note each switch:
Need professional electrical services?
Call RenoHouse at 289-212-2345 or get a free estimate today.
Get Free Estimate →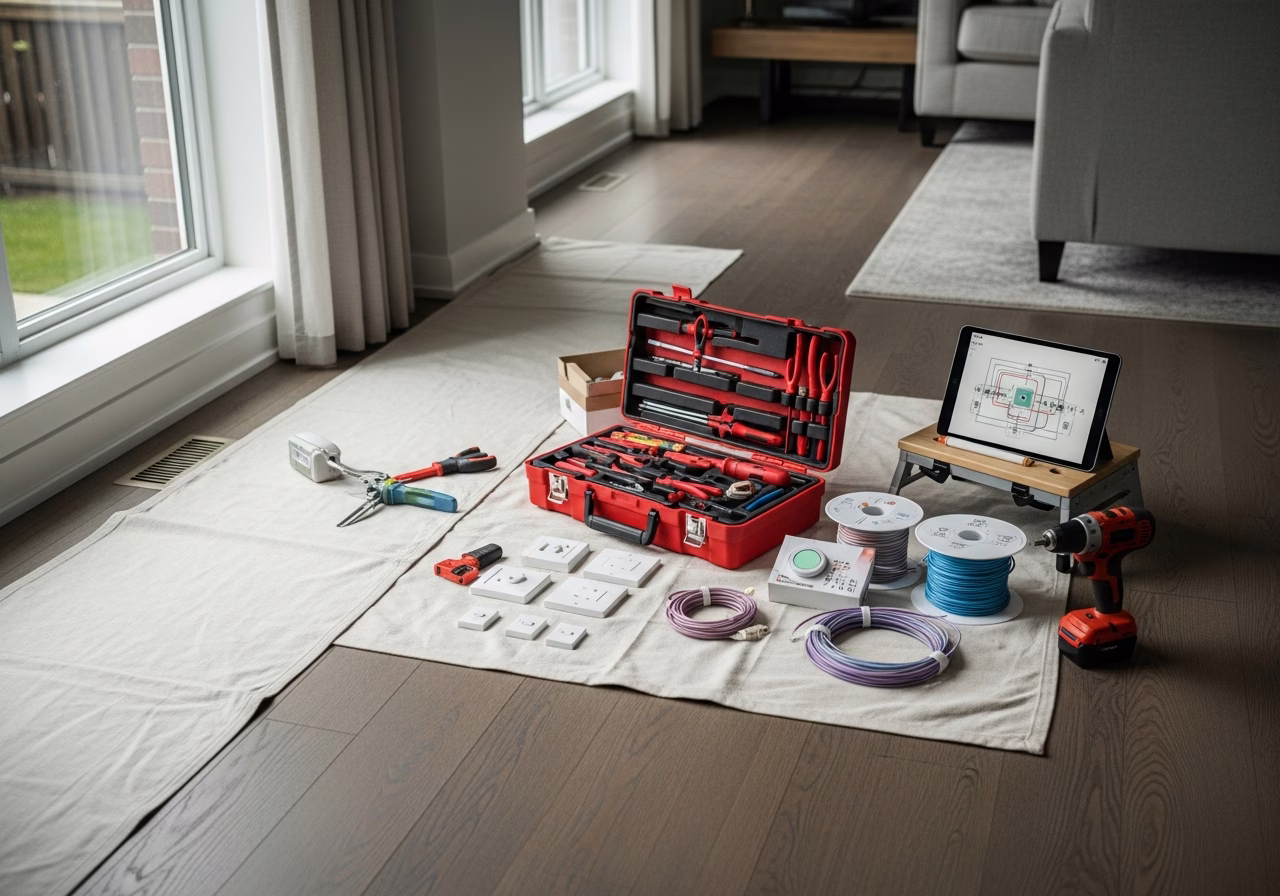
- Single-pole: One switch controls one light. Most common. All smart switch brands handle this.
- 3-way: Two switches control one light (top and bottom of stairs, two doorways into a room). Requires a 3-way smart switch and either a 3-way companion switch (Caseta auxiliary, Decora Smart 3-way) or a Pico remote.
- 4-way: Three or more switches control one light. Rare in Toronto outside large homes; requires brand-specific 4-way kit.
- Multi-gang: Multiple switches in one box (typical for kitchen islands or hallway/stairs combos). Most smart switches are wider than standard switches and three smart switches in a 3-gang box may not fit. Check device dimensions before buying.
For 3-way circuits, brand matching matters:
- Lutron Caseta 3-way: Use one Caseta dimmer + one Caseta auxiliary (PD-2NXD-WH) or Pico remote. The auxiliary does NOT carry load — it is purely a remote.
- Leviton Decora Smart Wi-Fi 3-way: Use one main switch (DW15S or DW6HD) + one Decora Smart Wi-Fi 3-way companion (DD0SR-DLZ).
- Kasa 3-way: Use one Kasa main + one Kasa companion (HS210-KIT).
Mixing brands in a 3-way circuit does NOT work. Pick a brand and use both ends from that brand.
Step 3: Pick Your Brand
For pre-1980 Toronto homes (no neutral):
- Lutron Caseta dimmer (PD-6WCL): $79–$95. The default choice. Works without a neutral on dimmable loads.
- Lutron Aurora (Z3-1BRL): $40–$50. Magnetic dimmer that snaps over an existing toggle switch — no wiring at all. Pairs only with Philips Hue bulbs.
For 1980+ Toronto homes (neutral present):
- Lutron Caseta for premium reliability and Pico remote flexibility.
- Leviton Decora Smart Wi-Fi for budget builds without a hub.
- Kasa (TP-Link) for the cheapest option ($30–$50 per switch); Wi-Fi only, no Matter as of 2026.
- Lutron RA3 for full-house premium installs (requires professional programming).
For full brand comparison, see Lutron Caseta vs Leviton Decora Smart Toronto.
Step 4: ESA Permit & Inspection
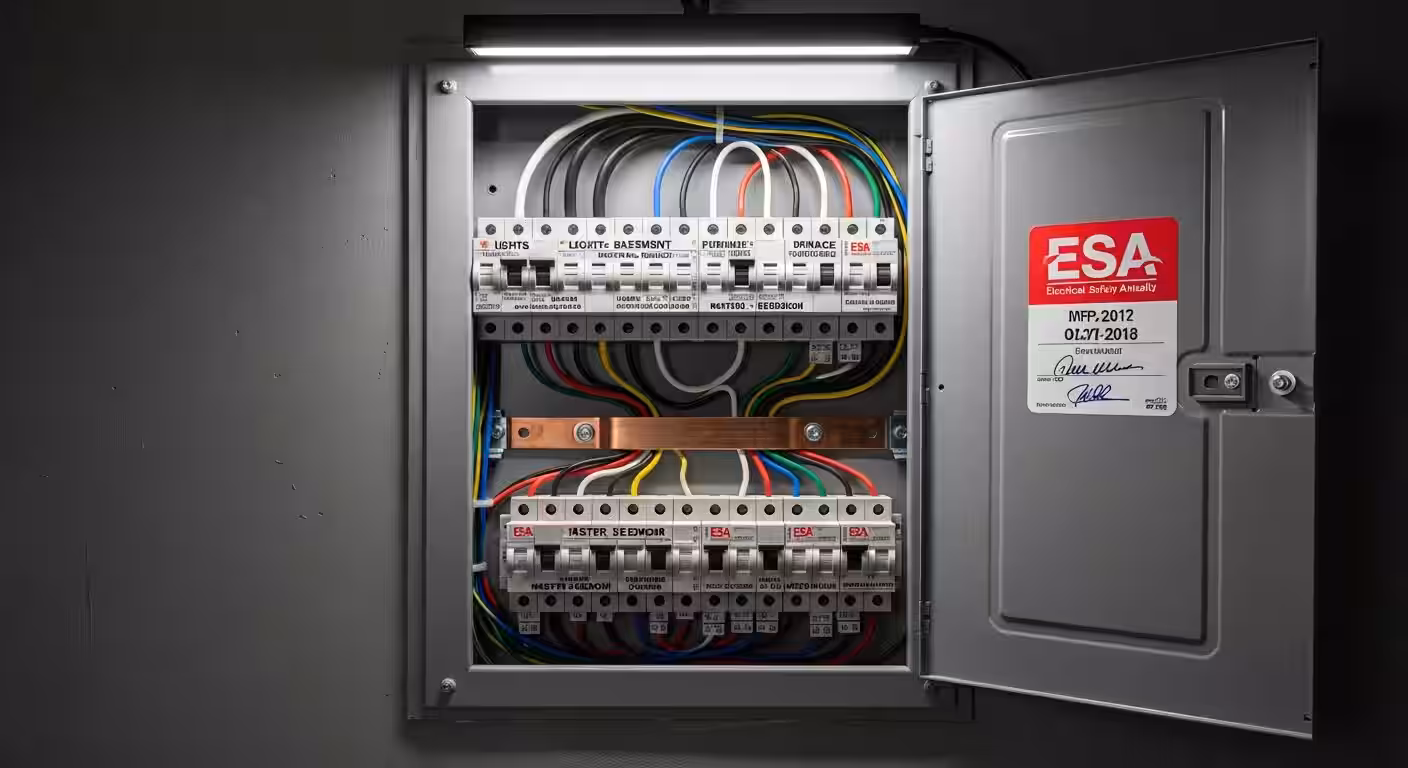
In Ontario, the Electrical Safety Authority (ESA) requires a permit for any work that involves opening a wire connection inside an electrical box. Replacing a switch with a smart switch counts as electrical work and requires a permit if performed by anyone other than the homeowner of a single-family dwelling working on their own home.
If you hire RenoHouse or any other licensed electrical contractor:
- We pull the ESA permit (typically $100–$200 covers up to 25 switches in one home).
- We perform the work to ESA Code (CSA C22.1).
- We file the inspection request and an ESA inspector visits within 7–14 days.
- You receive an ESA Certificate of Inspection that satisfies home insurance and resale due diligence.
If you DIY as a homeowner in your principal residence:
- You can work without a license but you are still required to pull a Homeowner Permit ($100–$150).
- ESA inspects the same way.
- Insurance may still question DIY work after a fire — many Toronto insurers ask for ESA certificates for any home with reported electrical upgrades.
Step 5: Realistic Pricing
For a typical Toronto 12-switch smart switch retrofit:
| Component | Caseta (no neutral) | Decora Smart Wi-Fi (with neutral) |
|---|---|---|
| 12 dimmers/switches | $900–$1,100 | $660–$880 |
| Smart Bridge | $150 | $0 |
| 4 Pico remotes | $150 | N/A |
| Labour (1 electrician, 1 day) | $600–$900 | $500–$800 |
| ESA permit | $100–$150 | $100–$150 |
| Total | $1,900–$2,450 | $1,260–$1,830 |
Add $200–$400 per box if neutrals must be pulled to switch boxes that lack them.
Common Installation Issues
Flickering LEDs after install. Some dimmer-LED combinations buzz or flicker. The fix is usually changing the dimmer's load type setting in the app, or replacing the LED with a bulb on the dimmer manufacturer's compatibility list. Smart switch does not turn off completely. Caseta dimmers leak about 0.5 mA, which is not enough to power most LED bulbs but is enough to make some LED bulbs glow faintly when "off." Solutions: change the bulb, or install a small bypass capacitor (Lutron LUT-MLC, ~$25). 3-way works from one switch but not the other. Brand mismatch (a smart switch paired with an old mechanical 3-way), or wrong wire on the traveler/common terminal. Always read the brand's 3-way wiring diagram for your specific model. Switch buzzes audibly. Caseta dimmers can buzz with non-dimmable LED loads. Replace with a non-dimmable Caseta switch (PD-5ANS) or use a different bulb.How RenoHouse Approaches Smart Switch Installs
We start with a free in-home assessment in which we open 3–5 switch boxes to confirm neutral availability and identify any 3-way wiring complications. We then provide a fixed-price quote covering parts, labour, ESA permit, and configuration. Most 12-switch installs are completed in a single day. We program the app, set up scenes (Goodnight, Movie, Welcome), and walk through Apple Home / Google Home / Alexa setup with you before we leave.
We are licensed by ESA Ontario and we file a permit on every smart switch installation. Ready to start? Visit /services/electrical/smart-home-package.
Sources & References
Authoritative sources cited in this guide:
- Industry Canada Spectrum (Wi-Fi 6E/7) — Wi-Fi spectrum regulations
- Ontario Electrical Safety Code — Smart switch electrical compliance
- CSA C22.1 (Canadian Electrical Code) — CEC standard for low-voltage
Continue Reading