
# 12 Wine Cellar Installation Mistakes to Avoid (Toronto 2026)
Quick answer. We have remediated 26 failed Toronto wine cellars in the last four years. The mistakes repeat — same patterns, same root causes, same repair costs. This guide walks through the 12 most common wine cellar installation mistakes in Toronto in 2026, why they happen, what they cost to fix, and how to prevent them at design stage.We have remediated 26 failed Toronto wine cellars in the last four years. The mistakes repeat — same patterns, same root causes, same repair costs. This guide walks through the 12 most common wine cellar installation mistakes in Toronto in 2026, why they happen, what they cost to fix, and how to prevent them at design stage.
For the full installation overview, see wine cellar installation Toronto 2026. For the build sequence, see how to build wine cellar basement Toronto.
Mistake 1: Vapor Barrier on the Wrong Side (or Missing)
What goes wrong. Contractor installs poly vapor barrier on the cool (cellar interior) side of the assembly, or skips it entirely. Within 18–36 months: condensation in the wall cavity, wet insulation, mold on framing, rotting drywall behind the racking. Why it happens. Contractor learned vapor barriers from heated-room construction where the warm side IS the room interior. In a wine cellar, the warm side is the BASEMENT (outside the cellar), not the cellar interior. The orientation flips. Repair cost. Strip racking, drywall, insulation. Remediate mold. Rebuild assembly. $8,000–$25,000 depending on scope. Prevention. Specify the assembly stack at design stage. See wine cellar vapor barrier insulation. Verify before drywall closes the assembly.Mistake 2: Cooling Unit Undersized
Mistake 3: Heat Rejection Space Too Small or Too Hot
What goes wrong. Self-contained through-wall cooling unit rejects heat into a tiny utility room. The utility room heats up to 32+ C in summer. The cooling unit cannot dump heat. Cellar temperature climbs. Why it happens. Rejection space not analyzed at design stage. Repair cost. Add ventilation to rejection space (passive louver to basement, or active fan). $400–$1,800. Or relocate cooling unit. $2,500–$6,000. Prevention. Rejection space needs at least 4x the cellar's volume and ventilation to a larger zone. Specify at design stage.Mistake 4: No Floor Drain for Condensate
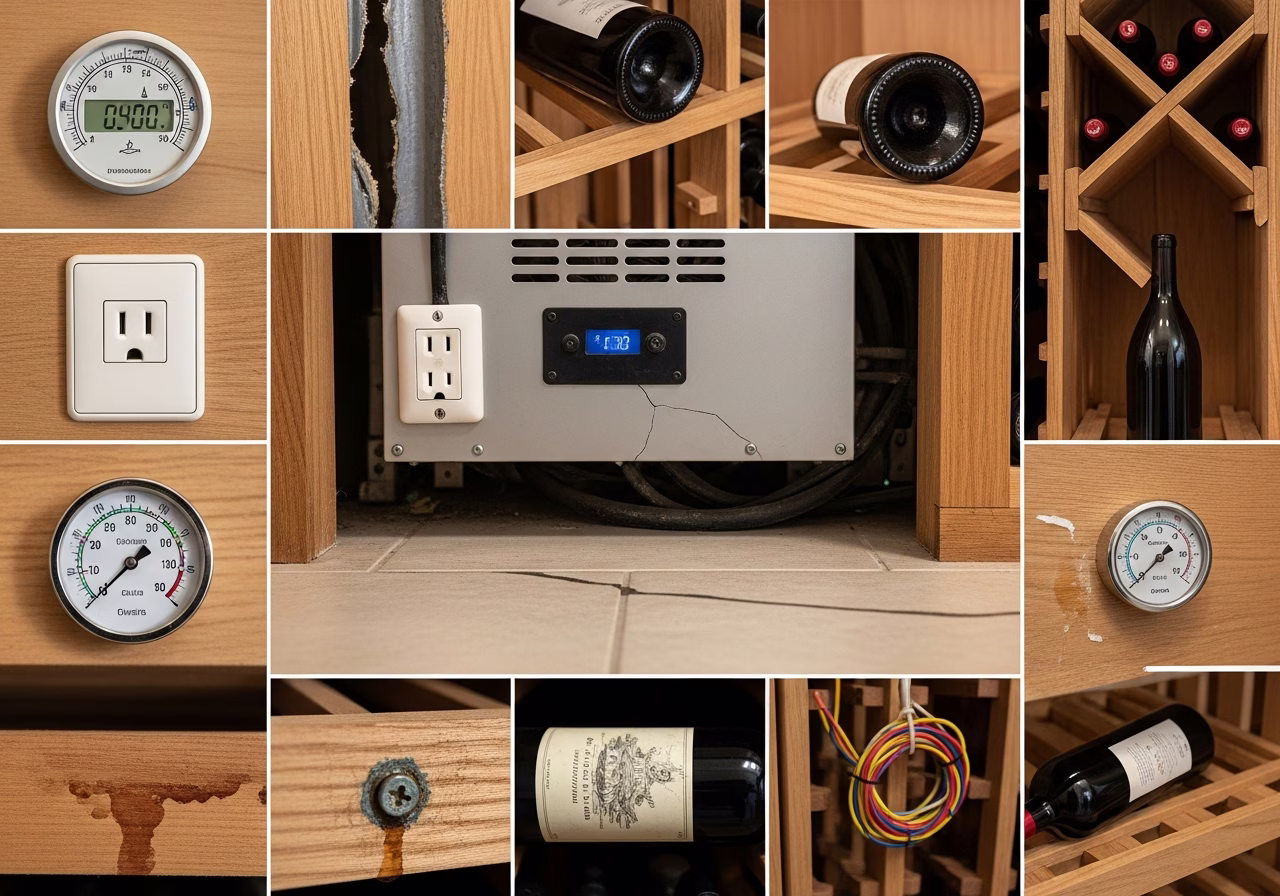
Mistake 5: 120V Plug-In Cooling on a Shared Circuit
What goes wrong. Cooling unit plugged into a basement circuit shared with dehumidifier, freezer, or sump pump. Combined load trips breaker. Cellar warms up while owner is on vacation. Why it happens. Cooling unit advertised as "plug-and-play 120V" without specifying the dedicated circuit requirement. Repair cost. Pull dedicated circuit, ESA filing, sticker. $650–$1,500. Prevention. Always pull a dedicated circuit (15A minimum, 20A preferred for 120V; 240V/15-30A for premium units). Always file ESA.Mistake 6: Cellar Door Without Proper Seal
Mistake 7: No Ventilation Around Cabinet Wine Cellars
What goes wrong. Eurocave, Sub-Zero, or Wine Enthusiast cabinet installed flush in tight kitchen cabinetry without the manufacturer-required ventilation gap. Compressor overheats. Unit fails. Warranty void (manufacturer specs ignored). Why it happens. Designer prioritizes aesthetics over manufacturer's ventilation requirements. Repair cost. Cabinet rework. $800–$3,500. New unit if old one is dead. $5,000–$15,000. Prevention. Read the cabinet's installation manual. Provide the specified ventilation gap (typically 2–4" at top, sometimes back).Mistake 8: Wood Racking Without Humidity Acclimation
What goes wrong. Pine or mahogany racking shipped from a dry climate (Arizona, California desert). Installed in a 65% RH Toronto cellar. Wood absorbs moisture, swells, warps within 3–6 months. Bottles slip in oversized slots. Why it happens. Racking ordered from low-humidity climate, installed without acclimation. Repair cost. Replace racking. $8,000–$30,000 depending on scope. Prevention. Acclimate racking on-site for 14+ days at cellar humidity before final installation. Order from suppliers (BarrelWorks, Wine Cellar Innovations) who pre-condition.Mistake 9: Hardwood or Solid Wood Floor in Cellar
What goes wrong. Solid hardwood flooring installed in cellar. Cups, gaps, or buckles within 12–24 months due to humidity. Why it happens. Designer wants warm wood floor visual; doesn't account for humidity. Repair cost. Strip floor, replace with engineered or stone. $2,500–$8,500. Prevention. Use engineered hardwood acclimated to cellar humidity, OR use stone/porcelain over Schluter Ditra. No solid hardwood.Mistake 10: Skipping ESA Permit
What goes wrong. New 240V circuit installed without ESA filing. Discovered at home sale by buyer's home inspector. Insurance void if a fire happens. Sale held up. Why it happens. Contractor cuts corner; homeowner doesn't know ESA is required. Repair cost. Retro-permit filing, possible rework, ESA inspection. $1,500–$4,500. Prevention. Always file ESA on any new 240V circuit. Keep the sticker on the panel and the certificate on file.Mistake 11: Lights That Aren't UV-Free
What goes wrong. Decorative incandescent or fluorescent lights in cellar. UV-A and UV-B damage wines. Whites and rosé show flavor degradation within 2–3 years. Why it happens. Designer or homeowner uses standard lighting from existing supply. Repair cost. Replace bulbs/fixtures with UV-free LED. $200–$1,500. Prevention. Always UV-free LED, 2700K, dimmable. See wine cellar lighting temperature humidity.Mistake 12: No Monitoring or Alarm
What goes wrong. Cooling unit fails on long weekend. Cellar warms to 22 C. By the time owner discovers (Tuesday morning), some wines are damaged. Insurance won't cover without monitoring evidence. Why it happens. Monitoring not specified at design; "good enough" attitude after build. Repair cost. Lost wine value can be $5,000–$200,000+ depending on collection. Monitoring system: $80–$500. Prevention. Spec wireless temperature/humidity monitoring with smartphone alerts at design stage. SensorPush, Govee, or equivalent. $80–$300.Bonus Mistake: Stale Air / No Airflow Across Bottles
What goes wrong. Cellar air doesn't circulate; pockets of stagnant air develop. Some bottles experience local warmer or cooler conditions than the average. Why it happens. Cooling unit airflow path not analyzed at design. Repair cost. Add small circulation fan. $80–$300. Prevention. Ensure cooling unit's airflow path covers the full cellar. For larger cellars, add a small circulation fan (Suncourt, $80) for redundancy.Quote Red Flags
When evaluating wine cellar contractor quotes, watch for:
- 1. No ESA filing in the scope. They're not filing; you'll get the cellar but no permit.
- 2. No vapor barrier line item. Either omitted or hidden in another line. Ask explicitly.
- 3. No insulation R-value spec. "Insulation included" without R-value means whatever's cheap.
- 4. Cooling unit BTU/hr not specified. Just a brand and model. Verify it's correctly sized.
- 5. Door spec generic ("insulated door"). Should specify R-value, seal type, frame.
- 6. Permit fees not in the quote. Means contractor is not pulling permits.
- 7. Final payment due before commissioning. Should be tied to "cellar holds 12.5 C and 65% RH for 7 days."
- 8. No mention of monitoring. Industry standard now.
- 9. Cash discount, no permits. Hard pass.
- 10. Sample work portfolio with no cellars older than 2 years. Means no track record on long-term performance.
Quote Green Flags
What a quality wine cellar contractor's quote includes:
- Detailed assembly stack (vapor barrier, insulation R-value, drywall type).
- Cooling unit make/model with BTU/hr capacity.
- ESA filing fee + inspection in line items.
- Building permit fee in line items (if framing).
- Door make/model with R-value and seal spec.
- Racking lead time and acclimation plan.
- Monitoring/alarm scope.
- Commissioning protocol (how the cellar is verified before final payment).
- Warranty (1-2 years labor, manufacturer on equipment).
- Sample photographs of cellars built 5+ years ago, holding temperature.
Sequencing the Build Right
Build order that works:
Need professional home renovation?
Call RenoHouse at 289-212-2345 or get a free estimate today.
Get Free Estimate →- 1. Site visit, verify panel capacity, cooling rejection space, drainage.
- 2. Permit pull (building if framing, ESA always).
- 3. Demo + framing (if needed).
- 4. Electrical rough-in for cooling unit.
- 5. Insulation + vapor barrier (with photo verification before drywall).
- 6. Drywall + paint (mold-resistant board).
- 7. Door installation with seal verification.
- 8. Flooring with humidity-stable materials.
- 9. Cooling unit install + commissioning.
- 10. ESA inspection.
- 11. Racking install (with acclimation period).
- 12. Lighting + monitoring + humidification.
- 13. Final walkthrough and homeowner handover.
- 14. Bottle loading over 7–14 days.
Skipping or reordering steps causes problems. The vapor barrier verification before drywall is the single most important checkpoint.
When to Walk Away from a Project
Cases where we tell prospective clients to stop:
- Foundation moisture is present and unaddressed. Adding a cellar accelerates mold issues.
- Electrical panel near capacity and homeowner refuses upgrade. Unit can't run reliably.
- 1920s-era basement with vermiculite insulation; remediation costs exceed cellar budget.
- Homeowner wants $30K cellar in a $1.1M home and is selling within 24 months. ROI math doesn't work.
- Cellar location shares a wall with the home's HVAC mechanical room and the homeowner won't accept the vibration mitigation cost.
FAQ
Can a contractor fix a bad existing cellar install?Yes; we have remediated drainage, electrical, vapor barrier, and racking issues on existing cellars. Cost varies enormously by what's wrong.
How do I know if my install was done right?Six-point check: ESA certificate present and stickered, building permit closed (if applicable), dedicated circuit, vapor barrier visible if you can pull a small inspection panel, cooling unit holds set-point within plus or minus 1 C, door seals tight (smoke-pencil test). Any failure = investigate.
Should I hire a cellar specialist or a general contractor?For walk-in cellars, specialists or experienced design-build firms produce better outcomes. The vapor barrier and cooling integration is technical.
What's the warranty on a professional cellar install?Standard: 1–2 years on labor, manufacturer warranty on equipment (5 years compressor on Wine Guardian/CellarPro/Sub-Zero). Get all warranty terms in writing.
Can I do a hybrid where I do part of the work?Yes. See DIY vs professional wine cellar Toronto. Hybrid models work; pure DIY without licensed trades does not.
---
Avoiding the 12 most common Toronto wine cellar mistakes starts with the right design partner. RenoHouse builds wine cellars with permits, ESA filings, and the systems integration done right. Book a free consultation on our wine cellar installation service page.
Sources & References
Authoritative sources cited in this guide:
- Ontario Building Code — OBC official text
- Toronto Building Permits — City permit portal
- Tarion New Home Warranty — Ontario new-build warranty regulator
- HCRA — Home Construction Regulatory Authority — Ontario builder/vendor licensing
Continue Reading
- Wine Cellar Installation Toronto: Complete 2026 Cost & Design Guide
- How to Build a Wine Cellar in a Toronto Basement (2026 Step-by-Step)
- Wine Cellar Lighting, Temperature, and Humidity Control (Toronto 2026)


