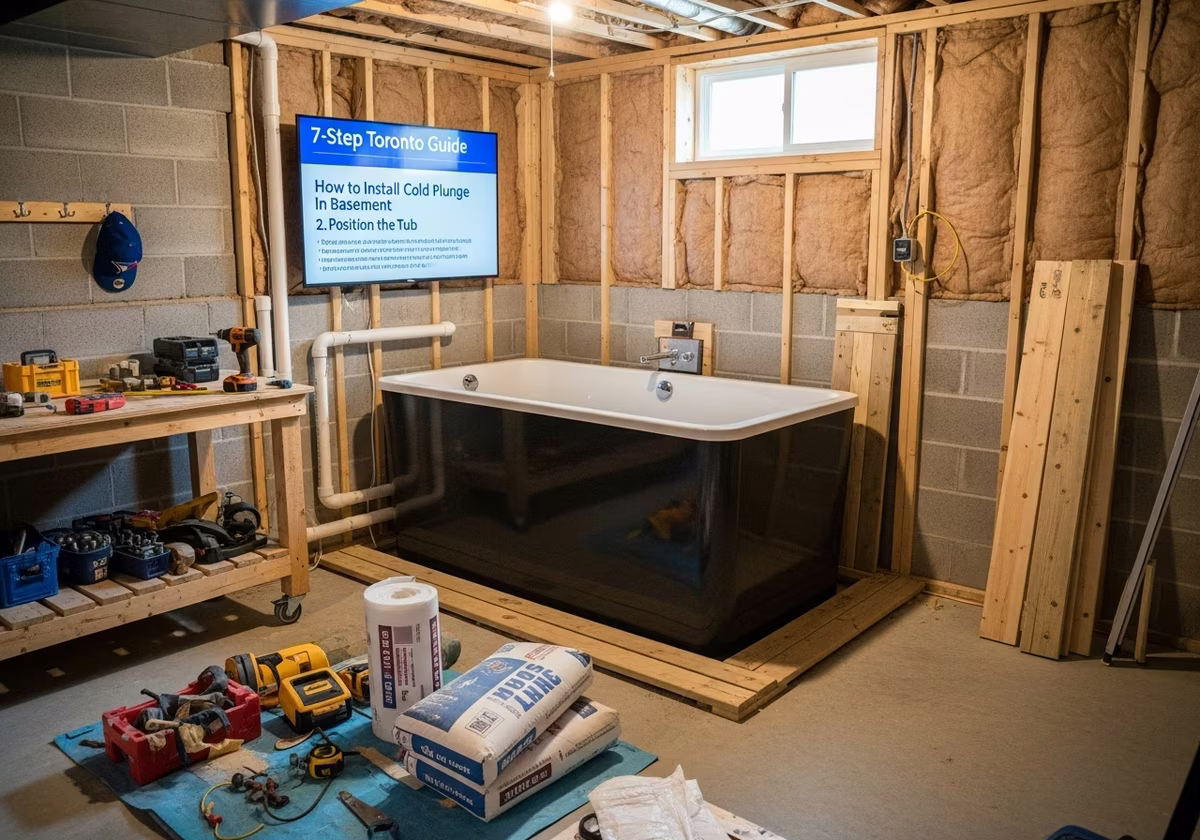
# How to Install Cold Plunge in Basement: 7-Step Toronto Guide
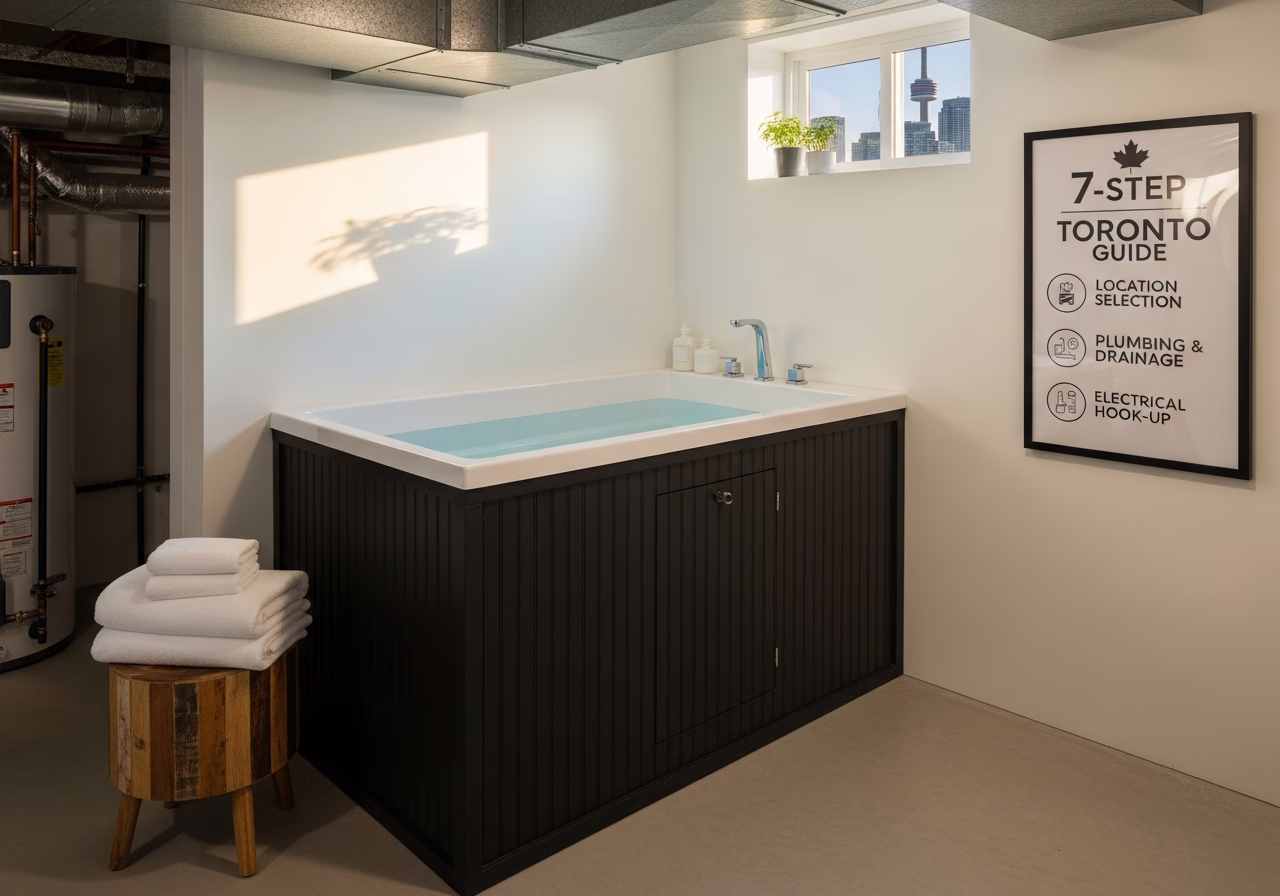
Quick answer. Roughly 75% of cold plunges in the GTA end up in the basement — and the reason is structural. Concrete slabs are already designed for moisture, electrical panels are usually steps away, and floor drains are easier to add than on any other floor in a Toronto home.Roughly 75% of cold plunges in the GTA end up in the basement — and the reason is structural. Concrete slabs are already designed for moisture, electrical panels are usually steps away, and floor drains are easier to add than on any other floor in a Toronto home. This 7-step guide walks through exactly how a cold plunge basement install goes in 2026, with realistic CAD costs at each phase.
For total project budget and resale ROI, see our cold plunge installation toronto 2026 pillar. If the goal is contrast therapy, also read our basement sauna installation guide before locking in the floor plan.
Before You Start: The 5-Minute Sanity Check
Before booking a contractor, confirm:
- 1. Headroom. Most prefab plunges sit 30–35" tall. You need 7' of clearance to step in and out comfortably. Toronto pre-1960 basements with 6'4" ceilings rule out most prefab options.
- 2. Stair access. Plunges arrive 7' long, 32–38" wide, 600 lbs empty. Measure your basement stairwell. A 36" opening is the minimum; 32" turns are tight.
- 3. Panel capacity. Open your panel. Count empty slots. You need 2 adjacent slots for a 240V/30A breaker.
- 4. Floor slope. Pour water on the floor where the plunge will sit. Does it pool, or does it run toward an existing drain? If it pools, you need a new drain.
- 5. Moisture history. Any spring seepage near the planned location is a no-go without addressing waterproofing first.
Step 1: Site Survey + Panel Audit (Week 1)
A licensed electrician (LEC) opens your panel, photographs every breaker, and calculates total demand vs. panel rating. Toronto homes with 100A service and an existing electric range, central A/C, and EV charger often need a service upgrade ($2,500–$4,500) before adding a chiller circuit.
200A panels usually have headroom — a typical chiller draws 8–12 amps continuous, well within capacity.
Cost: $0–$300 for the consult; service upgrade quoted separately if needed.For the broader electrical context, see cold plunge installation toronto 2026.
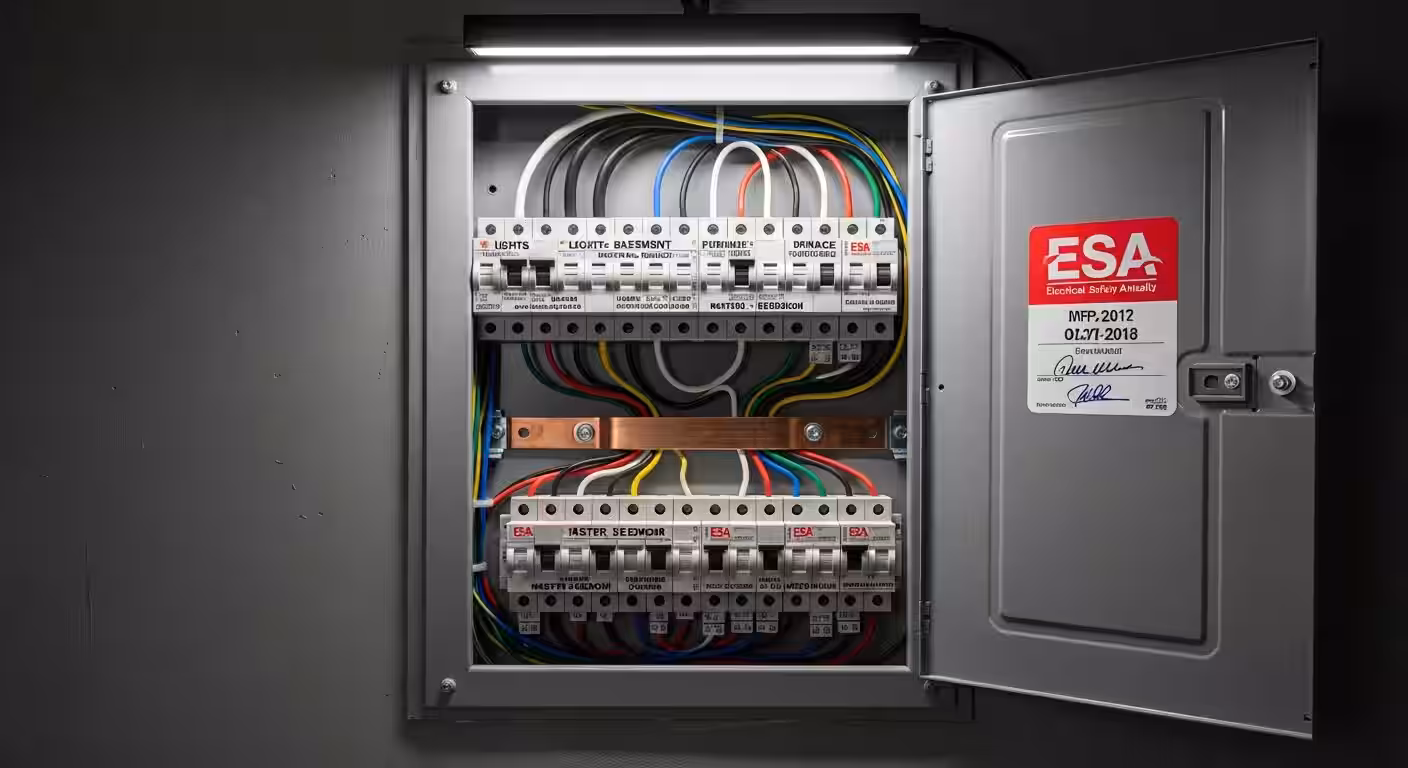
Step 2: ESA Permit Filing (Week 1–2)
Your LEC files a Notification of Work on the ESA portal. This is non-negotiable for any new 240V circuit. Filing fee $88 + inspection fee $130–$220.
ESA inspectors visit twice: once after rough-in, once after final connection. The sticker on your panel after final inspection is what your home insurer will ask to see, and what shows up on resale documentation.
Cost: $220–$310 in ESA fees. Electrician's labour is separate.Step 3: Slab Work and Floor Drain (Week 2–3)
If your basement has no drain near the plunge location, this is the largest line item.
A concrete cutting crew saw-cuts a 6"-wide trench from the plunge spot to the nearest existing drain (sump, laundry, or main sanitary). Plumber lays 2" or 3" PVC with a P-trap and a primer line. Trench is repoured with rebar dowels into the existing slab.
Cost: $1,500–$3,500 depending on trench length. Add $400–$900 if you also bring a cold-water supply line in the same trench.If a floor drain already exists within 8 ft of the plunge, this step is a $300 plumbing connection.
Need professional home renovation?
Call RenoHouse at 289-212-2345 or get a free estimate today.
Get Free Estimate →Step 4: Waterproofing and Floor Finish (Week 3–4)
Even prefab plunges sweat condensation in summer humidity, and any spill, splash, or accidental overflow needs to drain — not soak the subfloor.
The 2026 Toronto standard:
- Schluter Ditra or Kerdi uncoupling/waterproofing membrane on the slab.
- Large-format porcelain tile (24x24" or 24x48") with epoxy grout, sloped 1/8" per foot toward the drain.
- Cove base at all wall intersections, sealed with mildew-resistant silicone.
- Backer rod + sealant at the slab-to-wall transition.
Step 5: Electrical Rough-In (Week 4)
LEC pulls 10/2 NMD90 cable from the panel to the plunge location, terminating in a NEMA 6-30R receptacle (or hardwired junction box, depending on the unit). For larger 1 HP chillers, this becomes 8/2 cable on a 50A breaker.
Add a separate 20A 120V circuit for ozone, lighting, and a small dehumidifier — do not share with the chiller circuit.
Cost: $600–$1,500 depending on cable run length and panel work complexity. ESA rough-in inspection happens at the end of this step.Step 6: Ventilation + Dehumidification (Week 4–5)
A cold plunge in a sealed basement room generates roughly 15–25 pints/day of condensation in summer. Two pieces of equipment handle it:
- 1. Bath fan (110 CFM minimum) ducted to the exterior. $400–$800 installed.
- 2. 50–70 pint dehumidifier with a built-in pump tied to the floor drain. $400–$1,000 supplied + plug-in.
If the basement already has good HVAC return airflow nearby, you can skip the dehumidifier and rely on the home's central system. Most Toronto homeowners add the dehumidifier anyway for redundancy.
Step 7: Unit Delivery, Commissioning, ESA Final (Week 5–6)
Delivery is a 2-person job for prefab plunges (4 people for built-in tubs). The unit is placed, levelled with shims, plumbed to the cold-water supply (if hard-plumbed) or filled by hose, and the chiller is started.
Initial chill-down from 8°C tap water to 4°C target takes 12–24 hours on a 1/2 HP chiller, faster on commercial units like BlueCube Pro.ESA inspector returns for final inspection. Sticker on panel. Done.
Cost at this stage: Just the unit purchase + delivery ($300–$600 in the GTA from Plunge Canada or similar).Total Realistic Build: 5–7 Weeks, $9,000–$22,000
| Line Item | Low | High |
|---|---|---|
| Site survey + design | $0 | $300 |
| ESA fees | $220 | $310 |
| Service upgrade (if needed) | $0 | $4,500 |
| Concrete cut + drain | $1,500 | $3,500 |
| Waterproofing + tile | $2,000 | $6,000 |
| Electrical rough-in + final | $600 | $1,500 |
| Ventilation + dehumidifier | $800 | $1,800 |
| Unit (prefab) | $5,500 | $12,000 |
| Delivery + commissioning | $300 | $600 |
| Total prefab in basement | $10,920 | $30,510 |
For built-in custom tile tubs, add $8,000–$15,000 for the shell and integrated chiller plumbing.
Common Toronto-Specific Pitfalls
- Old galvanized water lines. Bringing a fresh PEX or copper run to the plunge often requires replacing 20+ feet of brittle galvanized first ($600–$1,500 add-on).
- Asbestos in pre-1980 floor tile. Pulling existing tile to expose slab can trigger an abatement requirement. Test first ($150) before demo.
- Knob-and-tube near the panel. Some Toronto homes still have remnants. ESA inspectors will fail any new circuit if K&T is in the same junction.
- Low headroom in older homes. Cabbagetown, Riverdale, Junction homes pre-1960 often have 6'4"–6'8" basements. Many prefab plunges still fit, but fully built-in below-floor tubs need dig-down (an extra $8,000–$15,000).
- Basement bathroom permit conflicts. If you are adding a shower at the same time, the bathroom permit takes precedence and adds 2–3 weeks.
Should You DIY Any of This?
The unit purchase, water fills, and accessory shopping — yes. The ESA-permitted electrical, the slab cut, the waterproofing, the plumbing tie-in — no. A non-permitted 240V circuit in your basement voids your home insurance the day a leak hits the floor.
For the broader DIY-vs-pro budget breakdown, see cold plunge cost toronto comparison.
Pairing With a Sauna
If a sauna is already in the plan, build them together. Shared ventilation, shared electrical filing, shared tile day. The cost of building both at once is roughly 15–25% less than building each separately. Layout planning in cold plunge sauna wellness suite toronto.
FAQ
How loud is the chiller?Most prefab units run 50–58 dB at 1m — about a quiet refrigerator. Built-ins with the chiller in a separate mechanical room are silent at the plunge.
Can I run the chiller off a regular outlet during testing?Some 120V plug-ins yes, but only for short test runs. Long-term operation must be on the dedicated, ESA-permitted circuit.
What if I have a sump pump in the way of my drain run?The plumber will tie the new drain into the sump basin via gravity, or to the laundry stack if closer. Either works.
Will the cold tile floor be uncomfortable?Add a heating mat under the porcelain ($500–$1,200) on a separate thermostat. Most clients add this when building a wellness suite.
Permit timeline if I am also adding a sauna?Combined permit package runs the same 1–2 weeks for ESA. Building permit (if framing) is 4–6 weeks. Plan together.
---
Ready to install a cold plunge in your Toronto or GTA basement? RenoHouse handles site survey, ESA permits, concrete work, electrical, waterproofing, and final commissioning. Book a free site visit on our cold plunge installation service page.
Sources & References
Authoritative sources cited in this guide:
- Ontario Building Code — OBC official text
- Toronto Building Permits — City permit portal
- Tarion Warranty — Ontario warranty regulator
- CSA Group Standards — Canadian standards