# Vapor Barrier and Attic Insulation Toronto: What You Need to Know 2026
Quick answer. Vapor barriers are one of the most misunderstood elements of Toronto attic insulation. Homeowners often think a vapor barrier "blocks moisture" and that more is always better. The reality is more nuanced: vapor barriers control diffusion in one direction, can trap moisture in the wrong direction, and interact with insulation choice in way...Vapor barriers are one of the most misunderstood elements of Toronto attic insulation. Homeowners often think a vapor barrier "blocks moisture" and that more is always better. The reality is more nuanced: vapor barriers control diffusion in one direction, can trap moisture in the wrong direction, and interact with insulation choice in ways that determine whether your attic stays dry or grows mold within 3 years. This guide explains Toronto-specific vapor barrier strategy for 2026 attic upgrades.
For pillar context, see Attic Insulation Toronto: Complete 2026 Upgrade Guide. For air sealing (often confused with vapor barrier), see Attic Air Sealing Before Insulation: Why It's Non-Negotiable in Toronto.
Vapor Barrier vs Air Barrier: The Critical Distinction
These two terms are often confused but they do different things:
- Air barrier: Prevents air movement. Air carries 100x more moisture than diffusion. The primary moisture-management element.
- Vapor barrier: Prevents diffusion of water molecules through a material (without air movement). A secondary moisture-management element.
In Toronto homes, air leakage is the dominant moisture transport mechanism. A perfect vapor barrier with poor air sealing still moves enormous amounts of moisture into the attic. A perfect air barrier with no vapor barrier transports relatively little moisture by diffusion alone.
Code-wise: OBC requires both. A 6-mil polyethylene sheet on the warm side of insulation is the standard Toronto approach because it functions as both air and vapor control.
The Toronto Code Requirement
OBC Section 9.25.4 requires a vapor barrier on the warm side of insulation for assemblies where the indoor-outdoor vapor pressure differential could drive condensation. In Toronto's Climate Zone 5, that's the interior side of the ceiling for attic assemblies.
Standard practice for new construction:
- 6-mil polyethylene sheet stapled to the underside of ceiling joists
- Sealed at all penetrations with acoustic sealant
- Sealed at all seams with poly tape
- Drywall installed below
This vapor barrier is between the heated indoor space and the cold attic insulation.
Why Toronto's Climate Demands a Vapor Barrier
Three factors:
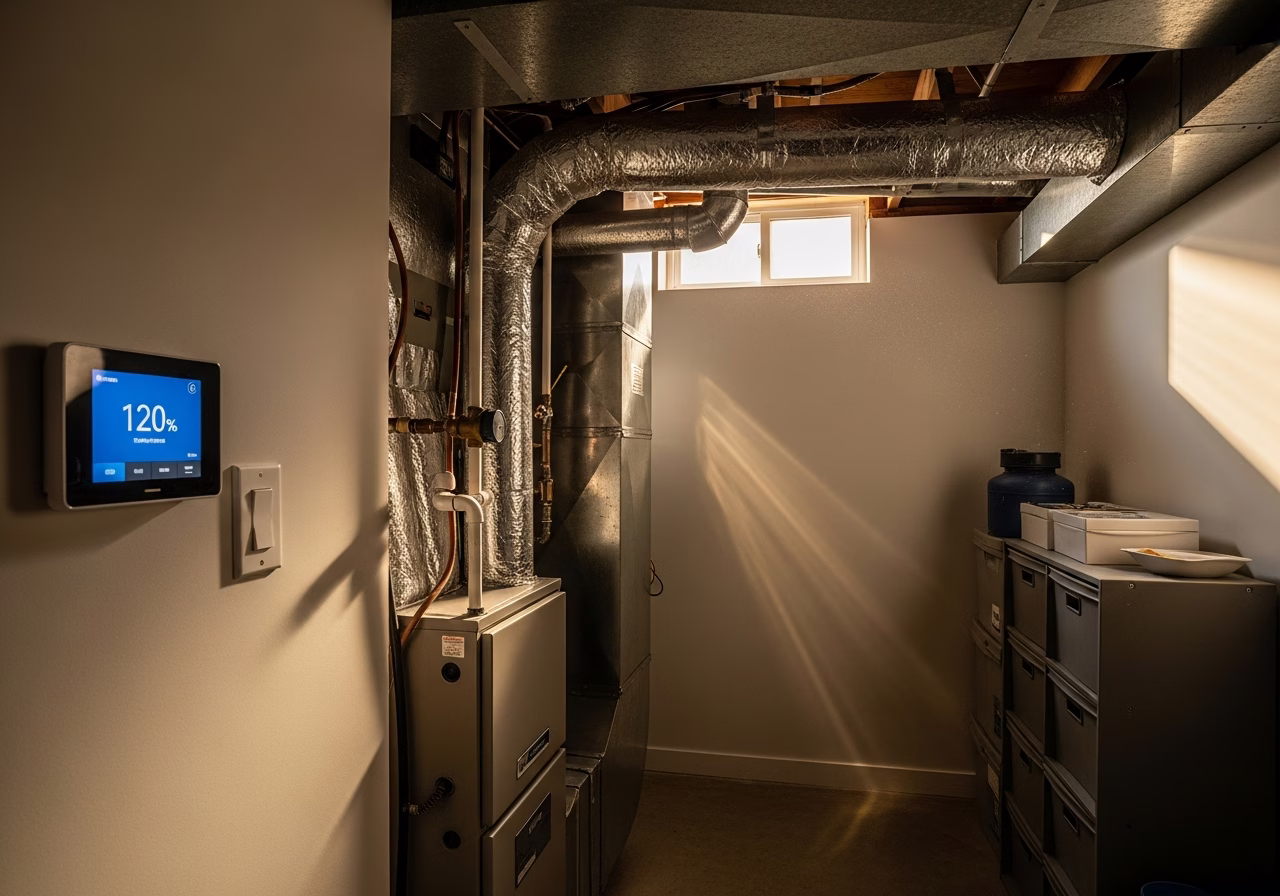
- 1. Indoor-outdoor temperature differential. Winter: 22°C indoor, -10°C outdoor = 32°C differential. The dewpoint of indoor air at 22°C/40% RH is ~8°C. Any surface below 8°C (like the underside of the cold roof deck) will condense indoor moisture.
- 2. Long heating season. Toronto has 3,500+ heating degree-days. The home is below dewpoint conditions for 4–5 months a year. Moisture transport is bidirectional but winter moisture into attic is the dominant stress.
- 3. Vapor drive direction. In winter, vapor drives from warm interior outward. In summer, vapor drives from humid exterior inward (through any air conditioning that creates indoor-outdoor temperature differential). Toronto's summer is shorter than winter, so winter vapor control dominates.
What Happens Without Vapor Barrier
A 1,500 sqft Toronto home with no ceiling vapor barrier:
- Daily indoor moisture generation: ~10–15 kg (cooking, showering, breathing)
- Indoor air at 22°C/40% RH carries ~7 g/m³ water vapor
- Without vapor barrier, diffusion delivers ~0.5–1 kg/day of moisture to the attic
- Over a winter (~150 days): 75–150 kg of moisture to the attic
- This drives condensation, frost on cold side of insulation, eventual mold and roof deck rot
With air sealing alone (no vapor barrier): roughly 5–10x reduction in moisture transport, but still problematic in long winters.
With air sealing + vapor barrier: another 5–10x reduction. Now within tolerable limits for Toronto winters.
Common Toronto Vapor Barrier Failure Modes
In existing Toronto homes (pre-1990 mostly, sometimes newer with sloppy construction), the vapor barrier may be:
Need professional exterior renovation?
Call RenoHouse at 289-212-2345 or get a free estimate today.
Get Free Estimate →- 1. Missing entirely. Pre-1970 homes often have no formal vapor barrier; the original ceiling lath/plaster offered partial vapor resistance.
- 2. Painted gypsum. Some older homes used vapor-retardant paints (~1 perm) instead of poly. Adequate but reduced over time.
- 3. Torn at penetrations. Original poly was installed but ripped during electrical, plumbing, or HVAC penetrations and never resealed.
- 4. Compromised by upgrades. Pot light installations cut large holes in the vapor barrier without resealing. A 1990s home with 12 retrofitted pot lights may have effectively no vapor barrier left.
- 5. Overlapped poorly. Original install used 4' wide poly with insufficient overlap at seams. Air gaps mean vapor passes through.
Diagnosing Vapor Barrier Status from the Attic
Look at the attic floor (which is the ceiling from below):
- Clean white poly visible between joists, taped at seams: Modern install (post-1995), likely intact.
- Yellowing poly with visible tears: Older install (1980s), partial integrity.
- No poly visible — bare drywall paper showing: No vapor barrier or it was applied above the drywall (rare).
- Asphalt-faced kraft paper between joists: Older fiberglass batt with kraft paper as vapor retardant. Marginal performance.
- Foil-faced rigid foam at penetrations: Modern repair attempt; verify sealing.
If you can't tell, an Energy Advisor blower door test combined with infrared can characterize vapor barrier and air barrier performance together.
Retrofitting Vapor Barrier in Existing Homes
Three approaches when the existing vapor barrier is failing:
Option A: Patch and Continue
For homes with mostly-intact vapor barrier and a few specific failures (pot lights, plumbing stack tears):
- Patch each failure with poly + acoustic sealant from above (attic side)
- Sometimes accessible with the existing insulation pulled aside
- Combined with air sealing
- Cost: $200–$500 added to attic upgrade
Option B: Vapor Retarder Paint
For homes with no apparent vapor barrier or completely degraded poly:
- Apply vapor-retardant primer/paint to the ceiling drywall from below
- Brands: Benjamin Moore Aura Vapor Barrier Primer, Sherwin Williams Moisture Vapor Barrier
- Achieves ~1 perm rating (acceptable for Toronto winter)
- Cost: $300–$700 for paint + labor on a 1,500 sqft home
- Only effective if applied uniformly, including in closets and behind furniture
Option C: Spray Foam at Attic Floor
For homes with severe vapor barrier failure and major air leakage:
- 2"–3" closed-cell spray foam at the attic floor (top of ceiling drywall)
- Acts as both air barrier and vapor barrier
- Cost: $4.00–$5.50 per sqft applied area
- For a 1,500 sqft attic: $6,000–$8,250
- Combined with cellulose top-up to R60
Option C is the most thorough and most expensive. It's the right choice for older Toronto homes (pre-1960 East York, Beaches, etc.) with multiple compromised systems.
Vapor Barrier Interaction with Insulation Type
| Insulation | Vapor Permeability | Pairing With Vapor Barrier |
|---|---|---|
| Closed-cell spray foam | Vapor barrier (~0.5 perm) | Acts as own vapor barrier; no separate poly needed if 2"+ thick |
| Open-cell spray foam | Vapor permeable (~10–15 perm) | Requires separate vapor barrier (poly or paint) |
| Blown cellulose | Vapor permeable (variable) | Requires separate vapor barrier |
| Loose-fill fiberglass | Vapor permeable | Requires separate vapor barrier |
| Mineral wool batt | Vapor permeable | Requires separate vapor barrier |
| Fiberglass batt with kraft | Kraft = vapor retarder (~1 perm) | Provides own vapor retarder; air sealing still needed |
| Rigid foam (foil-faced) | Vapor barrier | Acts as own vapor barrier when sealed at edges |
The takeaway: closed-cell spray foam is the only insulation that contains vapor barrier behavior in itself. Every other material requires a separate vapor control layer.
The Hot-Roof / Conditioned Attic Exception
Some modern Toronto homes use a "hot-roof" design where insulation is at the underside of the roof deck (not at the attic floor) and the attic is conditioned space. In this design:
- Vapor barrier moves to the conditioned interior side of the roof insulation
- Closed-cell spray foam at the underside of the roof deck handles both vapor and air
- No soffit-to-ridge ventilation
- The attic is now warm and conditioned
This works well in Toronto when properly designed but requires careful HVAC integration (the conditioned attic adds load to the system) and isn't a retrofit DIY project.
For attic conversion details, see Attic Insulation Toronto: Complete 2026 Upgrade Guide.
Vapor Barrier Mistakes Specific to Toronto
- 1. Doubled vapor barrier. Some homeowners or contractors install poly on both sides of insulation (interior side AND attic side). This traps moisture between the layers. Never do this.
- 2. Vapor barrier on wrong side. In rare cases, contractors install vapor barrier on the cold (attic) side. This is exactly backwards for Toronto's winter-dominant climate.
- 3. Vapor barrier in attic conversion without strategy. When converting attic to living space, the original ceiling vapor barrier becomes problematic — it's now between two conditioned spaces. Requires careful re-design.
- 4. Vapor barrier punctured by fasteners. Light fixtures, ceiling fan boxes, and HVAC drops all puncture vapor barrier. Each puncture needs to be sealed.
- 5. Plastic film over insulation. Some DIYers add plastic film over the top of attic insulation, thinking it adds protection. This creates an upward vapor barrier that traps moisture in the insulation. Never do this.
Vapor Barrier and Bathrooms
Bathrooms generate the most indoor moisture per area in Toronto homes. Above-bathroom attic spaces deserve special attention:
- Verify ceiling vapor barrier is intact above bathrooms
- Vent bathroom fans to exterior, never into attic
- Use closed-cell spray foam over bathrooms if vapor barrier integrity is uncertain
- Ensure bathroom exhaust fan duct is well-sealed at the ceiling penetration
Vapor Barrier and Kitchens
Kitchens generate moisture through cooking. Range hoods should vent to exterior. The ceiling vapor barrier above kitchens is otherwise typical.
Vapor Barrier Lifespan
Properly installed 6-mil polyethylene vapor barrier should last 50+ years if undisturbed. The failure modes are mechanical (tears from renovations, settling, pot light retrofits) not material (poly itself doesn't degrade significantly indoors).
In practice, most Toronto pre-2000 homes have compromised vapor barriers due to retrofit work, even if the original install was good.
When Vapor Barrier Doesn't Matter
For homes already using closed-cell spray foam at the attic floor or roof deck, the vapor barrier function is built into the foam. A separate poly vapor barrier is redundant (and can be problematic if it traps moisture between foam and ceiling drywall).
For 1.5-storey or cathedral-ceiling homes where insulation is in the rafter bays, vapor barrier strategy is more complex. Often handled by closed-cell spray foam (which is its own vapor barrier) or by carefully designed assemblies with vapor-retarder paint on the interior side.
Bottom Line on Toronto Vapor Barrier
For most Toronto attic upgrades:
- 1. Assess existing vapor barrier (look from attic side, document tears and gaps)
- 2. Patch or upgrade as needed before new insulation goes in
- 3. Pair with comprehensive air sealing (which addresses 90% of moisture transport)
- 4. Don't double up vapor barriers or install on the wrong side
For older homes with compromised vapor barrier and severe air leakage, closed-cell spray foam at the attic floor is the clean solution that handles air, vapor, and insulation in one product.
For most homes with mostly-intact vapor barrier, comprehensive air sealing + targeted patches is sufficient.
---
Wondering about your Toronto home's vapor barrier situation? RenoHouse inspects vapor barrier integrity as part of every attic upgrade and recommends targeted retrofits when needed. Visit our attic insulation upgrade service page or book an insulation thermal audit for a comprehensive pre-project assessment.
Sources & References
Authoritative sources cited in this guide:
- Canada Greener Homes Initiative — Federal retrofit programs
- ENERGY STAR Canada — Canadian ENERGY STAR specs
- Ontario Building Code SB-12 — OBC energy efficiency supplementary standard
- Toronto HELP — Home Energy Loan — Toronto Home Energy Loan Program
Continue Reading