# EV Charger Cable Management for Toronto Garages: 2026 Solutions
Quick answer. A 25-foot Level 2 charging cable weighs about 8 pounds and has the flexibility of a thick garden hose. Without proper cable management, it sits on the garage floor, gets driven over, develops kinks, and the strain relief at the charger fails inside 18 months.A 25-foot Level 2 charging cable weighs about 8 pounds and has the flexibility of a thick garden hose. Without proper cable management, it sits on the garage floor, gets driven over, develops kinks, and the strain relief at the charger fails inside 18 months. The fix is genuinely simple — but it is the most-skipped detail of the average GTA install, and the difference between a garage that looks done and a garage that looks like a project.
This guide covers practical cable management for Toronto garages: holsters, retractors, overhead reels, mounting heights, and the small details that make the install actually work daily for 10 years. For the wider install context, see our pillar EV Charger Installation Toronto: Complete 2026 Guide.
Why Cable Management Matters More Than You Think
Three failure modes from poor cable management:
- 1. Tire damage to the cable. The cable lives on the floor; over time the car rolls over it. The internal conductor cracks slowly. By year 3 the cable develops resistive heating spots, the charger throws faults, and the warranty does not cover it (manufacturer says it was misused).
- 2. Strain relief failure at the charger. The cable's weight pulls down on the strain relief boot at the charger. Over thousands of plug-unplug cycles the boot fatigues, water enters, and the unit fails. This is the single most common warranty claim across all Level 2 brands.
- 3. Connector pin damage. Dropped connectors crack the J1772 or NACS pin housing, causing intermittent connection faults.
Proper cable management eliminates all three.
Charger Mounting Height: The Foundation
Before talking about cable management, get the charger mounting height right. Recommendations:
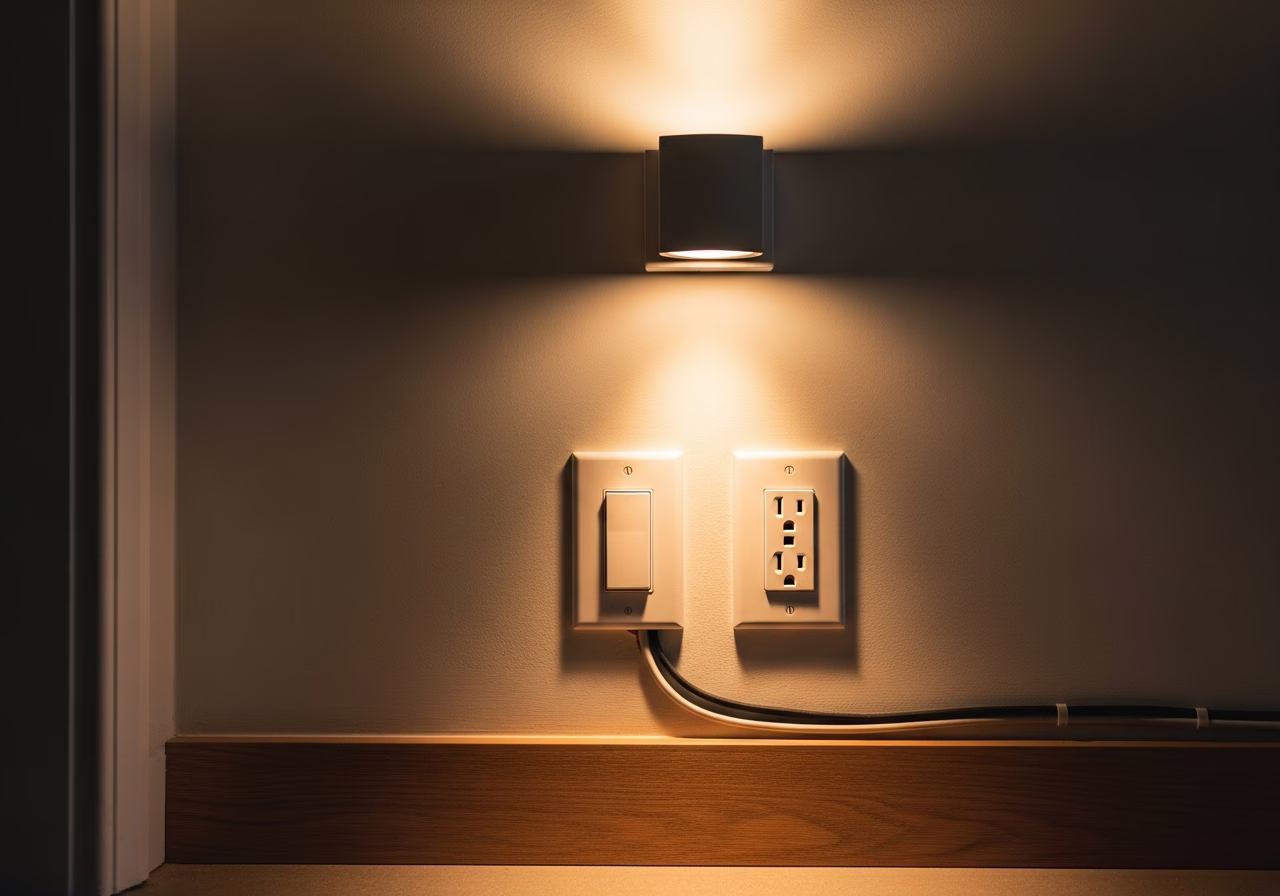
- Bottom of the charger: 48 to 54 inches off the finished floor.
- Cable connector at rest in holster: 36 to 42 inches off the floor.
Why this range: low enough that you do not need to reach overhead during freezing weather, high enough that the cable does not pool on the floor when the connector is hung. Below 42 inches and the cable touches concrete; above 56 inches and reaching becomes uncomfortable, especially for shorter users.
The charger should be mounted on the side of the parking spot that places the EV's charge port closest at rest. Most North American EVs have the port on the rear-left or front-left; Tesla, Hyundai, and Lucid have rear-left. Plan accordingly.
Holster Solutions
The basic option: a wall-mounted holster that holds the charging connector at rest. Most chargers ship with a basic plastic holster.
Stock holster (included with most chargers): functional but lightweight. Adequate for indoor heated garages. Aftermarket aluminum holster: $40–$80. Heavier, more durable, prevents the connector from popping out of the holster when the cable is bumped. Recommended for outdoor or detached-garage installs. Holster with cable management hooks: $60–$120. Holster plus a wall-mounted hook system that gathers the cable in a loop. Keeps the cable off the floor during storage.Holsters are the minimum-acceptable solution. They handle the connector but they do not manage the cable itself, which still needs to be looped on the floor or wrapped on a hook between charges.
Retractor Solutions
A spring-loaded retractor holds the cable in tension and pulls it back to the charger when not in use. The cable lives off the floor permanently.
Wall-mounted spring retractor (no power): $80–$160. Mechanical spring retractor mounts above or beside the charger. Works for cable runs up to about 15 feet pulled out. Pull the cable down, plug in, charge, unplug, and the spring retracts the cable. Powered retractor (overhead reel): $250–$600. Motorized reel mounted on the garage ceiling above the parking spot. Push button or pull-to-trigger spring brake. Used commercially in fleet garages; gaining popularity in Toronto premium home installs.Retractors are the gold-standard solution. Cable never touches the floor, never develops strain at the charger boot, never gets driven over.
Need professional electrical services?
Call RenoHouse at 289-212-2345 or get a free estimate today.
Get Free Estimate →Overhead Reel Mounted on Ceiling
For two-car garages with a single charger serving both bays, an overhead reel mounted on the ceiling between the two parking spots lets the cable swing to either side. Common in Toronto installs where one Tesla Wall Connector serves both household EVs.
Setup:
- Charger mounted on side wall.
- Overhead reel suspended from ceiling joist, centered between bays.
- Cable runs from charger up to reel, then drops down to either parking spot.
Cost: $400–$900 for the reel and mounting hardware, plus $200–$400 install labour.
Best for: two-car garages, two-EV households where each car alternates which bay it parks in, premium aesthetic builds.
Cable Routing From Panel to Charger
Beyond the charger-to-cable management, the conductor itself from panel to charger should be visually clean. Three patterns:
In-wall (best aesthetic): conductor in EMT conduit run inside finished drywall. Requires drywall work but completely invisible. Adds $200–$500 to install cost for the drywall patch and paint. Surface-mount EMT (good middle ground): conductor in EMT conduit run on the wall surface, with conduit straps. Industrial but clean look. Most Toronto installs use this. No drywall work needed. Surface-mount cable (worst look): AWG 6 cable stapled to the wall surface. Permitted by code but looks unfinished. Avoid.For finished basements or in-wall installs, see EV Charger Installation Mistakes Toronto Homeowners Make for routing pitfalls.
Floor Cable Crossings: When You Cannot Avoid Them
Sometimes the parking spot is on the opposite side of the garage from the panel and the cable must cross the floor temporarily. Solutions:
- Cable cover ramp ($60–$140): rubber wedge ramp that the car drives over, protecting the cable underneath. Reusable.
- Embedded floor channel ($300–$700 install): cut into the concrete, with a flush cover. Permanent solution. Best for new builds or major garage renovations.
Avoid:
- Stapling cable across the floor under a thin mat — the mat slides, the cable gets exposed, the tire crushes it.
- Running cable across the floor with no protection — even one tire crossing breaks the strain.
Cold-Weather Cable Considerations
Toronto winters drop the cable temperature to minus 20 Celsius or below. At those temperatures most cables stiffen meaningfully — the cable that is flexible in summer becomes a rigid bar in February.
Cables that handle cold well: Tesla Wall Connector cable (proprietary blend), FLO Home X5 cable (designed for Quebec winters), Grizzl-E cable. Cables that get notably stiff: ChargePoint Home Flex, JuiceBox.The fix for any cable: keep the cable looped loose on a wall hook or in a retractor when not in use. A cable left coiled tight in a corner overnight at minus 20 will have permanent kinks by spring.
Connector Storage: Out of the Snow
In an exterior or partial-exterior install, the connector itself should be stored such that snow does not accumulate inside the connector cup. Practical solutions:
- Holster oriented connector-down so any moisture drains out.
- Holster mounted under a small overhang or eave.
- Soft connector cover ($15–$30) that fits over the connector when stored.
Snow accumulation inside the J1772 or NACS connector cup is the most common winter charging fault in the GTA. It freezes overnight, and morning charging starts with a fault that requires the user to thaw the connector manually before plugging in.
What to Buy: Cable Management Kits by Budget
Budget $50–$100: Stock holster + wall-mounted hooks for cable looping. Adequate for indoor heated garages with disciplined users. Mid $150–$300: Aluminum holster + spring retractor. Cable lives off the floor permanently. Best value-per-dollar. Premium $400–$900: Powered overhead reel + aluminum holster. Cable disappears entirely between uses. Best aesthetic, longest hardware life.For full charger-and-cable budget integration, see EV Charger Cost Toronto: Tier-by-Tier Installation Pricing. For pre-install panel-side prep, see our Pre-EV Charger Panel Scan service.
---
Want a finished-look EV charger install in your GTA garage? RenoHouse includes proper cable management hardware, finished conduit work, and connector storage in every charger install — not as an upcharge, but as the baseline. Book a consultation on our EV charger bundle service page.
Sources & References
Authoritative sources cited in this guide:
- Electrical Safety Authority (ESA) — Ontario electrical regulator
- Ontario Electrical Safety Code — OESC Section 26 / latest amendments
- Canadian Electrical Code Part I (CSA C22.1) — CEC standard
- NRCan — Electric Vehicle Resources — NRCan EV/charging programs
Continue Reading
- Outdoor EV Charger Installation Toronto: Weather and Durability for 2026
- EV Charger Installation Mistakes Toronto Homeowners Make in 2026
- EV Charger Installation Toronto: Complete 2026 Guide
Frequently Asked Questions
How much do EV charger cable management systems cost?
Basic cable holsters in Toronto run $30–$80, while wall-mounted retractors cost $120–$300. Ceiling-mounted overhead reels, popular for garages, range from $250–$500 installed. Budget another $200–$400 if hiring an electrician to mount securely. Most homeowners find that protecting a $2,000+ charging station justifies the upfront cost.
What's the best cable management solution for Level 2 chargers?
Wall-mounted retractors work best for tight spaces; overhead reels suit larger garages where cables need to stay clear of traffic. Holsters are simplest for one-car installations. Toronto installers recommend retractors or reels because they prevent kinks, reduce tripping hazards, and keep cables off the floor where damage occurs. Your choice depends on garage size and parking proximity to the charger unit.
Where should I mount my EV charger cable holder in my garage?
Mount wall-mounted retractors at 4–5 feet high, near your vehicle's charge door, at comfortable height for connecting and disconnecting. Overhead reels should clear the garage door opening and vehicle roofline by at least 12 inches. Toronto electrical code requires an ESA-licensed electrician to verify safe clearance and secure hardware to wall studs or structural beams. Avoid mounting above parking spots or walkways.
Can proper cable management extend my EV charger cable lifespan?
Yes. The opening mentioned that unchecked cables develop kinks and failure within 18 months. Proper retraction prevents crimping, UV damage from floor sitting, and strain relief degradation at the connector. Most Level 2 cables are rated for 8–10 years if stored correctly. Investing $200–$500 in a retractor or reel system adds 5–7 years to cable life, saving replacement costs of $400–$800.