# EV Charger Installation Mistakes Toronto Homeowners Make in 2026
Quick answer. After hundreds of GTA EV charger installs across Toronto, Mississauga, Vaughan, and Markham, the same eight mistakes keep showing up — sometimes from rushed homeowners trying to save money, sometimes from electricians who have not done many EV jobs and are treating it like a range outlet.After hundreds of GTA EV charger installs across Toronto, Mississauga, Vaughan, and Markham, the same eight mistakes keep showing up — sometimes from rushed homeowners trying to save money, sometimes from electricians who have not done many EV jobs and are treating it like a range outlet. Each of these mistakes costs more to fix than to prevent, and several create genuine fire and safety risks.
This guide catalogs the eight most common mistakes, what they look like, and what they actually cost to remediate. For the wider install context, see our pillar EV Charger Installation Toronto: Complete 2026 Guide, and for the load-calculation methodology that prevents the worst mistake, see EV Charger Load Calculation and ESA Permit Toronto.
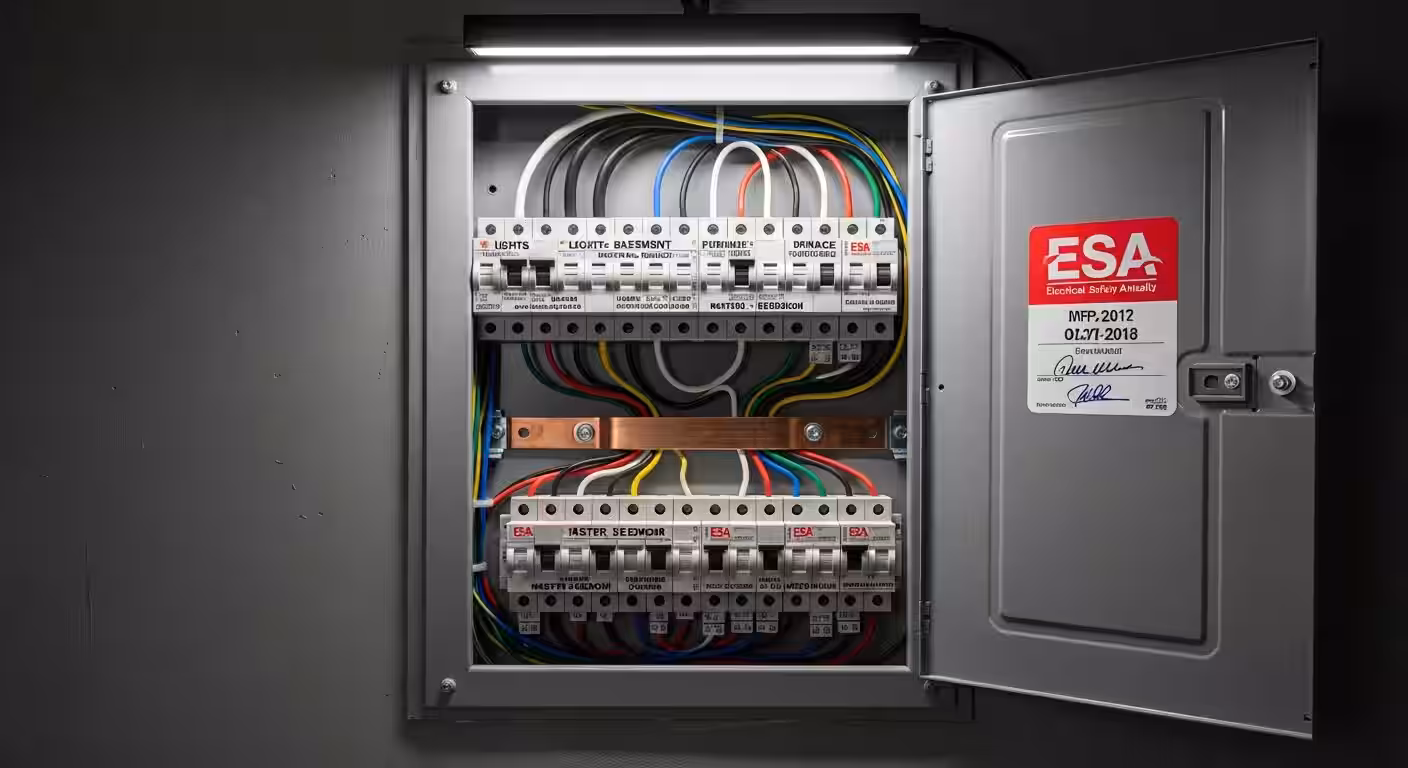
Mistake 1: Skipping the ESA Permit
The single most common mistake — and the most expensive to fix. A handyman or a generalist electrician without an ECRA license offers to install the charger for $1,200 cash, no permit. The work passes a basic visual inspection but is not registered with ESA.
What it costs to fix: full re-permit and re-inspection, which requires the panel to be opened and re-verified by an LEC. Often $800–$1,800 just to bring the existing un-permitted install into compliance, on top of any code violations discovered.
Insurance impact: any electrical claim while the un-permitted install exists will be denied. If the un-permitted install causes a fire, the entire fire claim may be denied.
Prevention: only hire LECs. Verify the license number on ESA's online database. The permit cost ($130–$280) is the cheapest line item in any install.
Mistake 2: Undersized Wire for the Run Length
Specific to long conductor runs (40+ feet from panel to charger). The Canadian Electrical Code allows AWG 6 copper for a 40A circuit and AWG 4 copper for a 48A circuit at standard run lengths — but at runs over about 50 feet, voltage drop becomes meaningful and the code requires upsizing to compensate.
What goes wrong: contractor pulls AWG 6 for a 40A circuit on a 70-foot run. The math: at 70 ft, AWG 6 has about 4% voltage drop at 40A continuous. The charger throws faults during cold-weather peak draw, charging speed is reduced, and over years the conductor heats more than designed. ESA may pass the install (current code allows up to 5% drop in some interpretations) but the charger performs poorly.
What it costs to fix: re-pull the entire conductor at AWG 4. $400–$900 depending on run length and conduit access.
Prevention: any run over 50 feet should be calculated for voltage drop. The contractor should provide a wire sizing rationale in writing.
Mistake 3: Wrong Breaker Size
The Canadian Electrical Code requires the breaker to be sized at 125% of the EV charger continuous current. So:
- 32A continuous charger (most 7.7 kW units): 40A breaker.
- 40A continuous charger: 50A breaker.
- 48A continuous charger: 60A breaker.
Common error: contractor installs a 50A breaker for a 48A charger because "50A breakers are more common than 60A." The breaker trips during full-rate charging on warm days, the homeowner reports faults, and the contractor blames the charger.
The opposite error: contractor installs a 60A breaker for a 32A charger to "give it room." This is a code violation in the other direction — the breaker no longer protects the conductor properly because the conductor was sized to AWG 8 for a 32A continuous load, and a 60A breaker will not trip on a fault that exceeds AWG 8 capacity.
What it costs to fix: breaker swap is $80–$160. But the conductor may also need replacement if it was sized to the wrong breaker.
Prevention: the breaker size should match the charger nameplate at 125%, and the conductor must match the breaker. All three must agree. A correct quote shows all three numbers explicitly.
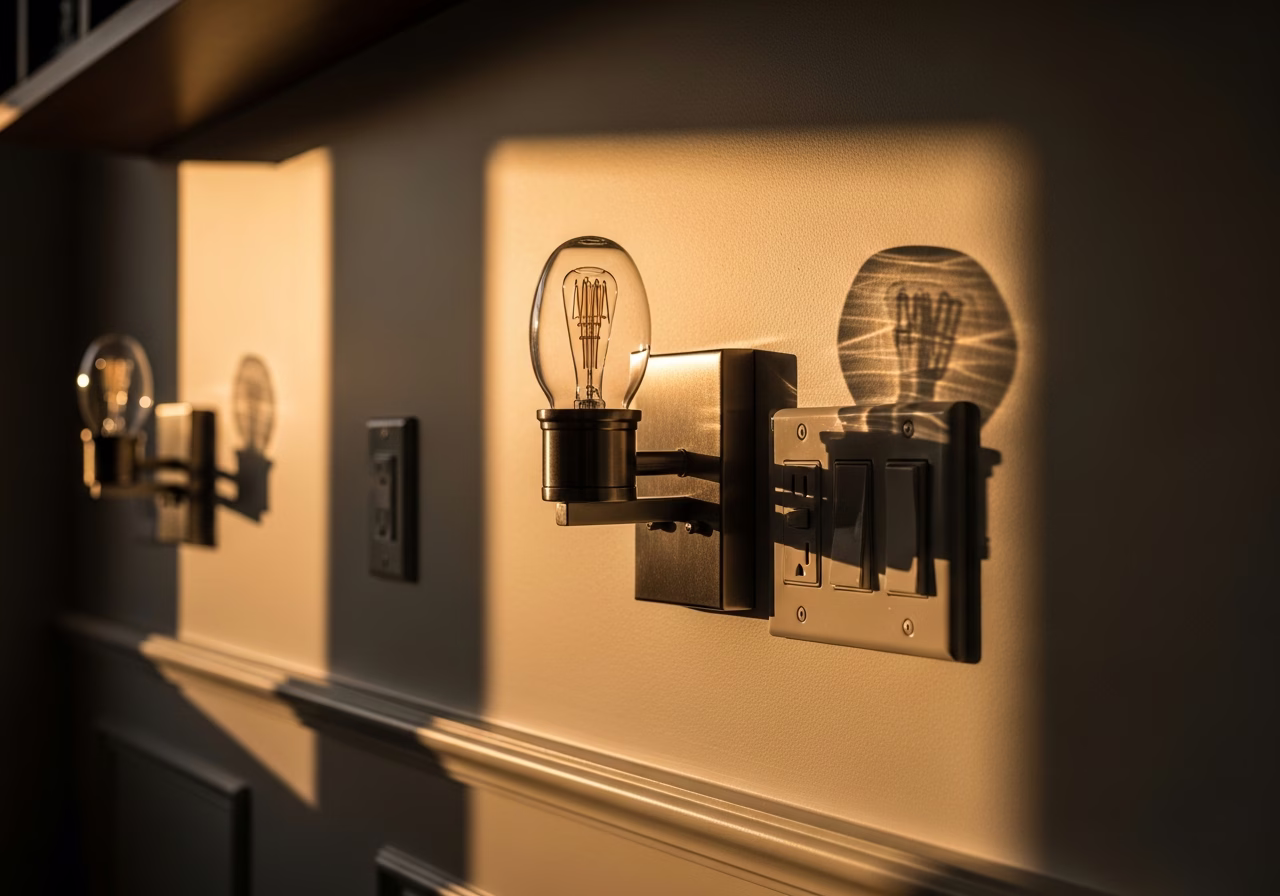
Mistake 4: Cheap NEMA 14-50 Receptacle
Discussed in detail in NEMA 14-50 vs Hardwired EV Charger, but worth repeating: the consumer-grade NEMA 14-50 receptacle from Home Depot ($25–$45) is rated for occasional range or welder use, not daily 8-hour EV charging.
Need professional electrical services?
Call RenoHouse at 289-212-2345 or get a free estimate today.
Get Free Estimate →What goes wrong: thermal cycling loosens the internal contacts, the cheap receptacle starts heating, the plastic browns and eventually melts. In documented cases this has caused house fires.
What it costs to fix: replace with industrial-grade Hubbell HBL9450A or Bryant 9450FR. About $90–$160 plus 30 minutes of labour. Discover after a fire: $40,000+ and a probable insurance claim denial.
Prevention: every NEMA 14-50 EV install should use industrial-grade receptacles. Tesla, ChargePoint, and ESA all explicitly recommend it.
Mistake 5: Mounting Height Wrong
The charger gets mounted at 36 inches off the floor (the height of an old 240V dryer outlet) instead of the recommended 48–54 inches. Effect: the cable hangs down from a low charger and pools on the floor. Cable management becomes impossible.
What it costs to fix: re-mount the charger 12+ inches higher, which means re-running the conduit final segment, patching the original holes, and re-wiring. $200–$500.
Prevention: agree on mounting height before installation. 48–54 inches off the finished floor is the right answer for most users.
Mistake 6: No Cable Management
The charger is mounted, the cable hangs down 25 feet, and there is no holster, no retractor, and no overhead reel. The cable lives on the garage floor.
Failure mode: tire damage to the cable over months and years, strain relief failure at the charger, kinks in the cable, eventual conductor cracking.
What it costs to fix: add proper cable management. $50–$300 for the hardware plus 30–60 minutes labour. Or wait until the cable fails and replace the charger ($800–$1,200).
Prevention: include cable management in the original install scope. See EV Charger Cable Management for Toronto Garages for solutions.
Mistake 7: Outdoor Install Without NEMA 4 Rated Components
Toronto has wet snow, freezing rain, and high summer humidity. Outdoor or partial-exterior installs require NEMA 4 (rain-tight, hose-tight) enclosures and conduit fittings rated for wet locations.
What goes wrong: contractor uses NEMA 1 (indoor) enclosure or NEMA 3R (rain-resistant) conduit fittings. Water enters the receptacle box or the charger backplate through condensation cycles. Within 12–24 months corrosion shows up, then a fault during a rainy day, then a tripped GFCI that does not reset.
What it costs to fix: replace with NEMA 4 rated components. $200–$500 in hardware plus relocation labour.
Prevention: any portion of the install that is exposed to weather (or to garage door air infiltration in cold weather) should use NEMA 4 components.
For weather-specific guidance, see Outdoor EV Charger Installation Toronto: Weather and Durability.
Mistake 8: Skipping the Load Calculation
A contractor visits the home, eyeballs the panel, sees "two open slots" and quotes the install without running a written load calculation. Six months later the homeowner adds a heat pump or runs the central A/C plus the dryer plus the EV simultaneously, and the main breaker trips repeatedly.
Real-world outcome: the panel was at 95% calculated capacity after the EV install, and the contractor never told the homeowner. The homeowner blames the EV install; the truth is the math was never done.
What it costs to fix: panel upgrade to 200A. $3,000–$5,000.
Prevention: insist on a written load calculation per CSA C22.1 Section 8 before any EV charger work. See EV Charger Load Calculation and ESA Permit Toronto for what the calculation should include.
Honourable Mention: Skipping the Pre-Install Panel Scan
Before any EV charger install, a thermal-imaging scan of the existing panel reveals hot terminations, undersized neutrals, aluminum-branch hazards, and overheating breakers. Discovering these after the new EV load is added is dramatically more expensive than catching them before.
Cost of the scan: $180–$280. Cost of discovering an aluminum-branch issue mid-install: $800–$2,500 in unplanned work.
For our methodology, see the Pre-EV Charger Panel Scan service page.
How to Avoid All Eight Mistakes
The full prevention checklist:
- 1. Hire only LECs with verified ECRA license and Master Electrician on staff.
- 2. Insist on a written load calculation specific to your home.
- 3. Insist on a written ESA permit number before work begins.
- 4. Specify the conductor gauge in writing and verify it matches the run length.
- 5. Verify the breaker size matches the charger continuous current at 125%.
- 6. Use industrial-grade Hubbell or Bryant for any NEMA 14-50.
- 7. Specify mounting height (48–54 inches) in writing.
- 8. Include cable management hardware in the scope.
- 9. Specify NEMA 4 components for any outdoor exposure.
- 10. Run a thermal panel scan before the install.
Following this list adds maybe $500–$700 to the install cost and saves $2,000–$10,000 of remediation costs over the next 10 years.
---
Want a GTA EV charger install done right the first time? RenoHouse covers all eight prevention items as standard scope — not as upgrades. Book a consultation on our EV charger bundle service page.
Sources & References
Authoritative sources cited in this guide:
- Electrical Safety Authority (ESA) — Ontario electrical regulator
- Ontario Electrical Safety Code — OESC Section 26 / latest amendments
- Canadian Electrical Code Part I (CSA C22.1) — CEC standard
- NRCan — Electric Vehicle Resources — NRCan EV/charging programs
Continue Reading