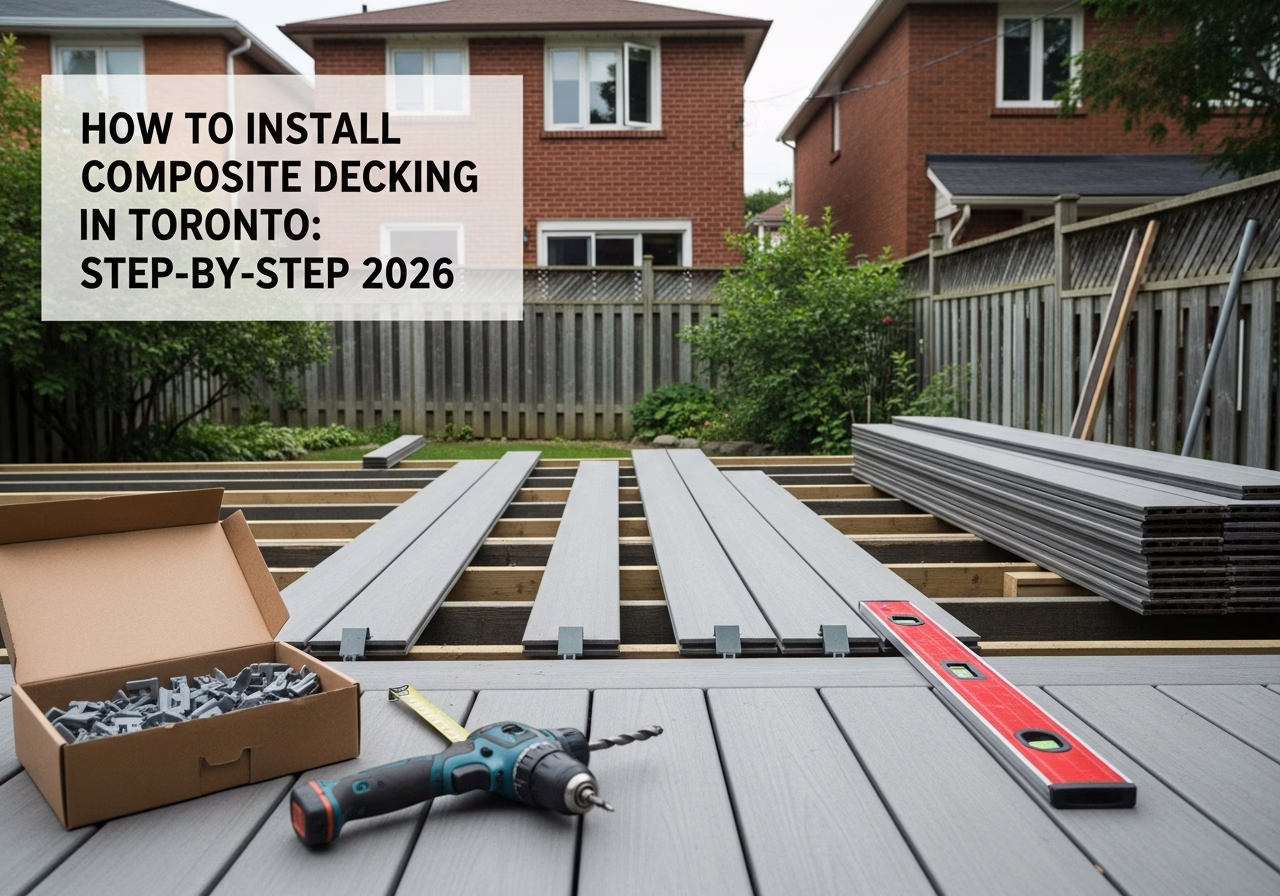
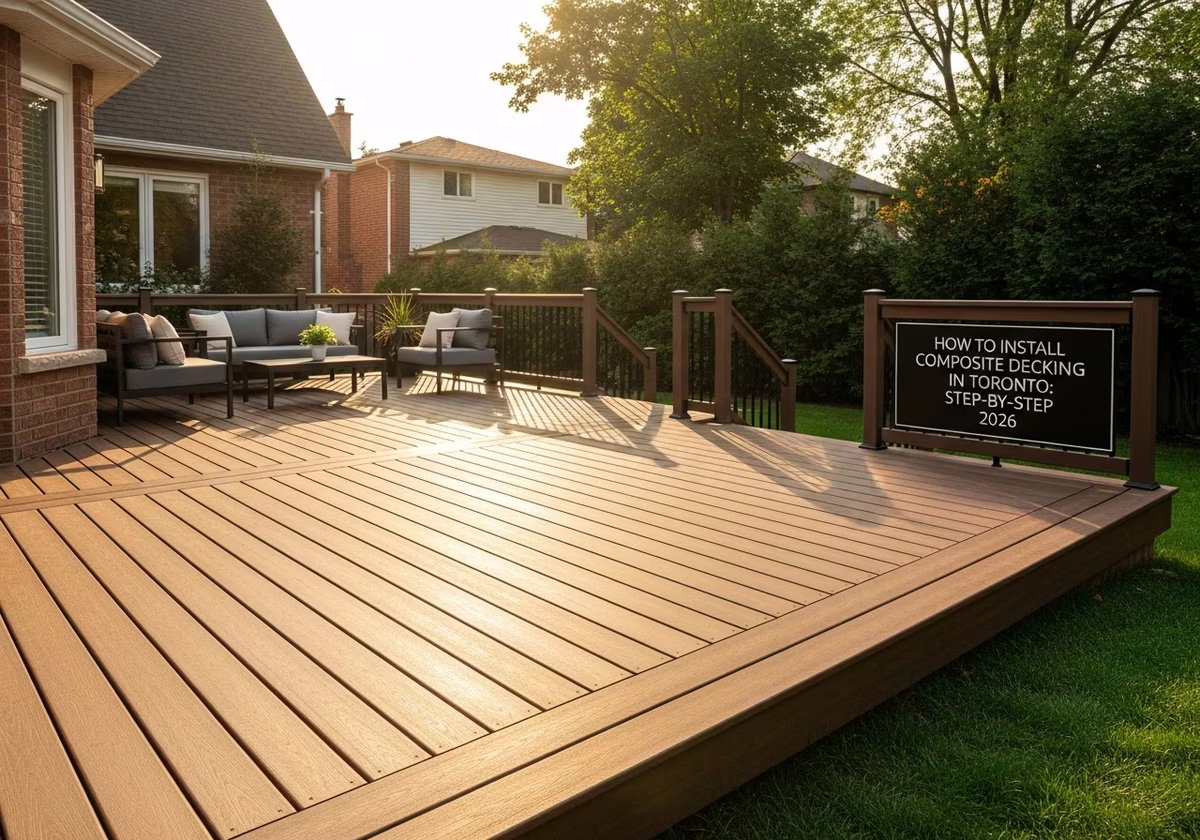
# How to Install Composite Decking in Toronto: Step-by-Step 2026
Quick answer. Installing composite decking is not "wood decking with different boards." Hidden fastener systems, butyl joist tape, expansion gaps that vary with install temperature, and brand-specific clip systems make composite a precise install — get any of these wrong and you void a 25-50 year warranty.Installing composite decking is not "wood decking with different boards." Hidden fastener systems, butyl joist tape, expansion gaps that vary with install temperature, and brand-specific clip systems make composite a precise install — get any of these wrong and you void a 25-50 year warranty.
This is the step-by-step we use on RenoHouse Toronto installs. It works for Trex, TimberTech, Fiberon, and AZEK with minor brand-specific notes. For the broader brand and cost overview, see composite decking Toronto 2026. For the brand comparison, see Trex vs TimberTech vs Fiberon vs AZEK.
This guide assumes you are working with a Toronto-permitted residential deck under 600 sq ft, attached or freestanding, on either an existing PT substructure (re-deck) or new build. Multi-level, rooftop, and >1.8m elevated decks have additional engineering requirements outside the scope of this article.
Tools and Materials Checklist
Tools (own or rent)
- Cordless impact driver (18V minimum, 1/4" hex)
- Cordless drill (for pilot holes)
- 7-1/4" miter saw with 80-tooth carbide blade (Diablo or Forrest for composite)
- Circular saw with 60-tooth blade
- 4-foot and 6-foot levels
- Tape measure (25 ft+)
- Speed square
- Chalk line
- Story stick (deck width transferred)
- 4mm and 2mm spacer blocks (or use composite spacer keys from manufacturer)
- Clamps (4–6, for picture frame layout)
- Knee pads
- Safety glasses, dust mask (composite cuts produce fine dust)
Materials per 300 sq ft deck
- Composite boards (340 linear feet for 300 sq ft, 1" overage). Round to nearest case.
- Hidden fastener clips (Trex Hideaway, TimberTech CONCEALoc, Fiberon Phantom, or universal CAMO Edge): 90 clips per 30 linear feet of board.
- Stainless 305 (or 316 within 1 km of Lake Ontario) deck screws, color-matched.
- Butyl joist tape (Trex Protect, Cofair Quickflash, or Grace Vycor Deck Protector): roll length = total joist linear feet + 30%.
- Picture frame border boards (10–14% extra material).
- Fascia boards (perimeter linear feet, height as needed).
- Composite or aluminum railing system + posts.
- Helical piles or sonotubes (new build only).
Step 1: Permit and Pre-Build Inspection
Toronto requires a building permit for any deck:
- > 600mm above adjacent grade, OR
- Attached to the dwelling regardless of height.
Apply via Toronto Building. Required: site plan, elevation, structural drawings showing joist size, span, and footing detail.
For re-decks (replacing surface only on existing structure), some Toronto inspectors allow without permit if structure is unmodified. Confirm before starting. We always pull the permit because:
- Insurance coverage requires permit history.
- Resale buyers look up permit records.
- The $400–$700 permit fee is trivial vs liability.
Pre-build inspection (especially for re-decks):
- 1. Probe joists with awl. Soft spots = rot.
- 2. Check ledger flashing (often missing in pre-2010 Toronto decks).
- 3. Inspect post bases and footings — pull a paver to confirm sonotube depth.
- 4. Verify joist spacing 16" OC (composite typically requires 16"; some premium PVC allows 24" with rated boards but rare in residential).
- 5. Check beam-to-post connections.
- 6. Verify ledger lag screw schedule (typically 1/2" lag every 16" staggered).
Step 2: Demolition (Re-Deck Scenario)
Strip old surface boards. Save in piles for disposal:
- Cedar / PT lumber: regular waste or Bin There Dump That ($350–$550 for a 14-yard bin in Toronto).
- Old composite (rare): regular waste, brand take-back not available in Canada.
Inspect each joist as you go:
- 1. Mark sister-joist locations with chalk for any joist with rot, sag, or undersizing.
- 2. Check joist hangers — replace any with rust through.
- 3. Note ledger condition.
- 4. Photograph everything for permit records.
Replace damaged joists with same-dimension PT (typically 2x8 PT). Sister with 1/2" galvanized through-bolts every 16", not screws.
Step 3: Joist Tape Application
This is the most-skipped step in Toronto composite installs. Always apply butyl joist tape. Cost: $250–$400 for a 300 sq ft deck. Adds 5+ years to joist life.
Procedure:
- 1. Clean joist top of dust and debris.
- 2. Cut tape to length (50 ft roll covers 50 ft of joist).
- 3. Peel backing as you go.
- 4. Press tape onto top of joist with hand or J-roller.
- 5. Wrap tape down sides about 1" each side for the rim joist (not all manufacturers require this, but it adds redundancy).
- 6. Cut neatly at joist-end butt joints.
Why this matters: deck screws penetrate joist top. Each penetration is a moisture entry path. Joist tape seals around the screw shank. Without tape, joist tops rot 5–8 years before the rest of the joist.
Need professional exterior renovation?
Call RenoHouse at 289-212-2345 or get a free estimate today.
Get Free Estimate →For new builds in particular, joist tape is the single highest-ROI item in the entire deck.
Step 4: Layout Planning
Before installing the first board:
- 1. Decide board direction. Typically perpendicular to the longer house wall.
- 2. Plan picture frame border (decorative perimeter board running parallel to deck edges, 1–2 boards wide). Adds ~$400–$900 in material and 1 day of labor; visual upgrade is significant.
- 3. Identify required cuts: stair landings, post locations, transitions to home wall.
- 4. Stage boards. Pull from multiple cases to randomize batch shifting.
- 5. Sort boards by appearance. Reject any with major defects (cracked corner, color blotch). Save shorts for stairs and starter blocks.
Step 5: Picture Frame Border Installation
If installing picture frame:
- 1. Start with the perimeter board against the house, 4mm gap from sheathing.
- 2. Use stainless 305 trim screws or face-fasten through the cap with color-matched screws.
- 3. Continue around perimeter, cutting outside corners 45° miter.
- 4. Glue miter joints with composite-compatible exterior adhesive (DAP TitebondIII Outdoor or Liquid Nails Heavy Duty Composite).
- 5. Pre-drill at every screw location through the cap. Composite cap is hard; without pre-drilling you spider-crack.
Picture frame eats the first day of install but defines the visual quality of the deck. Skip only if budget-tight.
Step 6: Hidden Fastener Installation — Field Boards
Working from one edge inward:
Brand-specific notes
- Trex Hideaway: clip slides into board groove, screws into joist at 45°. One clip per joist intersection.
- TimberTech CONCEALoc: identical procedure. CONCEALoc Fastening Tool speeds installs by 30%.
- Fiberon Phantom: universal-compatible, works with most grooved boards.
- CAMO Edge: edge-driven through the board side at 45°. No groove required (also works on grooved). Visible from below; not always preferred.
Field board procedure
- 1. Lay first field board with 4mm gap to picture frame (or wall if no picture frame).
- 2. Insert hidden fastener clip into board groove at every joist intersection.
- 3. Screw clip into joist with manufacturer-specified screw (typically 1-7/8" stainless).
- 4. Slide next board onto the clip's protruding pin/tab.
- 5. Maintain end-gap spacers (4mm at 5°C install temp, 3mm at 15°C, 2mm at 25°C).
- 6. Stagger butt joints — never align two adjacent boards' butts on the same joist.
- 7. Check level every 6 boards with a 6-foot level. Adjust if joist crown is causing high spots.
Cuts and end gaps
- Always cut both ends of each board for clean fresh edges (reduces wicking on humid raw mill-cut ends).
- Apply end-grain sealer (composite-compatible) to all cut ends. PVC boards do not require this but WPC does.
- End gaps at butt joints: 4–6mm at 5°C install, 2–3mm at 25°C. The board does NOT shrink in cold below the install temp; it expands in heat above. Plan for the heat-direction movement.
Step 7: Stair Tread Installation
Stair treads are typically face-fastened (hidden clips not always supported on stair noses):
- 1. Cut two boards per tread to width (typical 11.5" tread = two 5.5" boards with 1/2" overhang).
- 2. Pre-drill all fastener holes through the cap.
- 3. Use color-matched stainless 305 deck screws or AZEK Cortex plug system.
- 4. 4mm gap between the two tread boards.
- 5. 1" overhang at the riser face.
- 6. Riser face boards (if specified): face-fasten 1x6 composite or PVC riser to riser frame.
Stair handrail in Toronto: required for 3+ risers, between 34" and 38" measured from nosing, must be graspable (typically 1.25"–1.5" diameter aluminum).
Step 8: Fascia and Skirting
Composite fascia is a 12" tall (or as needed) thinner board (often 1/2" thick) that wraps the deck perimeter beam, hiding the rim joist for a finished look.
- 1. Cut fascia to length, mitering corners 45°.
- 2. Pre-drill and face-fasten with stainless trim screws or finish nails (use color-matched plugs to fill).
- 3. Maintain 4mm gap at all joints.
- 4. Install before railing posts where posts mount to the deck surface (post baseplate sits on deck surface, not on fascia).
Skirting (lattice, picket, or solid composite panels closing the underside): optional. Provides cleaner visual, restricts animal access. Adds $800–$2,200 to a 300 sq ft deck.
Step 9: Railing Installation
Aluminum picket railing (most common Toronto choice):
- 1. Set posts. Surface-mount with through-bolt baseplates onto deck (load-rated 4x4 mounting block beneath, fastened to joist).
- 2. Plumb posts. Tighten through-bolts to spec.
- 3. Run top rail and bottom rail between posts.
- 4. Drop pickets in with set-screws.
Composite-clad railing:
- 1. Wrap aluminum or PT structural posts with composite sleeve.
- 2. Fasten composite top rail (often grooved to accept aluminum picket inserts).
- 3. Cap posts with composite or solar LED post caps.
Toronto code:
- Guard height 36" for 600mm–1.8m above grade.
- Guard height 42" above 1.8m.
- Picket spacing reject 100mm sphere (typically 4" max).
- Top rail must resist 100 lb point load anywhere along the run.
Step 10: Lighting Installation (Optional)
Low-voltage LED lighting is the single highest-impact upgrade after the deck itself. Toronto pricing:
- Riser step lights (4–8 lights): $400–$1,200 installed.
- Post cap solar or wired lights: $40–$120 each, $300–$1,000 total.
- Rail lighting (under-rail LED strip): $200–$600.
- Recessed deck lights (shallow LED puck): $80–$200 each.
Wiring runs through the joist bay, transformer mounted inside the home or in a weatherproof exterior box. Always permit electrical work; we use a licensed electrician for the transformer feed.
Step 11: Final Inspection and Cleanup
Toronto Building inspection at framing (footings + joists exposed) and final.
Final-day tasks:
- 1. Tighten any wobbling pickets.
- 2. Caulk any vertical-to-horizontal transitions with color-matched composite caulk (DAP Composite Deck or NP-1).
- 3. Wash entire surface with mild soap and rinse. Removes saw dust and footprints.
- 4. Touch-up paint on aluminum railing scratches.
- 5. Walk the deck with the homeowner. Demo every system, brand register the warranty (usually online with serial numbers from board labels).
- 6. Hand off care guide and maintenance instructions.
Toronto-Specific Tips
- 1. Install in shoulder season if possible. April–June and September–October are ideal. Mid-summer 30°C+ install means 2mm end gaps; mid-winter -5°C means 5mm gaps. Both work but summer dust and winter frozen ground slow the build.
- 2. Helical piles for new builds. Sonotubes require 4–7 day concrete cure before framing. Helicals install in 1 day, frame next day, deck same week. Adds $200–$300 per pile vs sonotube but compresses timeline by a week.
- 3. Joist crown matters. Crown up. A bowed-down joist creates a low spot that puddles water on the cap.
- 4. Match fastener metal to coastal exposure. Within 1 km of Lake Ontario or a salt-treated pool, use stainless 316. Otherwise stainless 305 is fine.
- 5. Order one extra case. 300 sq ft of decking means 5–7% waste minimum (cuts, picture frame, defects). Order the round-up case. Brand stock fluctuates; if you need three more boards in October, the dye lot may have shifted.
Common Mistakes (From Inspections We Have Done)
- 1. No joist tape. Visible water staining at every screw hole within 3–5 years.
- 2. Tight end gaps. 0–1mm gap installed in summer = buckle on the next 32°C day. Boards lift and crack.
- 3. Galvanized screws. Look fine year 1, rust streaks at year 4, snap at year 7.
- 4. Mixed batches. Visible color shift between cases.
- 5. No pre-drill on cap. Spider cracks radiating from screw heads.
- 6. Picture frame mitered without glue. Joints open up year 2.
- 7. Stair tread overhang too small. Required 1" minimum for safety; less is a code fail.
For the full mistakes catalog, see composite decking mistakes Toronto.
Timeline Summary (300 sq ft Re-Deck)
- Day 1: Permit setup, demolition.
- Day 2: Joist remediation, joist tape.
- Day 3: Picture frame border layout and installation.
- Day 4: Field boards (60% of surface).
- Day 5: Field boards (remaining 40%), stair treads.
- Day 6: Fascia, railing posts, pickets.
- Day 7: Lighting (if scope), caulking, cleanup, final inspection.
A confident two-person crew completes a 300 sq ft re-deck in 5–7 working days. Full demo + new build adds 4–6 days for substructure.
For the brand head-to-head and material selection, see Trex vs TimberTech vs Fiberon vs AZEK. For the cost-per-square-foot math, see composite decking cost per sq ft Toronto.
---
Building or replacing a Toronto deck and want pro install with brand-certified warranty registration? RenoHouse is a Trex Pro and TimberTech Registered Contractor. We handle permits, demo, joist remediation, surface, railing, lighting, and inspection coordination under one contract. Book a free site assessment via our composite decking upgrade service page.
Sources & References
Authoritative sources cited in this guide:
- Toronto Building Permits — Permit info
- Ontario Building Code 9.27 (Cladding) — Exterior cladding standards
- NRC Building Codes — National building codes
Continue Reading
- Composite Decking Mistakes Toronto Homeowners Make in 2026
- Composite Decking Cost Per Sq Ft Toronto 2026: Full Breakdown
- Composite Decking Toronto: Complete 2026 Cost & Brand Guide