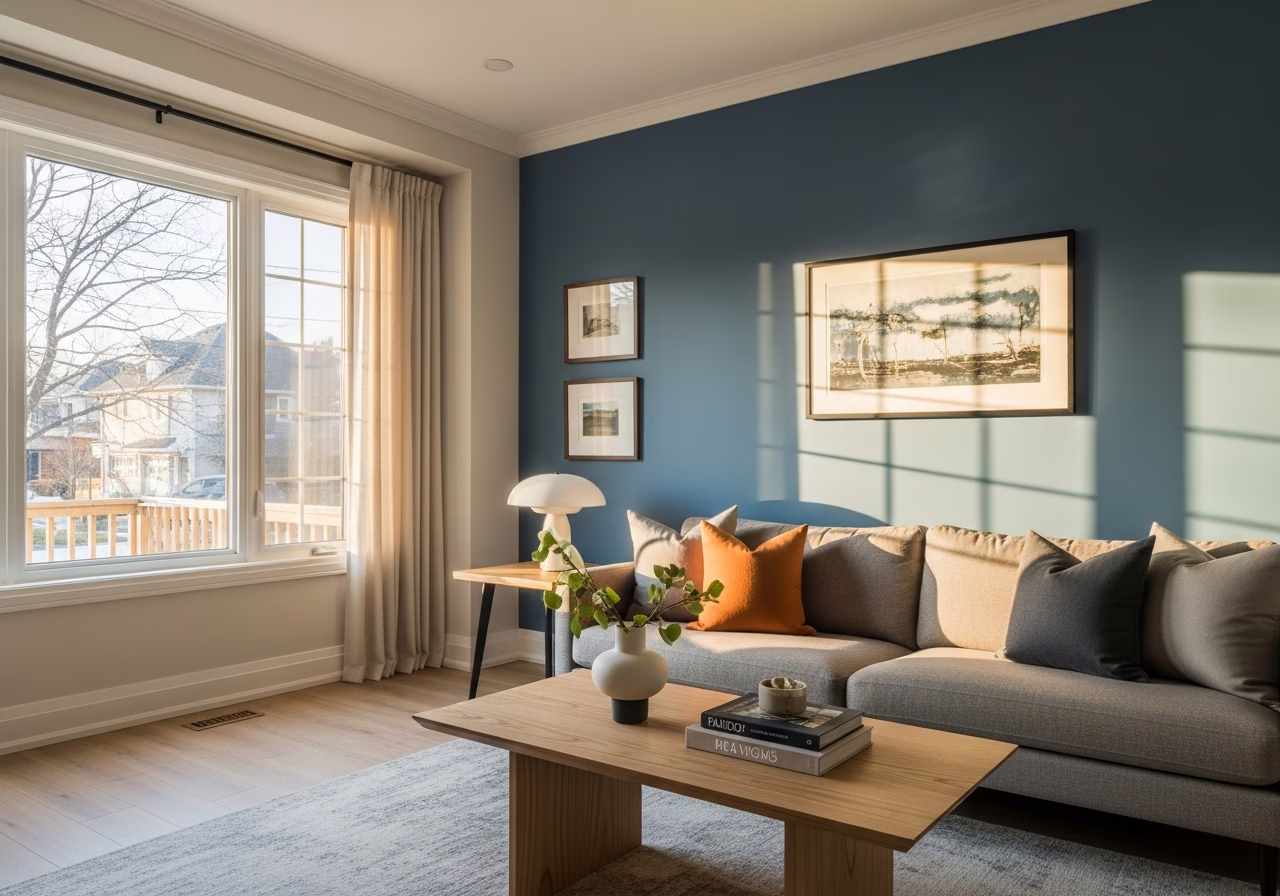
# Attic Conversion Permits Toronto: 2026 Process Step-by-Step
Quick answer. A Toronto attic conversion with a dormer requires, at minimum, a Toronto Building Permit. If your home is in a Heritage Conservation District (HCD) and the dormer is visible from the street, you also need a Heritage Permit issued by Heritage Preservation Services before the Building Permit can be processed.A Toronto attic conversion with a dormer requires, at minimum, a Toronto Building Permit. If your home is in a Heritage Conservation District (HCD) and the dormer is visible from the street, you also need a Heritage Permit issued by Heritage Preservation Services before the Building Permit can be processed. Plan-review timelines in 2026 run 4 to 10 weeks for the Building Permit alone, and 6 to 12 weeks for Heritage review on top of that.
This post walks through the full permit process step-by-step, with realistic timelines, fees, and the role of the structural engineer, architect, and contractor at each stage. For the broader pillar context, see Attic Conversion Toronto 2026: Complete Guide. For HCD-specific guidance, see Dormer Heritage Permit Toronto: HCD Restrictions.
When You Need a Permit
You need a Toronto Building Permit for any attic conversion that:
- Adds or changes the use of habitable space (attic to bedroom, attic to office)
- Cuts into the structural roof (dormer of any size)
- Modifies the existing stair or adds a new stair
- Adds plumbing (ensuite, bathroom, laundry)
- Adds significant electrical load (sub-panel, ensuite circuits)
- Modifies the building envelope (new windows, new exterior walls)
You do not need a permit for purely cosmetic work in an existing legally-habitable attic: paint, flooring, trim, drywall patching. But the moment you upgrade the use, change the structure, or modify the exterior, you're in permit territory.
Step 1: Pre-Application — Asbestos Test, Feasibility, P.Eng Pre-Review
Timeline: 1 to 3 weeks before any drawings start.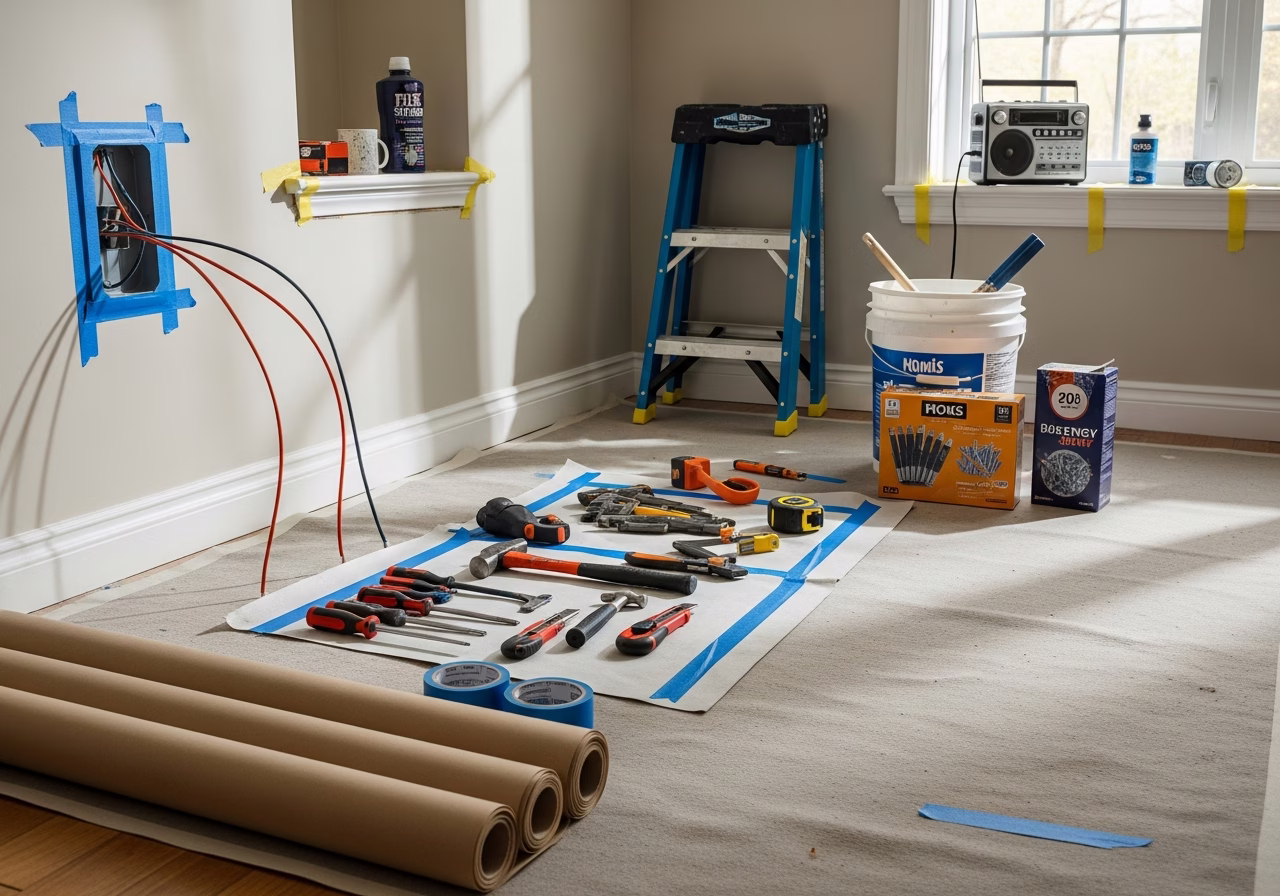
Before any permit drawings, two things should happen:
- 1. Asbestos pre-test. Two to four samples of suspect materials (vermiculite insulation, pipe-wrap, textured ceilings) sent to a CALA-accredited lab. Cost: $300 to $500. Turnaround: 2 to 5 business days. If asbestos is positive, factor abatement into scope and budget. See [Asbestos Abatement Toronto 2026 Complete Guide](/blog/asbestos-abatement-toronto-2026-complete-guide).
- 2. Feasibility visit. General contractor and (ideally) the structural engineer walk the site, measure existing headroom, photograph rafter and joist conditions, identify any structural issues, and produce a written feasibility memo. Cost: $0 to $500 depending on the contractor.
These two steps prevent the most expensive surprises (discovering vermiculite mid-project, or learning that the existing structure can't carry a habitable load economically).
Step 2: Architectural Drawings
Timeline: 3 to 6 weeks. Cost: $3,500 to $9,500 depending on scope and HCD status.The architect or BCIN-qualified designer produces:
- Existing plans (basement, ground floor, second floor, attic, roof)
- Proposed plans (showing the new layout with dormer, new walls, new stair, new bathroom, new bedrooms)
- Sections (showing the dormer profile, new wall plate height, ceiling slopes, headroom dimensions)
- Elevations (showing the new exterior with dormer, matching cladding, window placements)
- Building Code matrix (OBC 9.9.10 egress confirmation, OBC 9.5.3 headroom confirmation, OBC 9.10 fire separations)
- Site plan (showing the home's footprint, lot lines, setbacks, height — for height-and-area zoning confirmation)
If the home is in an HCD, the drawings must also include:
- Existing exterior photographs (all four elevations, neighbouring homes for context)
- Heritage Impact Assessment (often a separate consultant report)
- Material specification (matching brick, matching siding, matching window proportions, matching trim)
Step 3: Structural Engineering
Timeline: 2 to 4 weeks, often overlapping Step 2. Cost: $1,800 to $6,500 depending on dormer scope.The licensed Professional Engineer (P.Eng) produces:
- Beam design and calculations for the new ridge beam supporting the existing roof above the dormer cut
- Sister joist design if existing ceiling joists need reinforcement to carry habitable live load (1.9 kPa) instead of attic load (0.5 kPa)
- Wall plate and dormer wall connection details
- Stamped engineering letter confirming all structural elements meet OBC Part 9 or Part 4 (depending on building classification)
Toronto Building requires the P.Eng stamp for any dormer addition. Without it, the permit will not be issued.
Step 4: Heritage Permit (HCD Only)
Timeline: 6 to 12 weeks. Cost: $2,000 to $5,000 for heritage consultant if required.If your home is in Cabbagetown North, Cabbagetown South, Old Riverdale, Wychwood Park, Casa Loma, or another HCD, and the dormer is visible from the public realm, you must apply for a Heritage Permit before the Building Permit can be issued.
Need professional home renovation?
Call RenoHouse at 289-212-2345 or get a free estimate today.
Get Free Estimate →The application is submitted to Heritage Preservation Services and typically requires:
- Drawings from Step 2 (with HCD-specific detail)
- Heritage Impact Assessment (HIA) — sometimes prepared by the architect, sometimes by a specialist heritage consultant
- Application form and fee (no fee for the Heritage Permit itself, but consultant fees apply)
Heritage Preservation Services may:
- Approve as submitted (rare on first submission)
- Approve with conditions (e.g., specific window proportions, matching brick supplier, gable instead of shed)
- Request revisions (extends timeline by 4 to 8 weeks)
- Recommend Toronto Preservation Board review (extends timeline by 8 to 16 weeks)
For full HCD guidance, see Dormer Heritage Permit Toronto: HCD Restrictions.
Step 5: Building Permit Application
Timeline: 4 to 10 weeks plan review. Cost: Approximately $19 per $1,000 of construction value plus a flat application fee.The Building Permit application is submitted to Toronto Building (the District Office serving your address — North York, Scarborough, Etobicoke York, or Toronto and East York). The package includes:
- Architectural drawings (Step 2)
- P.Eng letter and structural drawings (Step 3)
- Heritage Permit decision, if applicable (Step 4)
- HVAC design (if not part of architectural drawings)
- Plumbing rough-in plans
- Electrical Safety Authority (ESA) application separately
- Application form and fees
Toronto Building plan reviewers check OBC compliance — egress, headroom, fire separation, structural, energy, plumbing, electrical. They may issue:
- Permit issued (proceed to construction)
- Plan review comments (typically 1 to 5 items requiring drawing revision; resubmit and timeline restarts on the revision)
- Permit denied (rare; usually means fundamental zoning or structural issues)
In 2026, average plan review time at the Toronto and East York District Office is 6 to 8 weeks. North York and Etobicoke offices are typically faster. Scarborough varies.
Step 6: Construction
Timeline: 10 to 18 weeks for a Tier 2 single shed dormer master suite. Inspections: 4 to 6 mandatory.During construction, Toronto Building inspectors visit at the following milestones:
- 1. Pre-pour / pre-frame (before structural work is concealed)
- 2. Framing inspection (after framing complete, before insulation)
- 3. Insulation inspection (after insulation, before drywall)
- 4. Plumbing rough-in inspection (before drywall covers plumbing)
- 5. Electrical inspection (separate from Toronto Building, conducted by ESA)
- 6. Final inspection (after all finishes, before occupancy)
Each inspection requires 1 to 5 business days notice. Failed inspections require correction and re-inspection, typically adding 1 to 2 weeks per failure.
Step 7: Final Inspection and Occupancy
Timeline: 1 to 2 weeks after construction substantially complete.
The final inspection verifies all OBC items: egress, headroom, smoke and CO alarms, stair geometry, fire separation, energy compliance, plumbing, electrical. The inspector signs off and the permit is closed. The new space is now legally habitable.
For resale, retain the closed permit documentation — buyers' lawyers ask for it, and it's the difference between a $20,000 reduction in resale value (if missing) and full ROI capture.
Total Permit Timeline by Tier
| Tier | Pre-application | Drawings + P.Eng | Heritage (if HCD) | Plan Review | Total |
|---|---|---|---|---|---|
| Tier 1 (no dormer) | 2 weeks | 3 weeks | n/a | 4 weeks | 9 weeks |
| Tier 2 (single shed dormer, non-HCD) | 2 weeks | 5 weeks | n/a | 6 weeks | 13 weeks |
| Tier 2 (single shed dormer, HCD) | 2 weeks | 5 weeks | 8 weeks | 6 weeks | 21 weeks |
| Tier 3 (multi-dormer, HCD) | 2 weeks | 7 weeks | 12 weeks | 8 weeks | 29 weeks |
Construction adds 10 to 18 more weeks on top of the permit timeline. Total project length from first call to occupancy: 5 to 11 months.
Total Permit Cost by Tier
| Tier | Drawings | P.Eng | Heritage Consultant | Permit Fees | Total Permit Cost |
|---|---|---|---|---|---|
| Tier 1 | $1,500 to $2,500 | $1,200 to $2,000 | $0 | $400 to $700 | $3,100 to $5,200 |
| Tier 2 | $3,500 to $6,500 | $2,200 to $4,000 | $0 to $5,000 | $700 to $1,200 | $6,400 to $16,700 |
| Tier 3 | $5,500 to $9,500 | $3,500 to $6,500 | $0 to $5,500 | $1,000 to $1,800 | $10,000 to $23,300 |
These are professional and permit fees only — they sit on top of construction cost.
Common Permit Mistakes
The four most common permit-stage mistakes:
- 1. Submitting Building Permit before Heritage Permit in an HCD. Toronto Building will hold the Building Permit until Heritage clears, but the timeline doesn't restart — and you've wasted 6 to 8 weeks of pre-Heritage time.
- 2. Skipping the P.Eng stamp. Permit is rejected at first review. 4 to 6 weeks lost to find an engineer, get the design done, and resubmit.
- 3. Underestimating ESA timing. Electrical Safety Authority is separate from Toronto Building. ESA permits and inspections must be tracked separately.
- 4. Filing as an "alteration" when it should be "addition." Some homeowners try to file dormers as interior alterations to skip Heritage. The drawings show the exterior change and the permit gets corrected. Adds 2 to 4 weeks.
Working Without a Permit
Some homeowners try to do attic conversions without a permit. Three things happen, in order:
- 1. Neighbour complaint. Toronto Building responds to neighbour complaints. A visible dormer being framed without a permit on the street is one of the most-reported violations.
- 2. Stop work order. Work halts. The order remains until permits are obtained — often retroactively, with full plans and inspections of work-in-progress.
- 3. Resale problem. When the home is sold, the buyer's lawyer searches for permits, finds the unpermitted attic, and either demands a 5 to 10% price reduction or makes the sale conditional on retroactive permitting.
The "savings" from skipping the permit (typically $5,000 to $15,000) are dwarfed by the eventual cost of fixing it.
Next Steps
If you're starting a Toronto attic conversion, the right first step is a feasibility visit that includes a permit-strategy assessment: HCD check, structural feasibility, asbestos pre-test, and a written timeline-and-budget memo.
Book an attic conversion feasibility visit — RenoHouse handles drawings, P.Eng, Heritage review where required, and permit submission.Return to the pillar: Attic Conversion Toronto 2026: Complete Guide. Related: Dormer Heritage Permit Toronto, Attic Bedroom OBC 9.9.10, Attic Conversion Mistakes Toronto.
Sources & References
Authoritative sources cited in this guide:
- Ontario Building Code — OBC official text
- Toronto Building Permits — City permit portal
- Tarion New Home Warranty — Ontario new-build warranty regulator
- HCRA — Home Construction Regulatory Authority — Ontario builder/vendor licensing
Continue Reading