# Attic Master Suite Design Toronto: Layouts, Ensuites, and Storage
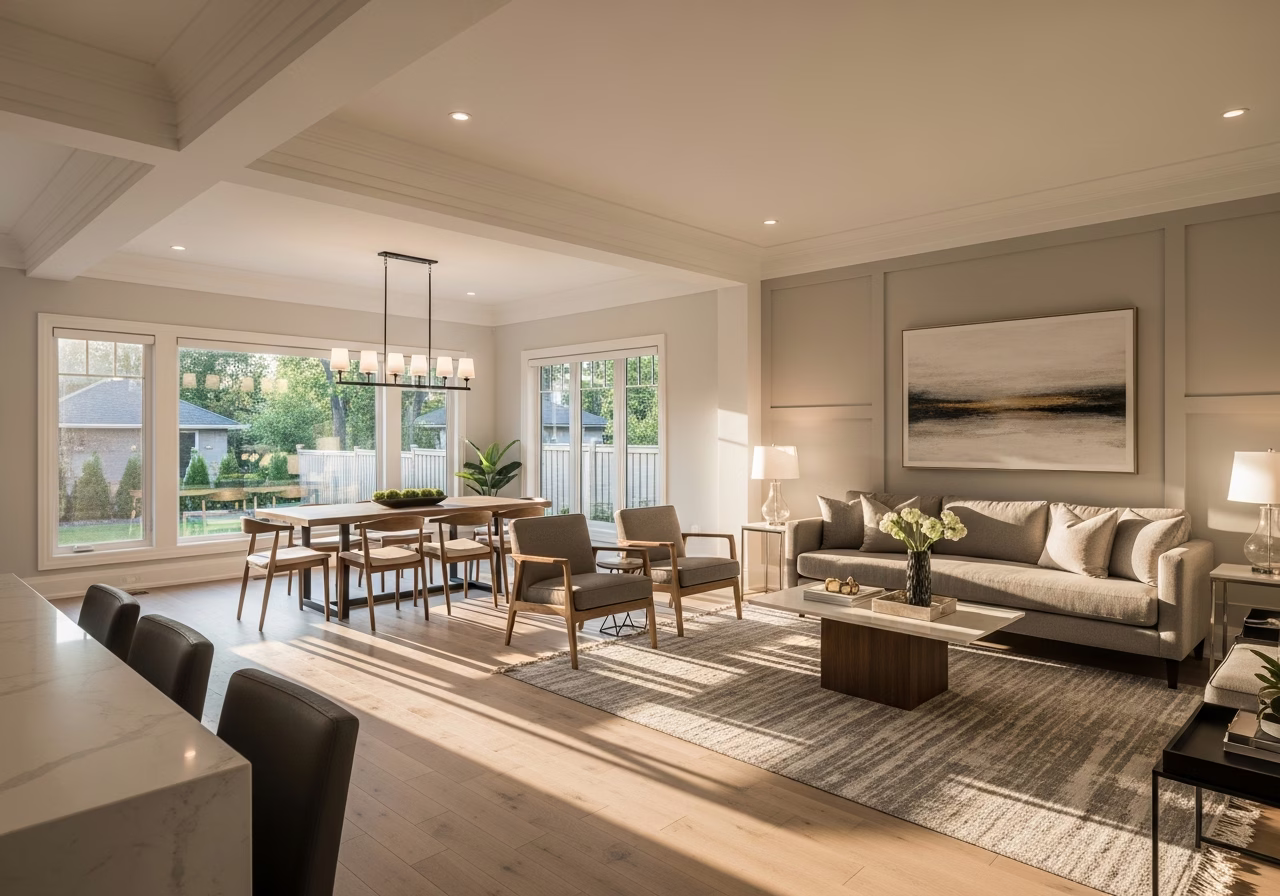
Quick answer. The most common Toronto attic conversion isn't a generic "extra bedroom" — it's a master suite with an ensuite bathroom and walk-in closet. Done well, an attic master suite gives owners 500 to 700 sqft of dedicated private space that doesn't disrupt the second-floor layout below.The most common Toronto attic conversion isn't a generic "extra bedroom" — it's a master suite with an ensuite bathroom and walk-in closet. Done well, an attic master suite gives owners 500 to 700 sqft of dedicated private space that doesn't disrupt the second-floor layout below. Done poorly, it ends up cramped, awkward to furnish, with a bathroom that fights the roof slope and storage that wastes the kneewall triangles.
This post is the design playbook for a Toronto attic master suite under sloped ceilings: bedroom layout principles, ensuite plumbing strategy, walk-in closet sizing, knee-wall storage, lighting, and HVAC. For the broader pillar, see Attic Conversion Toronto 2026: Complete Guide.
The Three Anchors of an Attic Master Suite
Every successful attic master suite design pivots around three anchors that must be located first, before any other layout decisions:
- 1. The new stair landing. Determines where you enter the suite. Usually emerges at the high-headroom area near the ridge or under a dormer.
- 2. The plumbing wet wall. Stacks down through the floor below to existing plumbing risers. Constrains where the ensuite can be located.
- 3. The dormer. Determines where full standing headroom exists. The bedroom area is centred under the dormer.
Lock these three anchors first. Everything else (bed wall, closet location, ensuite layout) flows from them.
Bedroom Layout Under Sloped Ceilings
The fundamental challenge of attic bedroom layout: most of the floor area has sloped ceilings overhead. The full-headroom area (under the dormer or under the ridge) is limited. The bedroom design should reserve the full-headroom area for activities that require standing — getting dressed, walking around the bed — and use the lower-headroom areas for the bed itself.
Bed Placement Principles
- Bed against the kneewall. A queen or king bed is 60 to 76 inches wide and 80 inches long. Placing the head of the bed against the kneewall puts the sleeping body under the lower headroom area. The owner sleeping in the bed doesn't experience the sloped ceiling as a constraint.
- Headboard wall is the kneewall. This works because the headboard fills the wall up to roughly 1.2 m, and the sloped ceiling beginning at the kneewall top is well above the headboard.
- Don't place the bed under the dormer. Wastes the full-headroom area on horizontal sleeping space. The dormer area should be the dressing area, the chair-and-side-table area, or the desk area.
Doorways and Circulation
- Door at the end of the high-headroom corridor. The bedroom door should open into the area where someone walking in has full headroom for the first 1 to 2 metres.
- Avoid doors that swing into low-headroom space. A door that opens into a 1.5 m headroom corner creates a head-bumping hazard.
Ensuite Plumbing Strategy
The ensuite is where attic master suites most often fail design-wise. The combination of plumbing constraints and roof slope creates puzzles. Three principles solve most of them:
Principle 1: Locate the Ensuite Above an Existing Wet Wall
The cheapest plumbing run is straight down. If the second floor below has a bathroom or laundry, the attic ensuite should be located directly above so plumbing stacks pass through one floor instead of being routed laterally. Routing horizontally between floor joists costs $3,000 to $8,000 more than a stacked layout.
Principle 2: Toilet Wall Is the High-Headroom Wall
A toilet requires a person to stand to use the flush handle and to sit comfortably. Locate the toilet against a wall where the ceiling above the standing area is at least 1.95 m. The toilet seat itself can have a sloped ceiling lower above it because no one stands there.
Principle 3: Shower Goes Under the Lowest Ceiling
A shower requires standing under a shower head, ideally with at least 2.0 m of clearance above the floor of the shower base. But the shower walls themselves can be against a sloped ceiling because no one walks beside them. Placing the shower against the kneewall maximizes the use of low-headroom area.
Typical 4-Piece Ensuite Layout
For a 6 to 8 ft x 8 to 10 ft ensuite under a sloped ceiling:
- Toilet: Against the high-headroom wall, beside or near the door
- Vanity: Against the wall opposite the door, with full standing headroom
- Shower: Against the kneewall, with the shower head plumbed in the high portion of the ceiling
- Tub (if 4-piece): Along the kneewall, with the tub apron against the low ceiling
A skylight directly above the shower or tub adds natural light and feels luxurious — and can serve egress duty for an adjacent bedroom if positioned correctly.
Need professional home renovation?
Call RenoHouse at 289-212-2345 or get a free estimate today.
Get Free Estimate →Walk-In Closet Design
A walk-in closet should be deep enough for clothes hung on both sides plus a centre aisle. Minimum dimensions:
- Width: 1.5 m (5 ft) minimum, 1.8 m (6 ft) preferred
- Depth: 2.4 m (8 ft) minimum for hanging on both walls
- Height under hanging rod: 1.2 m (clearance for shirts) or 1.7 m (clearance for full-length items)
In a converted attic, the walk-in closet is often placed against a kneewall — the kneewall provides excellent storage depth for hanging clothes (the depth of a hanger plus the width of the kneewall cavity, typically 600 mm). The opposite wall, with full standing headroom, holds taller hanging items.
Pro Tip: Knee-Wall Drawer Storage
The triangular space behind the kneewall is otherwise unused. Building drawers or pull-out shelves into the kneewall (with proper insulation behind them) recovers 30 to 50 sqft of storage in a 6 to 9 m wide bedroom. Drawers are typically 600 mm deep and 300 to 600 mm tall, with a panel on the front that matches the wall finish.
Lighting Strategy
Attic master suites have specific lighting needs:
- Sloped-ceiling pot lights: Use sloped-ceiling-rated trims. Standard pot light trims gimbaled for vertical surfaces will throw light at strange angles when installed in a sloped ceiling.
- Pendant over the bed. Looks dramatic, requires the ceiling height under it to be at least 2.4 m. Often hangs from a dormer ceiling.
- Wall sconces beside the bed. Free up bedside table space and don't require ceiling clearance.
- Vanity sconces in the ensuite. Mounted at face height (60 to 65 inches above the floor), one on each side of the mirror.
- Dimmable LED throughout. Energy code requires high-efficacy lamps; dimmability is a quality-of-life upgrade.
Skylights add natural light dramatically — a 24 by 48 inch skylight in a sloped ceiling delivers as much daytime light as 4 to 6 pot lights.
HVAC and Climate Control
A 500 to 750 sqft master suite adds 12,000 to 18,000 BTU/hr of heating and cooling load. Three approaches:
Option 1: Existing Furnace + New Supply and Return
If the existing furnace has spare capacity (verified by a Manual J load calculation), run new ducts up to the attic floor with one supply per 100 sqft and a centralized return. Cost: $4,000 to $7,500.
Option 2: Mini-Split Heat Pump
A wall-mounted ductless mini-split (12,000 to 18,000 BTU) provides dedicated heating and cooling for the attic floor. Eligible for federal Greener Homes rebates up to $5,000. Cost: $4,500 to $8,000 installed.
Option 3: Hybrid
Use existing furnace for heating, mini-split for supplemental cooling. Most flexible but most expensive ($6,000 to $11,000).
For most Toronto attic master suites, Option 2 (mini-split) is the right answer because it gives the attic its own zone, eliminates duct runs, and qualifies for rebates.
Acoustic Strategy
Attic master suites are quieter than expected because they're at the top of the house, but two acoustic issues can spoil the suite:
- Plumbing noise from second floor below. A toilet flush or shower on the second floor transmits up. Acoustic batt insulation in the attic floor cavity (between the new joists and the old ceiling below) and resilient channels under the new floor reduce this.
- Roof noise from rain. Steel roofing transmits rain noise more than asphalt shingle. Closed-cell spray foam insulation under the deck dramatically reduces this. Asphalt shingle plus standard insulation is generally fine.
For a fuller acoustic discussion, see related articles on acoustic insulation. For attic-specific insulation strategy, see Attic Insulation During Conversion: Toronto Strategy.
Egress and Smoke Alarms
OBC 9.9.10 requires every bedroom to have an egress window or skylight. The master bedroom egress is typically the dormer window itself (sized for OBC 9.9.10 compliance — 0.35 m² minimum opening, 380 mm minimum dimension, sill no higher than 1.5 m). A second egress (skylight) is sometimes added for redundancy and as natural light.
Hard-wired interconnected smoke alarms in the master bedroom and corridor outside, plus CO alarm within 5 m of the bed. See Attic Bedroom Conversion: OBC 9.9.10 Compliance.
Typical Master Suite Floor Plan
A 600 sqft attic master suite in a typical Toronto 1.5-storey home with a 7 m wide rear shed dormer:
- Stair lands at the high-headroom area near the ridge, opens into a small landing
- Door to bedroom at the end of the landing
- Bedroom area 4.5 m x 3.5 m, with bed against the rear kneewall (under the dormer side) and full-headroom area in the centre and front
- Walk-in closet 1.8 m x 2.4 m, accessed from the bedroom, with kneewall storage and standing-headroom hanging
- Ensuite 2.4 m x 3.0 m, accessed from the bedroom, with toilet and vanity along the high-headroom wall and shower against the kneewall
Total: 540 sqft of new habitable area. Total project cost typically $130K to $170K. See Attic Conversion Cost Toronto: Tier-by-Tier Comparison.
Next Steps
If you're designing a Toronto attic master suite, the right next step is a feasibility visit that confirms the three anchors — stair landing, plumbing wet wall, dormer location — match the design vision.
Book an attic conversion feasibility visit — RenoHouse provides design feasibility before design fees are spent.Return to the pillar: Attic Conversion Toronto 2026: Complete Guide. Related: Attic Insulation During Conversion, Attic Stairs vs Pull-Down, Attic Bedroom OBC 9.9.10.
Sources & References
Authoritative sources cited in this guide:
- Ontario Building Code — OBC official text
- Toronto Building Permits — City permit portal
- Tarion New Home Warranty — Ontario new-build warranty regulator
- HCRA — Home Construction Regulatory Authority — Ontario builder/vendor licensing
Continue Reading