# Heat Pump Condensate Drainage Toronto Winter: Avoiding Ice Dams at the Outdoor Unit
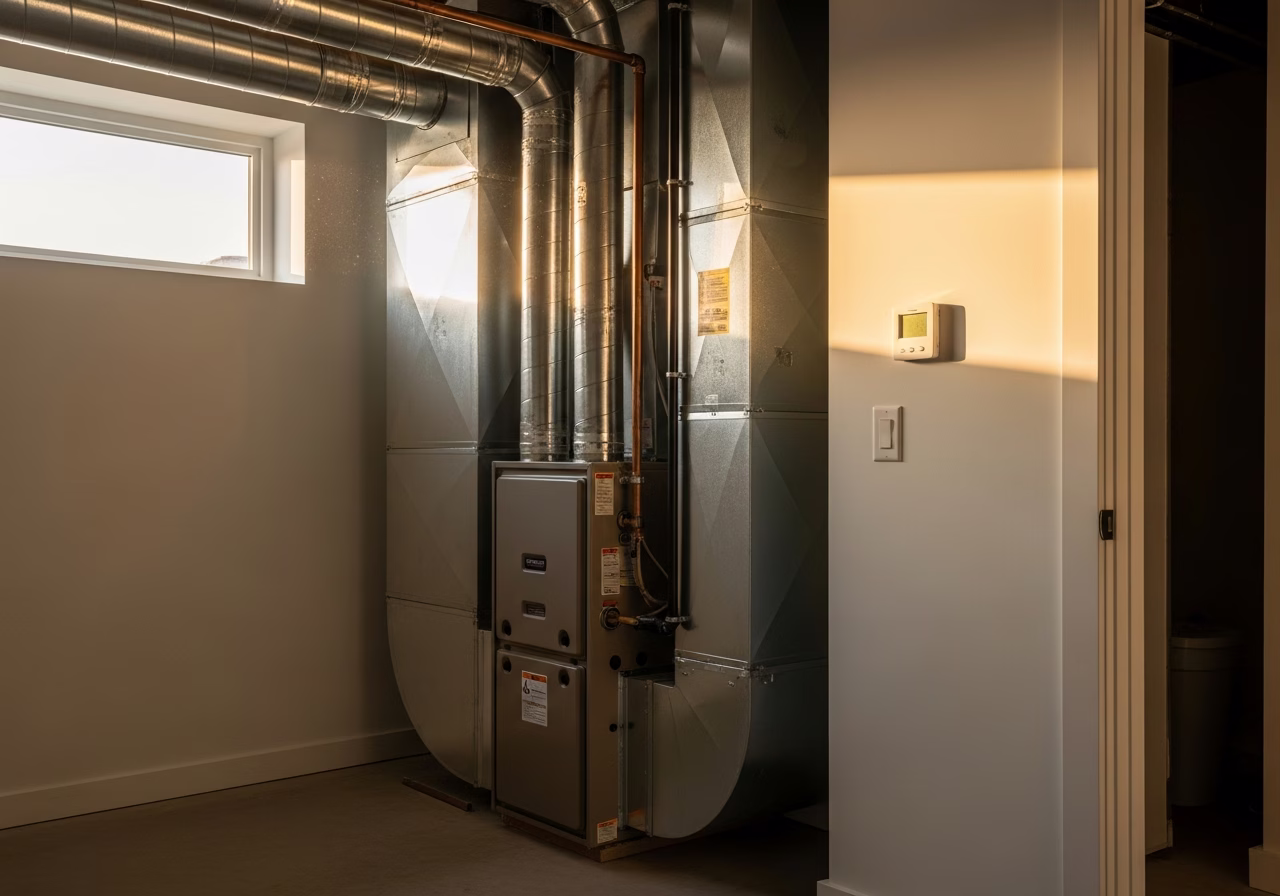
Quick answer. The most underestimated detail on a Toronto heat pump install is the outdoor unit's defrost condensate. In summer the indoor coil generates condensate (managed by the indoor drain pan, condensate pump, and floor drain — same as an AC). In winter, the outdoor coil generates condensate during defrost cycles, and that water has to go somewhere.The most underestimated detail on a Toronto heat pump install is the outdoor unit's defrost condensate. In summer the indoor coil generates condensate (managed by the indoor drain pan, condensate pump, and floor drain — same as an AC). In winter, the outdoor coil generates condensate during defrost cycles, and that water has to go somewhere. If it goes to the wrong place — onto a concrete walkway, into a window well, or back under the unit — you get ice dams, slip hazards, premature unit failure, and sometimes basement water infiltration. This post covers the physics, the design choices, and the placement details that separate a clean install from a winter call-back.
For the full conversion guide, see Heat Pump Conversion Toronto: The Complete 2026 Guide. For installation pitfalls overview, see Heat Pump Installation Mistakes Toronto.
RenoHouse Role on Drainage Detail
We coordinate heat pump installations with TSSA-G2-licensed and HVAC-licensed installers. On drainage, our role is to verify the placement plan before install: outdoor unit elevation, gravel pit dimensions, slope direction, and proximity to walkways or window wells. Most condensate problems are placement problems, and they are easiest to fix at quote stage.
The Physics: Where Defrost Water Comes From
Air-source heat pumps absorb heat from outdoor air through a refrigerant coil. When outdoor temperature is between -5C and +5C with humidity above 60-70%, water vapor in the air condenses and freezes on the outdoor coil as frost. The unit detects frost (rising suction pressure, drop in capacity) and runs a defrost cycle — typically 3-7 minutes, every 30-90 minutes during frost-prone weather.
During defrost, the unit reverses the refrigerant cycle. The outdoor coil briefly becomes the hot side (the indoor coil becomes the cold side temporarily). Frost on the outdoor coil melts. The melted water drips off the bottom of the coil.
Volume of defrost water in a typical Toronto winter day:
- 8-15 defrost events on a humid 0C day.
- 1-3 cups of meltwater per event.
- Total: 0.5-2 liters per day flowing off the outdoor unit.
Multiplied across a 60-day frost-prone shoulder season: ~50-100 liters total.
What Happens to the Water
In summer, water hits warm grade and evaporates or soaks in. In winter, water hits cold concrete or interlock and refreezes within minutes. Each defrost cycle layers more ice. After a week of frost-prone weather, you can have a 2-4 inch thick ice patch directly under the unit.
Consequences of bad drainage:
- 1. Slip hazard at the outdoor unit servicing path.
- 2. Ice contact with the unit base can damage drain pan and bottom panel over time.
- 3. Ice can lift the unit if the riser is undersized — eventually misaligning the refrigerant connections.
- 4. Ice growth into a window well can pressure-crack basement windows.
- 5. Ice growth toward foundation can route water back through cracks.
- 6. Ice on walkway is a liability — you slip on your own walkway, or worse a guest does.
The Three Drainage Strategies
Strategy 1: Gravel Pit Under Riser Pad (Standard)
Most common solution for typical Toronto installs.
Construction:
- Excavate a pit 12-16 inches deep, 12 inches larger than the unit footprint on each side.
- Lay landscape fabric to prevent silt migration.
- Fill with 19mm clear stone (also called clear washed gravel).
- Top with 4-inch riser blocks under the unit feet.
- Verify that the surrounding grade slopes away from the pit (and away from the foundation).
Cost: $250-$500 added to install.
How it works: defrost water drops through the riser, through the gravel, and percolates into the soil. The gravel mass has air pockets, so meltwater can freeze in the pit without damaging anything — and refreezing happens below the unit footprint, not in front of it.
Need professional renovation?
Call RenoHouse at 289-212-2345 or get a free estimate today.
Get Free Estimate →Limitations: needs natural drainage in the soil. Heavy clay sites with poor percolation may saturate the pit; combine with surface slope.
Strategy 2: Surface Channel With Slope (Walkway Sites)
For installs on a paved walkway or interlock where excavation is not possible.
Construction:
- Riser pad 8-12 inches above grade.
- Surface channel cut into walkway directing meltwater away from foot traffic.
- Channel slopes 1-2% toward a grade-side gravel bed or rain garden.
Cost: $400-$900.
Limitations: surface channel can ice over in deep cold; heated drain line may be needed.
Strategy 3: Heated Drain Line (Difficult Sites)
For installs where neither gravel pit nor surface channel works (e.g., basement window well within 24 inches of the only available unit location).
Construction:
- Riser pad with collection pan under coil.
- 1.5-inch flexible hose with self-regulating heat trace cable.
- Hose routes meltwater to a foundation-distant drain or rain garden.
- Heat trace prevents freezing in the hose.
Cost: $700-$1,400 added (heat trace adds $80-$120/year electricity).
Limitations: heat trace is a maintenance item; cable typically lasts 8-12 years.
Outdoor Unit Placement: What to Avoid
Five placement mistakes that create drainage problems:
- 1. Within 36 inches of a basement window well. Defrost water flows directly into the well, ices, cracks the window or pressure-tests the seal.
- 2. Above a concrete walkway with no slope. Surface ice forms within hours of frost season starting.
- 3. In a corner where snow drifts. Drift covers the unit base, blocks airflow, and prevents meltwater from clearing.
- 4. Under a deep eave with active ice-dam meltwater. Roof meltwater drips onto the unit, accumulates inside the cabinet, and can short-circuit electronics.
- 5. On a flat concrete pad with no riser. Meltwater refreezes around the unit feet, locking it to the pad and complicating service.
Outdoor Unit Placement: What Works
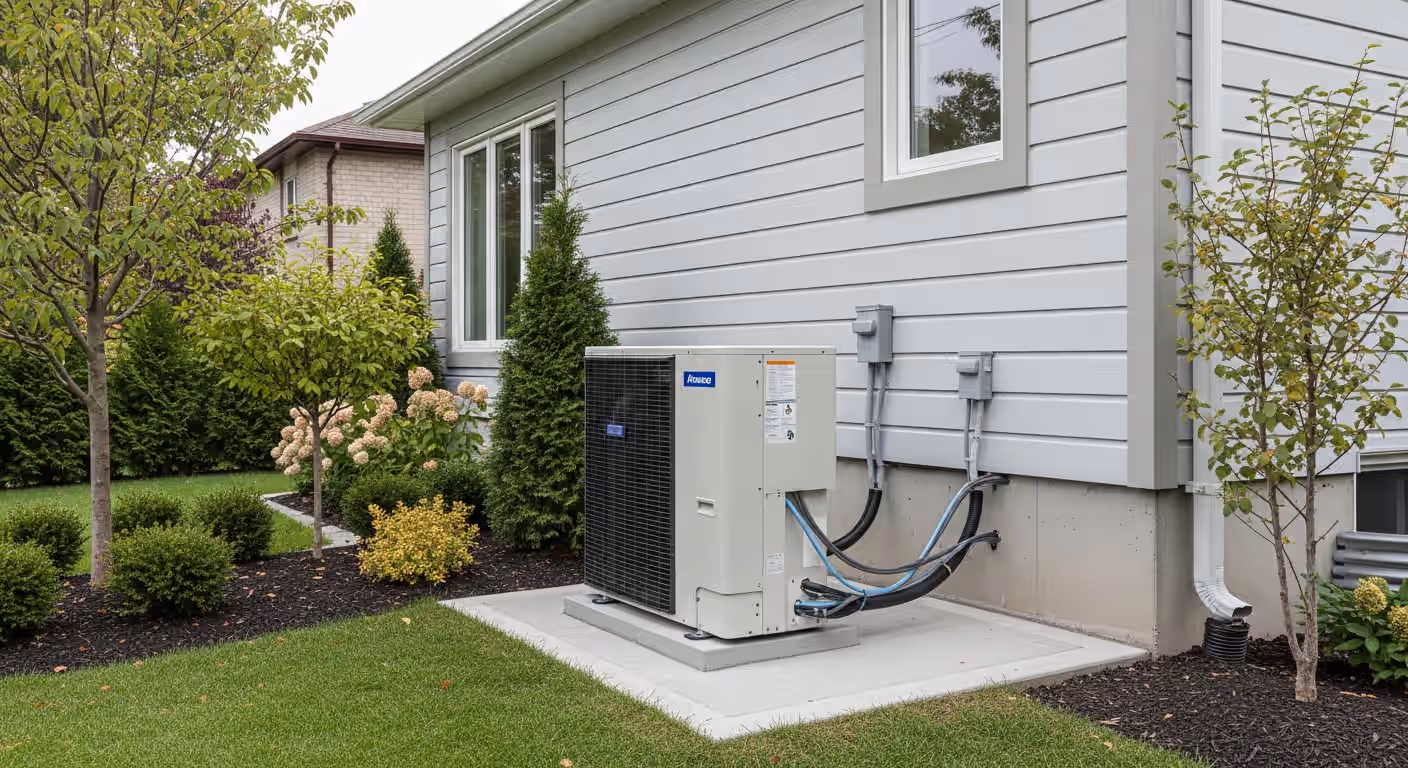
The ideal placement in a Toronto context:
- Side yard or rear yard, at least 36 inches from any wall.
- Riser pad 8-14 inches above grade for snow clearance.
- Gravel pit underneath for drainage.
- 18-24 inches clearance on coil sides, 36 inches on discharge side.
- No overhead obstruction for at least 6 feet (allows snow off roof to fall clear, not on the unit).
- Service access path that does not become an ice patch.
- Within 25 feet of the indoor unit (refrigerant line length limit).
For the full installation checklist, see Heat Pump Installation Mistakes Toronto.
Snow Management
Toronto's typical 130-150 cm annual snowfall plus city plowing creates two issues:
- 1. Side-yard plow piles can cover an outdoor unit by January. Place the unit out of plow throw zones, or install a small hood.
- 2. Drift accumulation in lee corners. Outdoor unit on a riser pad with prevailing-wind orientation minimizes drifting.
Ice Damming Off the Unit Itself
When the outdoor unit is operating in deep cold (-15C and below), the cabinet remains around -10C to -15C. Snow that lands on the top of the unit melts on the warm exhaust grille and refreezes as it drips. Over a winter, an ice cone can form at the unit's discharge.
Mitigation:
- Mount a small angled snow shield 18 inches above the unit (commercial accessory available from most manufacturers).
- Or place the unit under an existing eave or porch overhang (with the 6-foot clearance still maintained).
Summer Drainage Reminder
The outdoor unit in summer does not generate condensate (no frost; no defrost). Summer condensate is from the indoor coil during cooling mode. That water:
- Drops into the indoor drain pan.
- Routes through a P-trap to the basement drain or condensate pump.
- A condensate pump is required if there is no gravity drain.
This is the same as a conventional AC. No new drainage detail required for summer.
Annual Maintenance for Drainage
Once a year, before frost season:
- Clear debris and leaves from the gravel pit perimeter.
- Verify riser pad has not settled.
- Check that surface channels have not silted up.
- If using heat trace cable, test the cable before deep cold.
- Verify outdoor unit is level (settling can shift drainage path).
Cost: $0-$150 if combined with annual heat pump service visit.
Cost Comparison Table
| Drainage Strategy | Up-Front Cost | Annual Maintenance | Best For |
|---|---|---|---|
| Gravel pit + riser | $250-$500 | $0 | Most Toronto installs |
| Surface channel | $400-$900 | $50 | Walkway-adjacent |
| Heated drain line | $700-$1,400 | $80-$150 (heat trace) | Tight sites, window-well proximity |
Common Mistakes Summary
- 1. Outdoor unit on flat concrete pad with no gravel pit.
- 2. Outdoor unit too close to basement window.
- 3. No slope on surrounding grade.
- 4. Riser pad too low (snow burial).
- 5. Plumbing the outdoor "drain" to a basement floor drain (not how heat pumps work).
- 6. Forgetting that defrost water exists at all.
- 7. Using a non-heat-traced hose for tight-site drainage.
Next Steps
Drainage is a small line item on a heat pump install (typically $250-$1,400) but it determines whether the system runs cleanly through Toronto winters or generates winter call-backs. RenoHouse verifies the drainage plan with the HVAC sub at scoping visit before any equipment is ordered.
Book at /services/hvac-energy/heat-pump-conversion. For full conversion guide, see [Heat Pump Conversion Toronto: The Complete 2026 Guide](/blog/heat-pump-conversion-toronto-2026-complete-guide). For broader installation pitfalls, see Heat Pump Installation Mistakes Toronto. For envelope verification before install, see Insulation Thermal Audit (FLIR).
Sources & References
Authoritative sources cited in this guide:
- NRCan — Heating and Cooling — NRCan heating/cooling guidance
- Canada Greener Homes Loan — Federal energy retrofit financing
- CSA F326 (Mechanical Ventilation) — Residential HRV/ERV standard
- Enbridge Home Renovation Savings (HRS) program — Provincial heat pump rebate
- TSSA Fuel Safety — Ontario fuel/gas regulator
Continue Reading