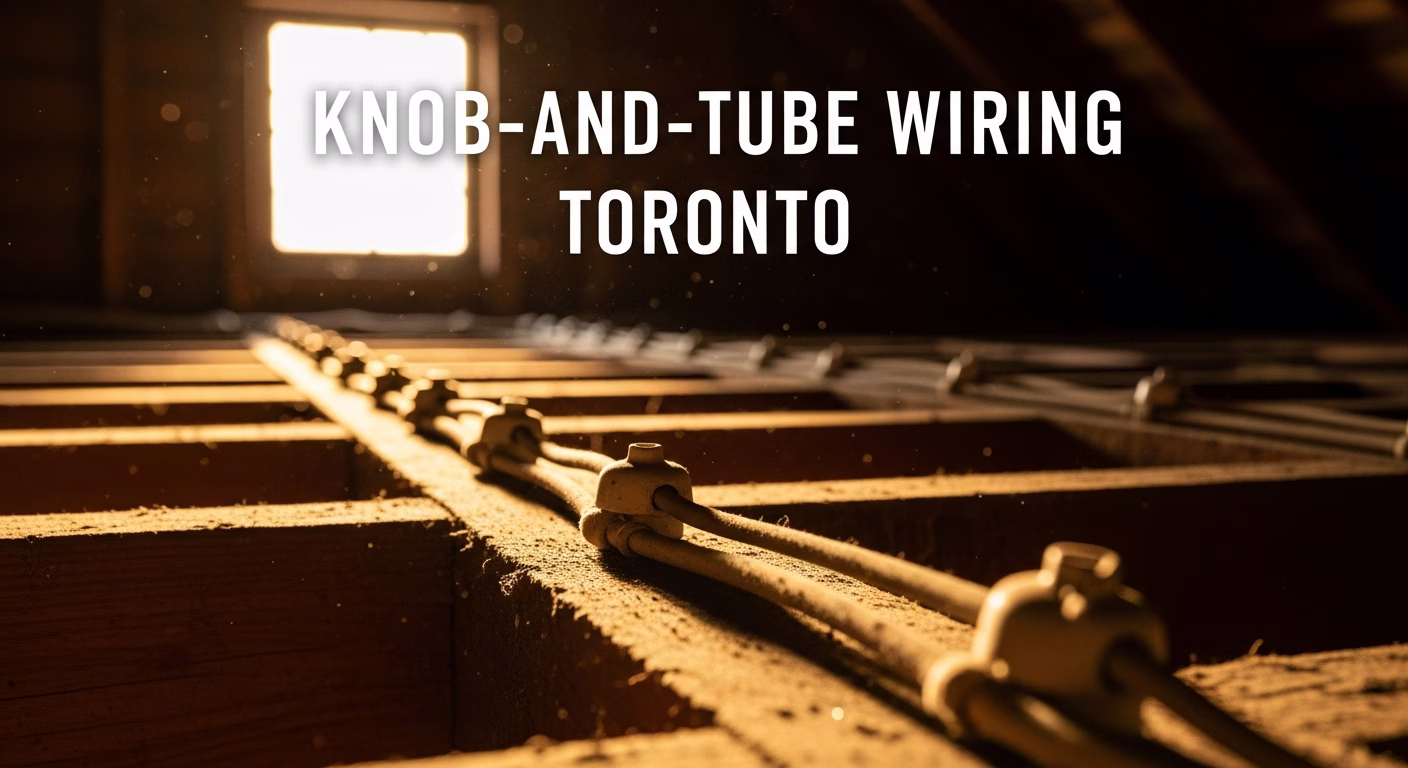
# Knob & Tube ESA Permit Process in Toronto: Step by Step
Quick answer. The Electrical Safety Authority (ESA) administers Ontario's electrical permitting and inspection regime under the Ontario Electrical Safety Code (OESC). For Toronto knob and tube rewiring, the ESA permit and the resulting Certificate of Inspection are the document that ends the insurance problem.The Electrical Safety Authority (ESA) administers Ontario's electrical permitting and inspection regime under the Ontario Electrical Safety Code (OESC). For Toronto knob and tube rewiring, the ESA permit and the resulting Certificate of Inspection are the document that ends the insurance problem. Understanding how this process works helps homeowners distinguish legitimate contractors from operators offering work without permits.
This post walks through the ESA process step by step for a typical Toronto K&T rewire. For the full project guide, see Knob & Tube Rewiring Toronto: Complete 2026 Guide.
Who Can Pull an ESA Permit
In Ontario, only a Licensed Electrical Contractor (LEC) holding an active ECRA/ESA licence can pull an electrical permit. The licence number is six or seven digits and must appear on the contractor's invoices and quotes. You can verify any LEC at the ESA's online register.
Three roles are involved:
- 1. Licensed Electrical Contractor (LEC) — the company holding the ECRA/ESA licence. Pulls the permit. Carries WSIB and liability insurance.
- 2. Master Electrician — a person, not a company. Holds an Ontario Master Electrician certificate, named on the LEC's licence as the responsible electrician. The Master Electrician is the technical authority for the work.
- 3. Journeyperson Electricians and Apprentices — perform the work under Master Electrician supervision.
RenoHouse is not an LEC. We coordinate the project end-to-end and partner with ECRA/ESA-licensed electrical contractors with Master Electrician oversight on staff. The permit is pulled by the LEC partner under their licence number. The Certificate of Inspection is issued in the LEC's name.
Step 1: Permit Application
The LEC submits an application to ESA before any electrical work begins. The application includes:
- Property address.
- Description of work (scope of K&T removal, panel replacement if applicable, service work if applicable).
- Estimated start and completion dates.
- LEC licence number and Master Electrician name.
- Permit fee (typically $200–$500 for a residential K&T rewire scope, varies by ESA fee schedule).
Permit issuance is usually 1–3 business days for residential work in the GTA. Larger projects with service mast work may require Toronto Hydro coordination, which can add 1–2 weeks to scheduling.
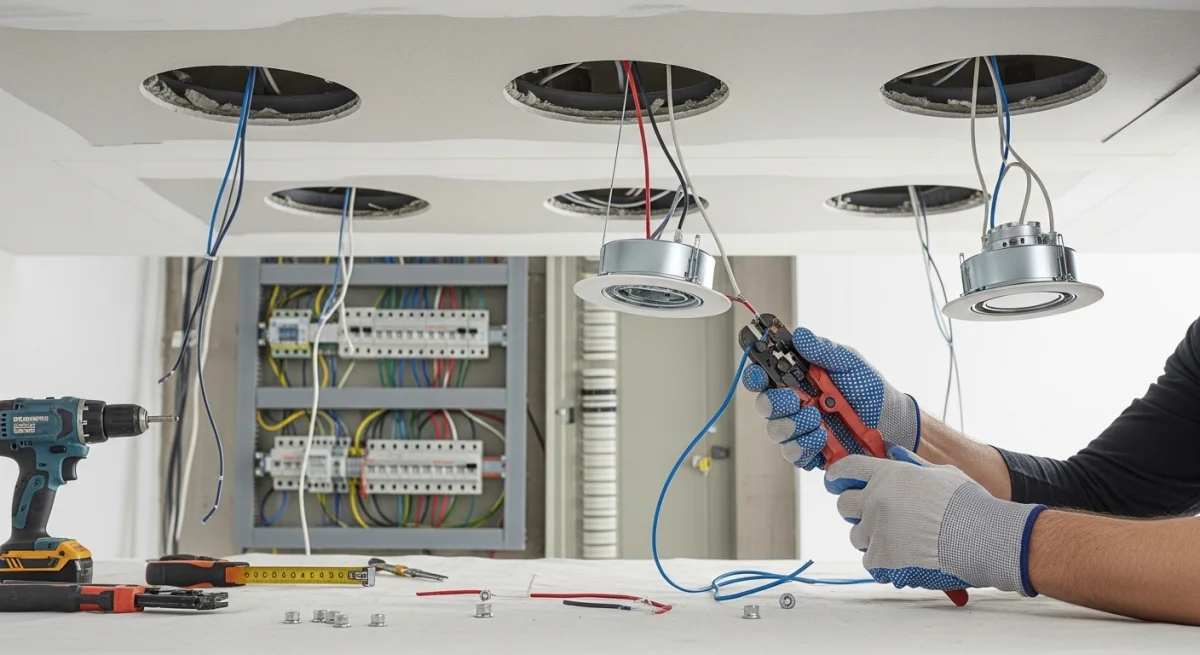
Step 2: Rough-In Work
Once the permit is issued, the LEC performs the rough-in:
- All K&T circuits removed (or de-energized and abandoned where ESA accepts).
- New Romex NMD90 cable run from panel to every device location.
- New panel installed if scope includes panel upgrade.
- Service mast and meter base replaced if scope includes service upgrade.
- All boxes installed at device and fixture locations.
- All splices made inside boxes.
- Bonding and grounding established.
Rough-in is the phase where most fishing happens — pulling new cable through walls, attics, and floor cavities while removing old K&T. Drywall has been opened by RenoHouse where required. Asbestos and vermiculite abatement (if applicable) has been completed before this phase begins.
Step 3: Rough-In Inspection
Before drywall closure, the LEC requests an ESA rough-in inspection. The ESA inspector visits the site and confirms:
Need professional electrical services?
Call RenoHouse at 289-212-2345 or get a free estimate today.
Get Free Estimate →- All K&T removed or properly de-energized and labeled.
- New cable installed correctly (proper stapling, fire-stopping where required, no abrasion against framing).
- All boxes mounted correctly, with adequate cable extension into each box (at least 6" for splicing).
- Splice integrity (sample inspection).
- Panel work meets OESC standards.
- Bonding and grounding correct.
If the inspector finds issues, the LEC corrects them and a re-inspection is scheduled. Re-inspections are billed at additional fees.
Once the rough-in is approved, drywall closure can proceed.
Step 4: Drywall and Finishing
RenoHouse handles drywall and plaster patching after the rough-in inspection passes. Standard sequence:
- Drywall patching: 2–5 days depending on opening count and size.
- Drying time: 24–48 hours per coat (typically 2–3 coats on patches).
- Sanding and finishing.
- Primer.
- Paint touch-up (matching existing) or full paint of affected walls/ceilings.
For plaster homes, patching is more complex — three-coat plaster work or skim coat over patches. Add 2–4 days.
Step 5: Device and Fixture Installation
Once drywall is closed, the LEC returns for trim:
- Outlets and switches installed.
- Light fixtures hung.
- Smoke and CO alarms installed (OESC requirement on rewiring projects often triggers smoke alarm renewal).
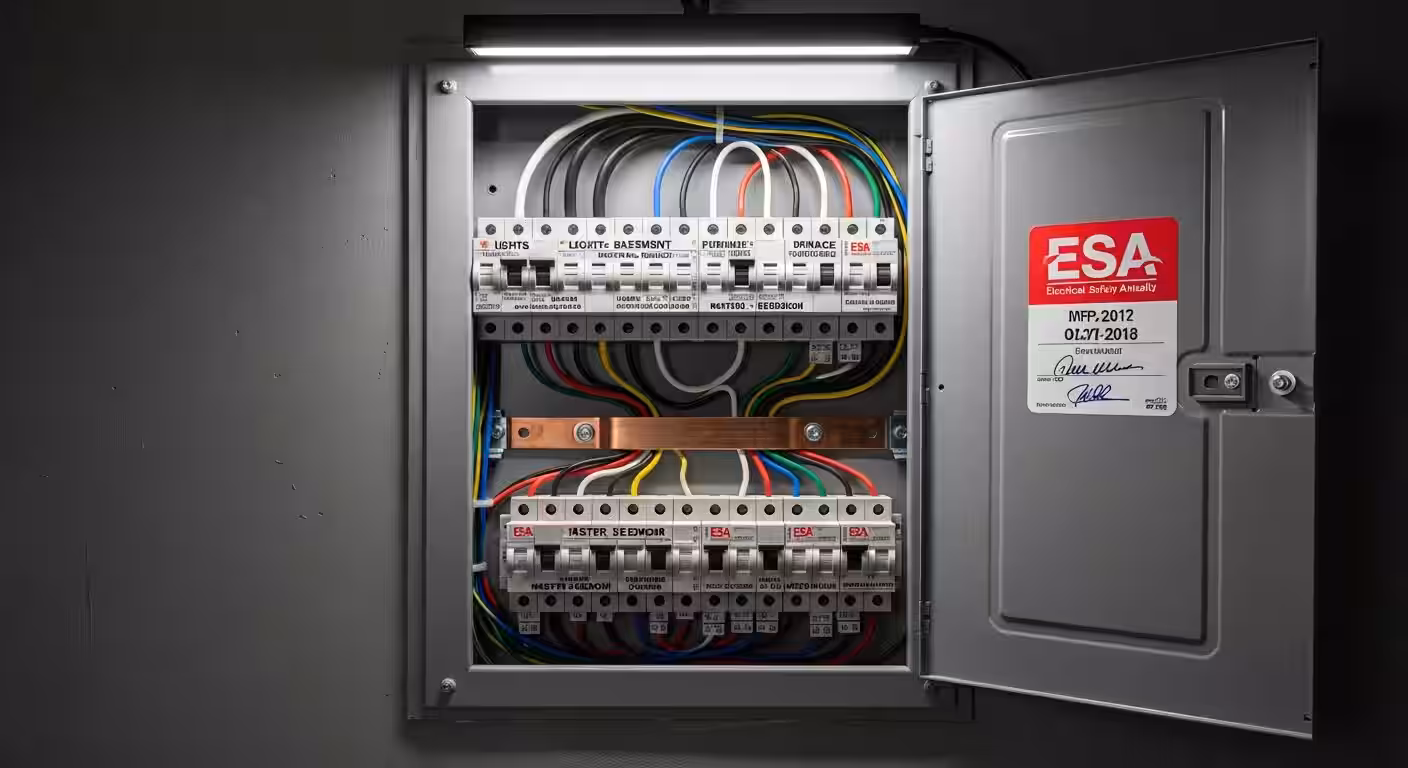
- Final panel labeling and breaker identification.
This phase is usually 2–4 days.
Step 6: Final Inspection
The LEC requests an ESA final inspection. The inspector visits and confirms:
- All devices installed correctly.
- All fixtures installed correctly.
- Panel labeled correctly.
- Smoke/CO alarms in place.
- AFCI on bedroom circuits.
- GFCI at all required locations.
- All scope as stated in the permit application is complete.
If everything passes, the inspector issues the Certificate of Inspection (sometimes called the "ESA Certificate" or "Form 1" historically; the current document is the Certificate of Inspection generated through ESA's online system).
If the inspector finds issues, the LEC corrects and a re-inspection is scheduled.
Step 7: Certificate of Inspection Delivered
The Certificate is issued electronically by ESA. The LEC forwards it to the homeowner. RenoHouse forwards it to your insurance broker as part of project closeout.
The Certificate document includes:
- Property address.
- LEC name and licence number.
- Description of work performed.
- Permit number and dates.
- Inspector name and inspection dates.
- Statement that the work conforms to the OESC.
This is the document the insurer requires for coverage reinstatement.
Common ESA Issues
Three issues that can delay inspections:
- 1. Improper de-energization of abandoned K&T: if the LEC abandoned a K&T section that the inspector believes should have been removed, the inspector requires removal. Adds 1–3 days.
- 2. Missing AFCI on bedroom circuits: AFCI breakers became OESC-required on bedroom circuits in 2002 and are now required on most circuits in new dwelling installations. Rewiring projects that retain non-AFCI breakers on bedroom circuits may fail inspection. Adds re-inspection fees plus AFCI breaker cost ($45–$90 per breaker).
- 3. Improper panel labeling: every breaker must be clearly labeled with the circuit it controls. Generic labels ("kitchen") may not satisfy the inspector if circuits are split. Adds 30 minutes of labelling work plus a re-inspection.
Permit Fees and Inspection Costs
2026 typical fees in the GTA:
- Permit application: $200–$500 depending on scope.
- Rough-in inspection: included in permit fee on first visit.
- Final inspection: included in permit fee on first visit.
- Re-inspection: $100–$200 per occurrence.
- Service mast inspection (if part of scope): additional $80–$150.
These fees are passed through in the LEC quote, not absorbed.
How RenoHouse Coordinates ESA
We work with our ECRA/ESA-licensed electrical contractor partner who:
- Pulls the permit at project start.
- Schedules and attends both inspections.
- Resolves any inspector issues.
- Forwards the Certificate of Inspection at project close.
RenoHouse manages drywall, asbestos abatement, paint, and homeowner-facing project communication. See the Knob & Tube Rewiring Service Page and the Electrical Hot Spot Inspection service.
Related Reading
Knob & Tube Rewiring Toronto: Complete 2026 Guide, Knob & Tube Rewiring Timeline Toronto, Knob & Tube Removal Mistakes Toronto.Sources & References
Authoritative sources cited in this guide:
- Electrical Safety Authority (ESA) — Ontario electrical regulator
- Ontario Electrical Safety Code — OESC Section 26 / latest amendments
- Canadian Electrical Code Part I (CSA C22.1) — CEC standard
- NRCan — Electric Vehicle Resources — NRCan EV/charging programs
Continue Reading