# Radon During Basement Finishing in Toronto: When to Test and Mitigate
Quick answer. Of every renovation we coordinate, basement finishing is the project where homeowners most often pay twice for radon work. The reason is simple: a basement is dramatically cheaper to mitigate before drywall, flooring, and ceilings go in than after.Of every renovation we coordinate, basement finishing is the project where homeowners most often pay twice for radon work. The reason is simple: a basement is dramatically cheaper to mitigate before drywall, flooring, and ceilings go in than after. Yet many homeowners do not think about radon until the finished basement is done and the first long-term test reads 380 Bq/m3.
This post lays out the right sequencing for a Toronto basement finishing project, written for homeowners actively planning the renovation.
The One Sentence Version
Test before the renovation starts; mitigate before drywall closes the chase; re-test 91+ days after the finished basement is enclosed.Everything else is detail.
Step 1: Pre-Renovation Baseline Test
Before any demolition, drywall, or slab work, run a long-term alpha-track test in the basement during the heating season. Cost: $60 for a DIY kit.
Why this matters:
- It establishes whether mitigation is needed at all. If the baseline reads 80 Bq/m3, mitigation may not be required and you save $3,000.
- It documents pre-renovation conditions for any future real-estate disclosure.
- If the result is high, you build mitigation into the renovation scope from the beginning rather than scrambling later.
If the baseline reads:
- Below 200 Bq/m3: proceed with renovation, schedule a post-renovation re-test as a sanity check.
- 200-599 Bq/m3: build mitigation into the renovation scope.
- 600+ Bq/m3: build mitigation into the renovation scope as a priority item.
For where to buy and how to deploy the test, see Radon Testing Toronto: Cost and Where to Buy.
Step 2: Mitigation Design Before Demo
If the baseline triggers mitigation, bring in a C-NRPP Mitigation Specialist for design before the renovation goes to permit. The reasons are practical:
- Pipe routing through the renovation is best decided when the wall layout is still on paper.
- Manometer location is best chosen when the renovation aesthetic is still flexible.
- Suction-point location may influence basement layout (under a planned closet vs in the middle of an open living space).
Cost of the design consultation is typically rolled into the mitigation install price ($2,200-$3,800 for the standard SSD package). For full cost detail, see Radon Mitigation System Cost Toronto.
Need professional home renovation?
Call RenoHouse at 289-212-2345 or get a free estimate today.
Get Free Estimate →Step 3: Mitigation Rough-In During the Renovation
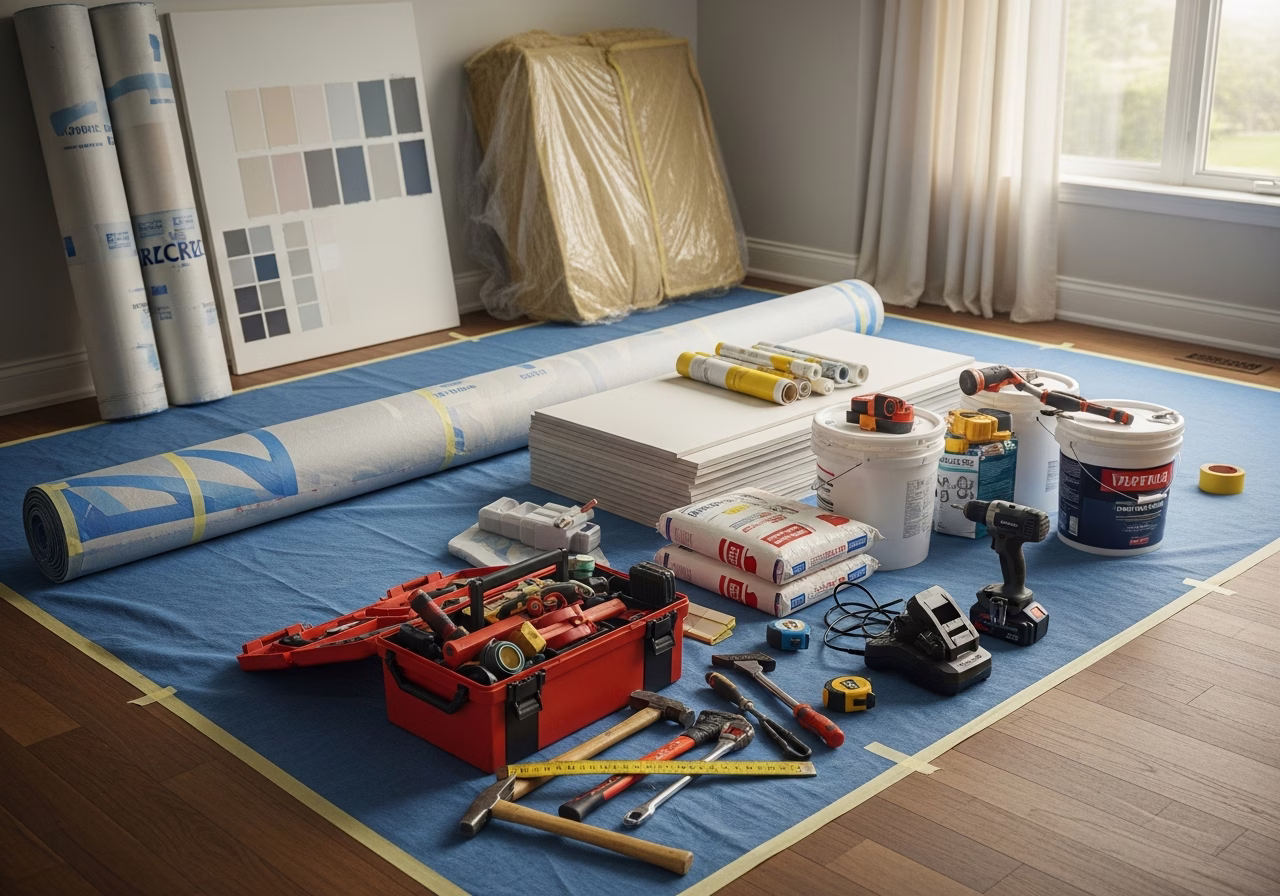
Once demo is done and framing/mechanical rough-in is happening, the radon mitigation rough-in slots into the same phase. The work consists of:
- Core-drilling the suction point through the slab (or using an existing sump pit).
- Sealing the slab penetration.
- Routing 4-inch PVC pipe through the framed wall cavities or service chase to the attic.
- Setting the radon fan in the attic.
- Installing the manometer at the planned location.
- Penetrating the roof and exhausting per Health Canada protocol.
This work is dramatically cheaper at the rough-in stage than after drywall. Numbers we see from C-NRPP-certified contractors:
- At rough-in during basement finishing: $2,200-$3,000 (standard interior pipe routing).
- After basement finishing is complete: $2,800-$4,500 (exterior pipe routing or interior with finish-restoration cost).
The differential is $500-$1,500. The single biggest cost-saving move on a basement finishing project is sequencing radon mitigation correctly.
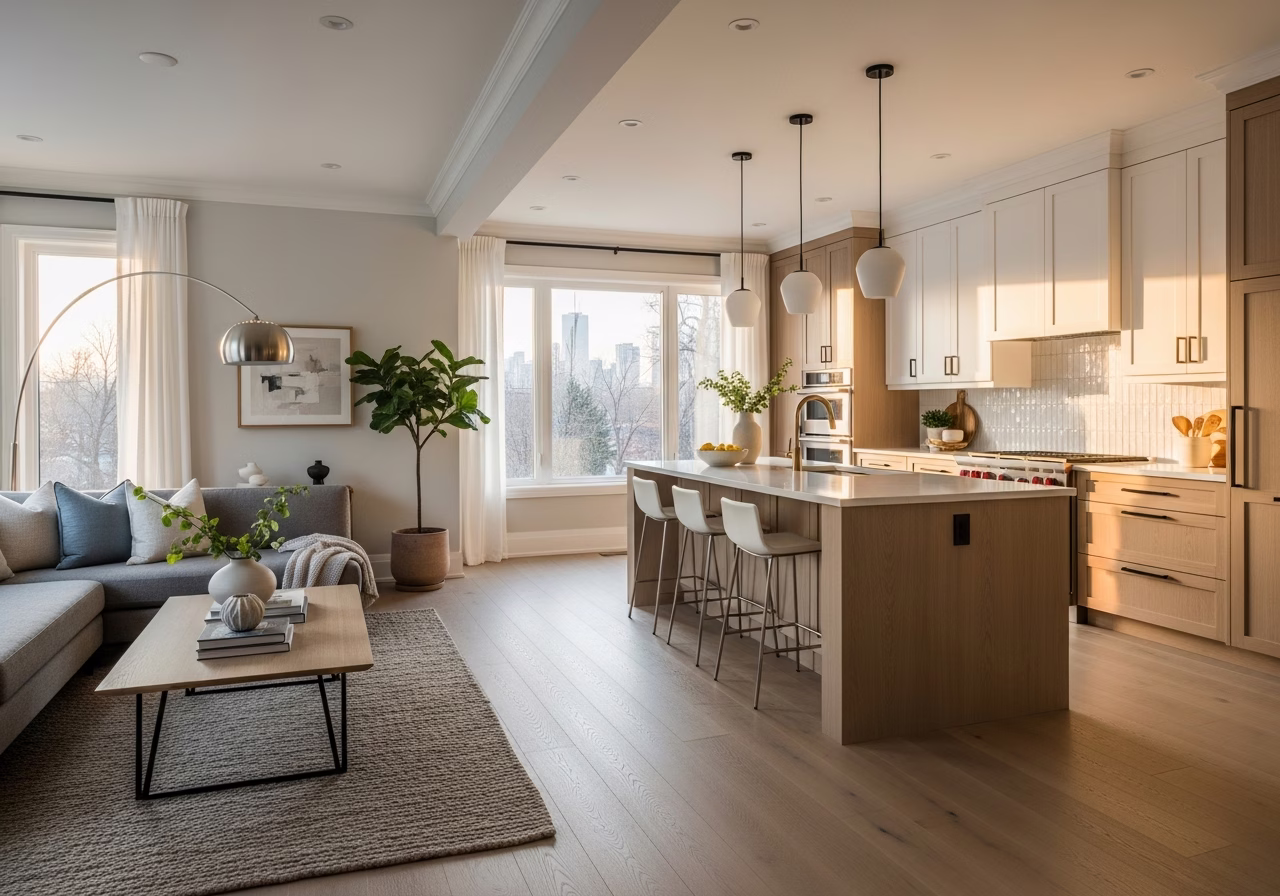
Step 4: Drywall, Flooring, and Finishes Proceed Normally
The radon pipe is now inside the framed wall, sealed at the slab. Drywall closes the chase. Flooring goes in. The fan runs continuously in the attic. The manometer is visible at the planned location. The basement looks like a normal finished basement; the only visible evidence of the radon system is the manometer and the small section of pipe entering the attic.
Step 5: Post-Mitigation Long-Term Re-Test
91+ days after the finished basement is enclosed, run a long-term alpha-track or have a C-NRPP Measurement Professional install calibrated detectors. Schedule it for the next heating season for a representative reading.
This step is not optional. Without the re-test, you have a fan running but no documented evidence the system reduced exposure. Cost: $60 DIY or $250-$400 professional.
A successful mitigation typically takes a 400-800 Bq/m3 baseline down to 30-100 Bq/m3 in the post-test. If the post-test still reads above 200, the C-NRPP specialist diagnoses the gap — usually by adding a second suction point or upsizing the fan — at no charge under most reputable warranties.
Special Cases
Basement Underpinning
If the renovation includes underpinning to gain ceiling height, the slab is being re-poured from scratch. This is the moment to add a future-proof radon rough-in regardless of baseline test result — pipe stub through the new slab, capped, ready to activate later if testing warrants. Cost premium of adding the rough-in during underpinning is small (under $500); cost of retrofitting after is full $2,500-$4,000. See Basement Underpinning Toronto: 2026 Complete Guide.
Basement Sauna
A basement sauna creates a tight, low-air-exchange space adjacent to the basement living area. Saunas benefit disproportionately from documented radon control because they amplify any pre-existing radon issue. Run a long-term test before sauna installation; if elevated, mitigate first. See Basement Sauna Installation Toronto 2026.
Basement Apartment / Second Suite
A second suite for a tenant is functionally a real-estate disclosure context. The unit's radon level is something the landlord should know and may need to disclose. Test before listing the suite, mitigate if above 200, document the result.
New-Build with OBC Mandatory Rough-In
The Ontario Building Code now mandates radon rough-ins in new construction (effective Jan 1, 2025). This is a stub of pipe through the slab that can be activated cheaply if post-occupancy testing warrants. Activation typically costs $1,200-$2,000 versus a full $2,500-$4,000 retrofit. If you are buying new-build with the OBC rough-in, test 91+ days after move-in during the heating season — if elevated, activate the rough-in.
Cost Comparison: Sequencing Right vs Wrong
Two homeowners, same starting baseline of 450 Bq/m3, same basement finish project.
Right sequencing (test pre-renovation, rough in during renovation, re-test post-finish):- Pre-renovation DIY test: $60.
- Mitigation rough-in during renovation: $2,400.
- Post-finish DIY re-test: $60.
- Total: $2,520.
- Post-finish DIY test: $60.
- Mitigation retrofit (exterior pipe routing): $3,400.
- Finish carpentry to enclose pipe in chase after the fact: $700.
- Post-mitigation re-test: $60.
- Total: $4,220.
A $1,700 differential plus weeks of additional disruption — entirely from sequencing.
How RenoHouse Coordinates the Sequence
This is the canonical example of where RenoHouse adds value. We coordinate:
- The pre-renovation baseline test (we recommend the homeowner buy a $60 DIY kit; we do not mark it up).
- The C-NRPP-certified mitigation specialist's design consultation, scheduled before permit drawings finalize.
- The mitigation rough-in, slotted into the renovation rough-in phase.
- The post-finish long-term re-test, scheduled into the project closeout.
The homeowner sees one project, one timeline, one set of invoices. The C-NRPP specialist signs off on the radon work; we sign off on the renovation; the documentation file is complete.
See Also
- Radon Mitigation Toronto: The Complete 2026 Guide
- Sub-Slab Depressurization Explained for Toronto Homes
- Radon Mitigation System Cost Toronto
- Basement Underpinning Toronto: 2026 Complete Guide
- Basement Sauna Installation Toronto 2026
To coordinate radon work into a basement finishing project from the start, visit our radon mitigation and testing service page.
Sources & References
Authoritative sources cited in this guide:
- Ontario Building Code — OBC official text
- Toronto Building Permits — City permit portal
- Tarion New Home Warranty — Ontario new-build warranty regulator
- HCRA — Home Construction Regulatory Authority — Ontario builder/vendor licensing
Continue Reading