Why This List Exists
We get called in to fix bad network installs constantly. Sometimes it is a homeowner who tried it themselves, sometimes a budget contractor who pulled cable but did not understand what they were doing. The same mistakes repeat over and over. Here is the top-ten list, with what it actually costs the homeowner.
Mistake 1: Pulling Cat6 Instead of Cat6a
What we see: A 2,500 sq ft home with 14 Cat6 drops pulled in 2024. Customer wants 10 GbE backbone — Cat6 will not deliver it across full-length runs.
Mistake 2: Wireless Backhaul When Cables Are Possible
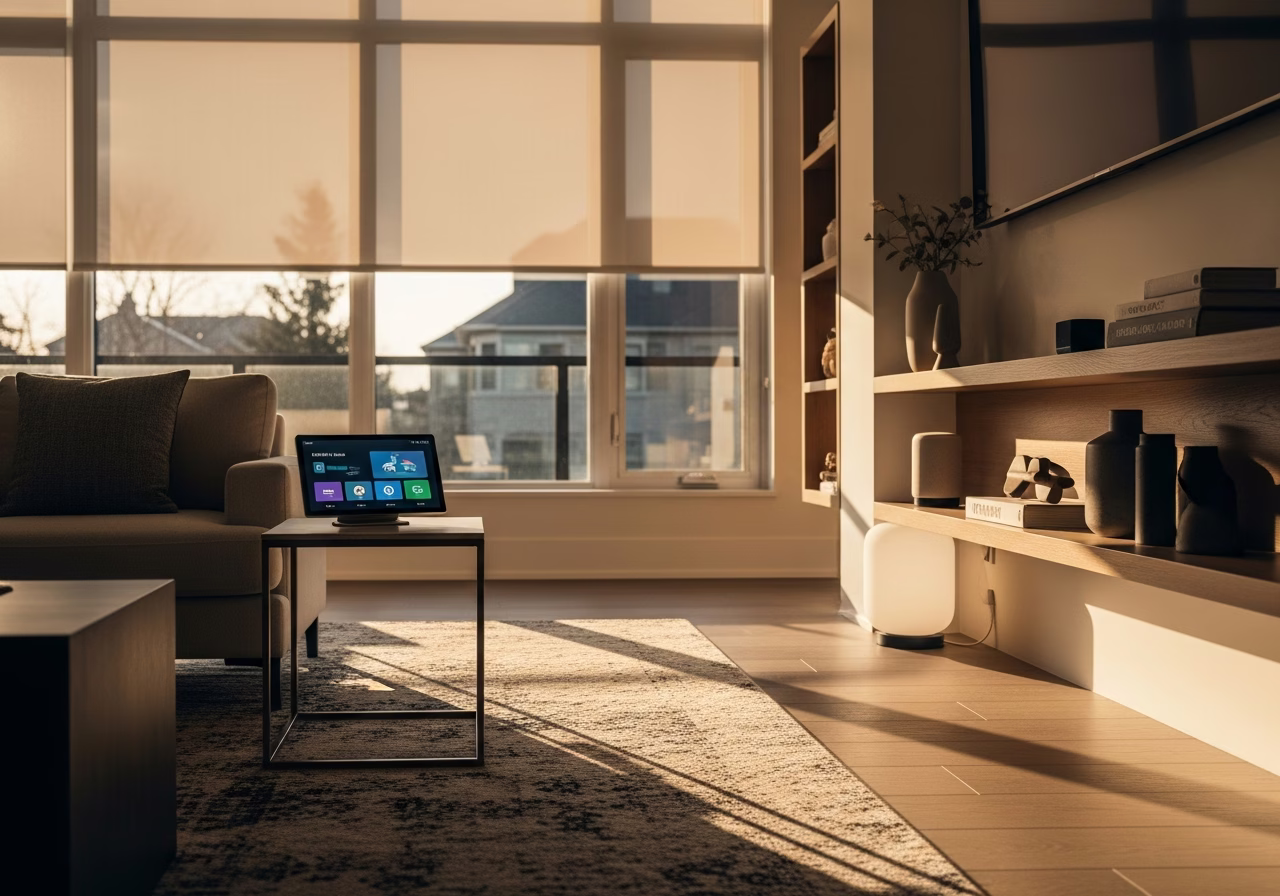
What we see: A three-storey townhome with a Wi-Fi 7 mesh on wireless backhaul. Owner is paying for 1.5 Gbps Bell Fibe and getting 200 Mbps on the third floor. Cost to fix: Pull Cat6a to two ceiling locations. About $1,200. The lesson: If wired backhaul is possible, do it. Wireless backhaul costs you 30 to 50 percent of throughput per hop.Mistake 3: Putting Access Points in Closets
What we see: Ubiquiti AP installed inside the structured panel cabinet, door closed. Customer wonders why coverage is bad. Cost to fix: Re-mount on the ceiling outside the cabinet. About $200 plus a Cat6a fish. The lesson: APs belong on ceilings, in the open. The metal cabinet, drywall ceiling, and HVAC ducts all attenuate signal.Mistake 4: Mixing Cat6a Cable with Cat6 Jacks
What we see: Beautiful Cat6a pulls, terminated with bargain-bin Cat6 keystone jacks. Channel speed: limited to Cat6 spec. Cost to fix: Re-terminate every drop with Cat6a-rated jacks. About $30 per drop in materials, $50 to $80 per drop in labour. The lesson: Cable, jacks, patch panel, patch cords all have to be the same category.Mistake 5: Running Network Cable Beside Power Cable
What we see: Cat6 runs zip-tied to Romex inside the wall cavity. Crosstalk corrupts every packet on the line. Cost to fix: Re-fish the cable through a separate pathway. Drywall repair. About $400 to $700 per run. The lesson: Network cable should cross power cable at 90 degrees, not run parallel. Maintain at least 6 inches of separation on parallel runs, more if practical.Mistake 6: Not Testing Drops with a Real Cable Tester
What we see: Installer uses a $20 toner to verify continuity. Six months later, customer finds three drops that only run at 100 Mbps because of pin assignment errors. Cost to fix: Re-terminate failed drops. About $50 to $80 each. The lesson: Every drop should be tested with a Fluke MicroScanner, Klein VDV, or equivalent that confirms wiremap, length, and certifies the link. We test every drop and provide the test results to the customer.Mistake 7: Forgetting to Label Cables
What we see: Twenty unlabelled cables coming into a structured panel. Five years later, the homeowner needs to add a port and we have to trace each cable individually. Cost to fix: Two hours of trace time. About $250. The lesson: Both ends of every cable get a printed label. The patch panel gets a paper map. Photos go to the customer.Mistake 8: Using Bargain Patch Panels and Patch Cords
What we see: No-name patch panel from a marketplace listing. Bent pins, loose terminations, intermittent failures. Cost to fix: Replace patch panel and re-terminate. About $400. The lesson: Buy patch panels and patch cords from real brands. Panduit, Belden, Leviton, Commscope. The savings on bargain hardware do not survive the labour to fix it.Mistake 9: Skipping Surge Protection
What we see: Lightning-induced surge through coax or copper, fries the modem, router, and PoE switch.
Mistake 10: No Documentation Handed to the Customer
What we see: Installer leaves, customer has no idea what cable goes where, what the WiFi password is, or how to log into the router. Cost to fix: Two hours of "discovery" by the next installer. About $300. The lesson: A real install ends with a documentation package: cable map, equipment list, IP plan, admin credentials, photos of the panel, and any vendor account info.Bonus: The "Just One More Thing" Mistakes
A few quick ones we see repeatedly:
Need professional electrical services?
Call RenoHouse at 289-212-2345 or get a free estimate today.
Get Free Estimate →- Modem behind the TV — should be in the panel.
- Router stacked on top of cable modem — heat kills both.
- Default ISP gateway in dual-router mode — double NAT, broken UPnP, terrible performance.
- All devices on a single VLAN — no IoT segmentation, no guest network, smart fridge can talk to your laptop.
- APs on default channels — interference fest in any condo or dense neighbourhood.
How a Proper Install Avoids All of This
Our process:
- 1. Walk-through and design before any cable is pulled.
- 2. Cat6a only, with Cat6a-rated jacks and patch panels.
- 3. Wired backhaul to every AP location, ceiling-mounted.
- 4. Power and network cables maintain proper separation.
- 5. Every drop certified with a Fluke or Klein tester.
- 6. Both ends of every cable labelled, panel mapped.
- 7. Surge protection and UPS where appropriate.
- 8. Full documentation handed to the customer.
Honest Positioning
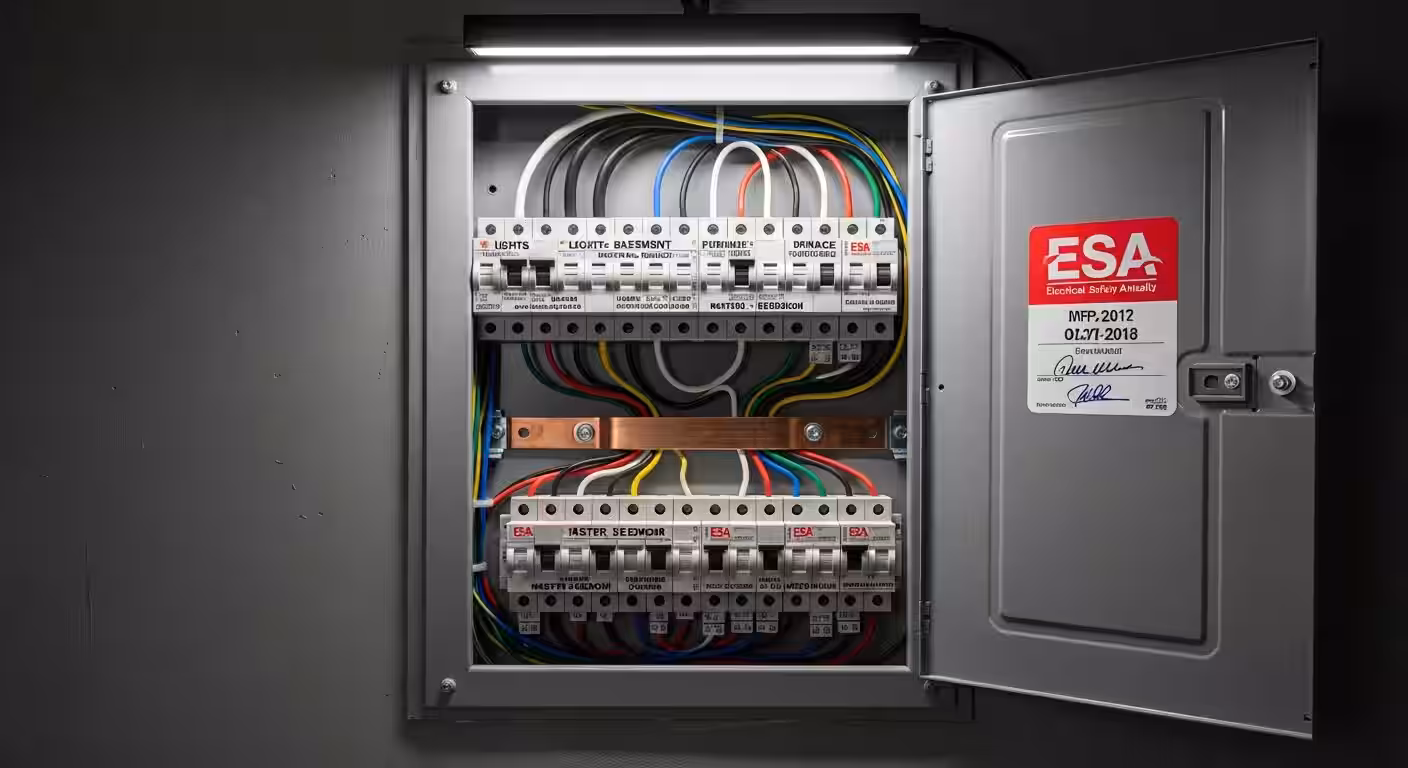
All of the above is low-voltage cabling and network configuration work — no ESA permit required. If your install includes a dedicated 120 V circuit for the network rack, our Master Electrician handles the permit and inspection.
Next Step
If your network already has any of these problems, we do remediation. Most fixes cost less than you think.
Book a Network AssessmentRelated Reading
- Whole-Home Networking Toronto 2026 Complete Guide
- Whole-Home Networking Cost Toronto
- Cat6a vs Cat6 vs Cat7 Toronto
- Smart Home Installation Toronto 2026
Sources & References
Authoritative sources cited in this guide:
- Industry Canada Spectrum (Wi-Fi 6E/7) — Wi-Fi spectrum regulations
- Ontario Electrical Safety Code — Smart switch electrical compliance
- CSA C22.1 (Canadian Electrical Code) — CEC standard for low-voltage
Continue Reading