# HRV Ductwork Design Toronto Renovation
Quick answer. The single biggest install pitfall on a Toronto HRV retrofit is undersized ductwork. The unit ships with the right CFM nameplate, the installer hooks it up to whatever flex line fits, and the system delivers half the design CFM at twice the design noise.The single biggest install pitfall on a Toronto HRV retrofit is undersized ductwork. The unit ships with the right CFM nameplate, the installer hooks it up to whatever flex line fits, and the system delivers half the design CFM at twice the design noise. This guide walks through the sizing rules, routing, exterior hood placement, and static pressure math that separates a clean install from a noisy disappointment. For the pillar guide, see HRV & ERV Installation Toronto: The Complete 2026 Guide.
The Two Duct Strategies
Furnace-Tied (Simplified Distribution)
The HRV exhausts from a single point (typically upstairs hallway or main bathroom) and supplies into the existing furnace return-air plenum. The furnace blower distributes the fresh air through the existing supply ducts.
Pros: simpler install, fewer new duct runs, lower cost.
Cons: depends on the furnace blower running continuously. If the furnace fan only runs during heating or cooling calls, the fresh air sits in the trunk between calls.
Most modern ECM furnaces support a continuous-fan low-speed mode. If yours does, furnace-tied works well. If yours is a single-speed PSC blower, fully ducted is the better path.
Fully Ducted (Dedicated Distribution)
The HRV has its own supply ducts to bedrooms and main living areas, and its own exhaust ducts from bathrooms, laundry, and kitchen (range hood remains separate).
Pros: independent of the furnace; balanced supply to every room; quieter; meets OBC 2024 reference design.
Cons: more ductwork; higher cost; harder retrofit in finished homes.
For most new builds and gut renovations, fully ducted is the standard. For furnace-tied retrofits, see HRV Installation Cost Toronto Comparison.
Sizing the Main Trunks
The general rule for HRV ductwork:

| HRV Nominal CFM | Main Trunk Size |
|---|---|
| 70-100 CFM | 5-inch insulated |
| 100-150 CFM | 6-inch insulated |
| 150-200 CFM | 6-inch insulated (or 7 inch if long runs) |
| 200-300 CFM | 7 or 8-inch insulated |
Each branch run from a trunk to a register typically uses 4 or 5-inch flex. A 4-inch line carries about 30-40 CFM at acceptable static pressure; a 5-inch line carries 60-80 CFM; a 6-inch line carries 100-130 CFM.
The single most common Toronto install mistake is running a 100+ CFM HRV through 4-inch flex. The fan over-works, the home does not get its design CFM, and the unit hums.
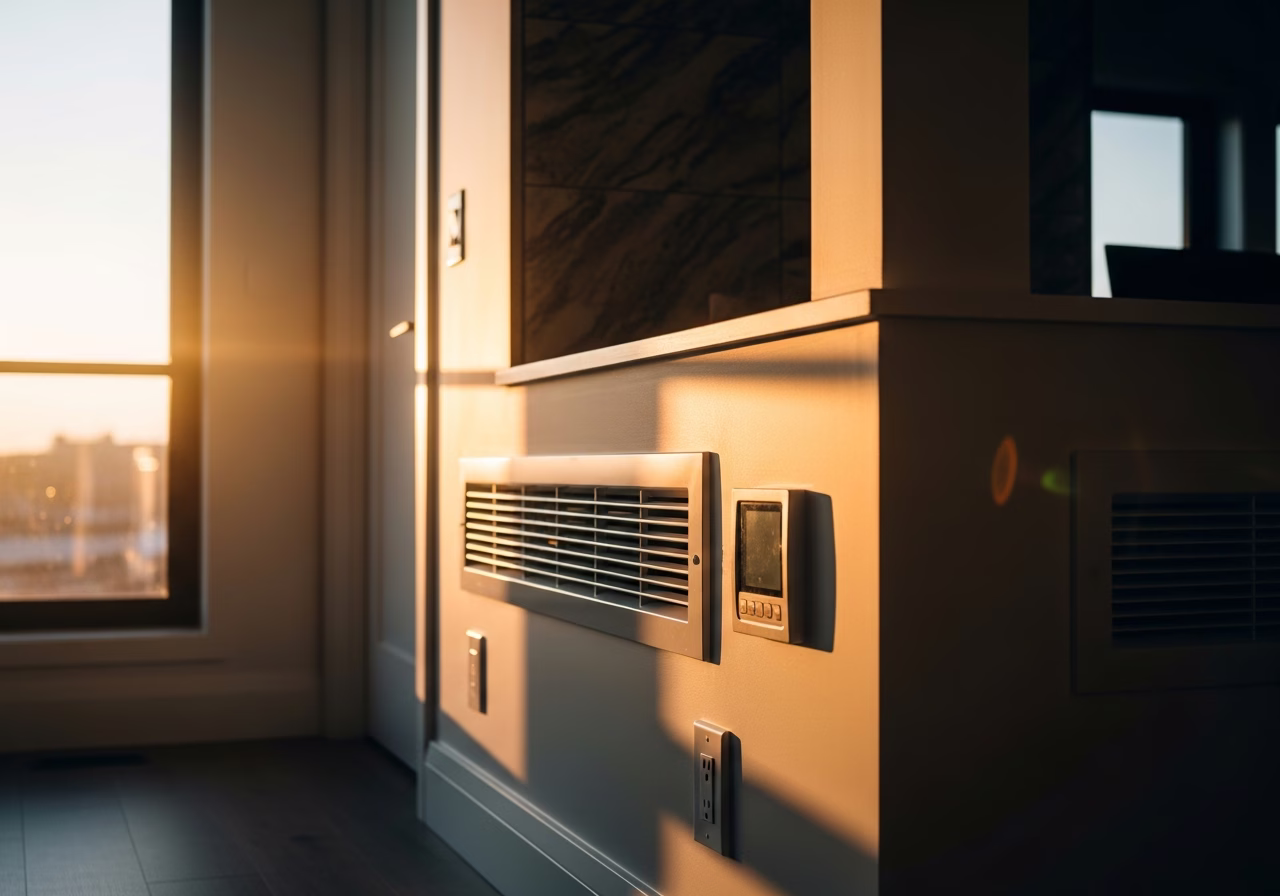
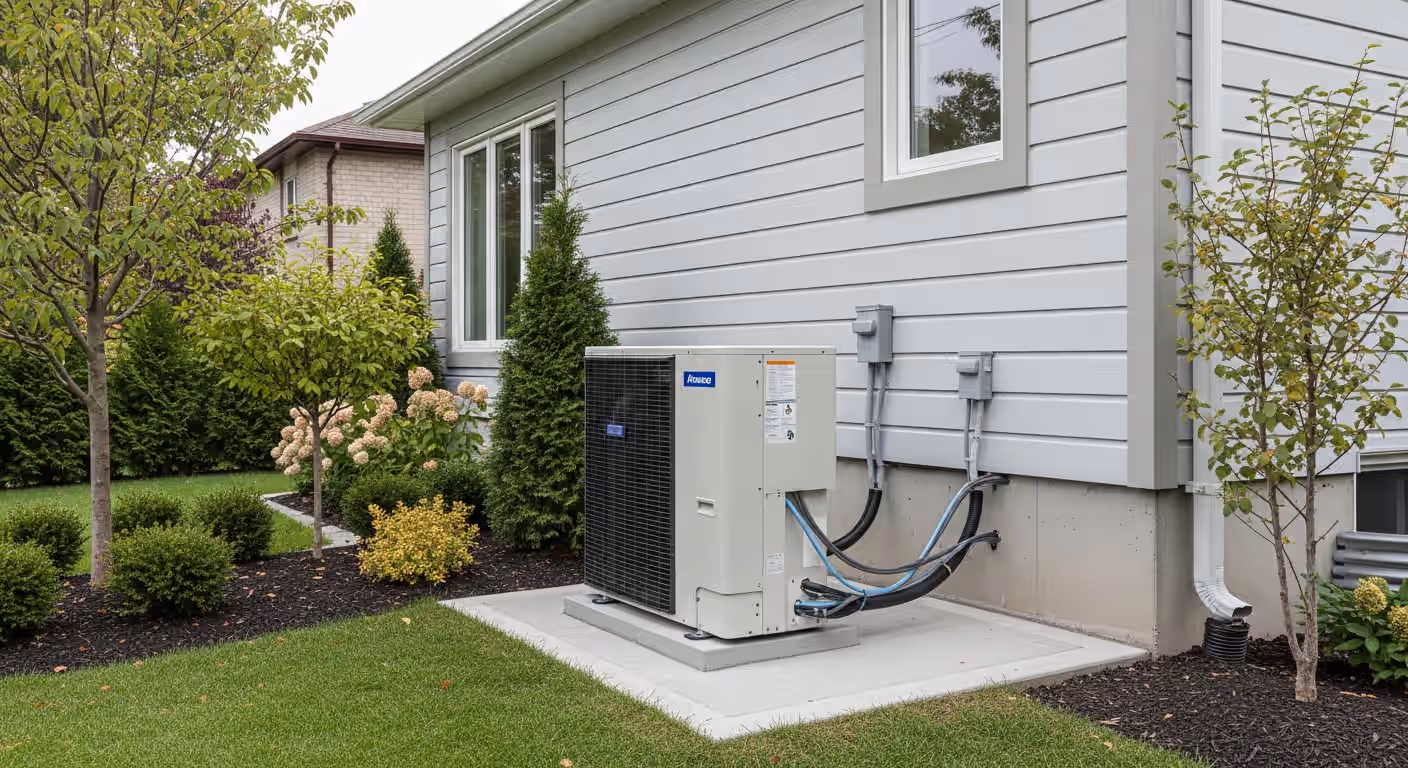
Exterior Hood Placement
Two hoods: one fresh-air intake, one exhaust. Code requires:
- Minimum 6 feet between intake and exhaust hoods. We recommend 8-10 feet.
- Minimum 3 feet above grade or finished surfaces.
- Minimum 10 feet from any dryer exhaust, gas furnace flue, fireplace flue, or BBQ vent.
- Minimum 6 feet from a window that opens.
Re-entrainment risk: an exhaust hood placed close to the intake will pull just-exhausted humid stale air back into the supply. Indoor air quality suffers; frost on intake louvers in winter.
Common Toronto failure points:
Need professional renovation?
Call RenoHouse at 289-212-2345 or get a free estimate today.
Get Free Estimate →- Both hoods on the same side of the house, less than 6 feet apart.
- Intake near the dryer exhaust (lint deposits on the HRV filter).
- Exhaust under a deck (humid air pools).
- Intake below grade in a window well (snow burial).
Best Toronto practice: intake on the north or east elevation (cleaner, cooler outdoor air); exhaust on the south or west well separated.
Boost Switches and Auto-Boost
Bathroom exhaust runs at low CFM continuously. During a shower, ventilation needs to spike. Two strategies:
- Manual boost switch. A timer switch in each bathroom raises HRV speed for 20-40 minutes. Simple, $80-$140 per switch installed.
- Auto-boost via humidity sensor. A humidity sensor on the bathroom exhaust grille triggers boost when RH crosses a threshold. $200-$400 per zone, but no user action required.
For homes with multiple bathrooms, auto-boost is more reliable.
Range Hood and HRV: Keep Them Separate
A common Toronto question: can the HRV exhaust the kitchen?
Short answer: no, not as the primary kitchen ventilation. A range hood handles 250-600 CFM of high-grease, high-particulate exhaust. An HRV handles 60-200 CFM of low-grease background ventilation. Routing range-hood exhaust through the HRV core kills the core in months from grease.
Best practice:
- Range hood exhaust direct to exterior, separate hood, separate duct.
- HRV exhaust pulls kitchen background air (away from the cooktop) at 30-50 CFM continuous.
For the trade-offs, see HRV vs Bath Fan vs Range Hood Toronto.
Static Pressure Budget
CSA F326 commissioning requires the unit to deliver its rated CFM at acceptable static pressure. Most HRVs are rated against 0.4 in. wc (water column) external static pressure. Real-world install often pushes 0.6-0.8 in. wc due to long runs and elbows.
Each design element adds equivalent length:
| Element | Equivalent Length |
|---|---|
| 90-degree elbow on 6-inch flex | 25-35 ft |
| 90-degree elbow on 6-inch metal | 12-18 ft |
| Boot transition (round to register) | 5-10 ft |
| Backdraft damper | 8-15 ft |
The total equivalent length of the supply and exhaust runs should keep external static under 0.5 in. wc for the main trunks. Smooth metal beats flex; gentle bends beat 90s.
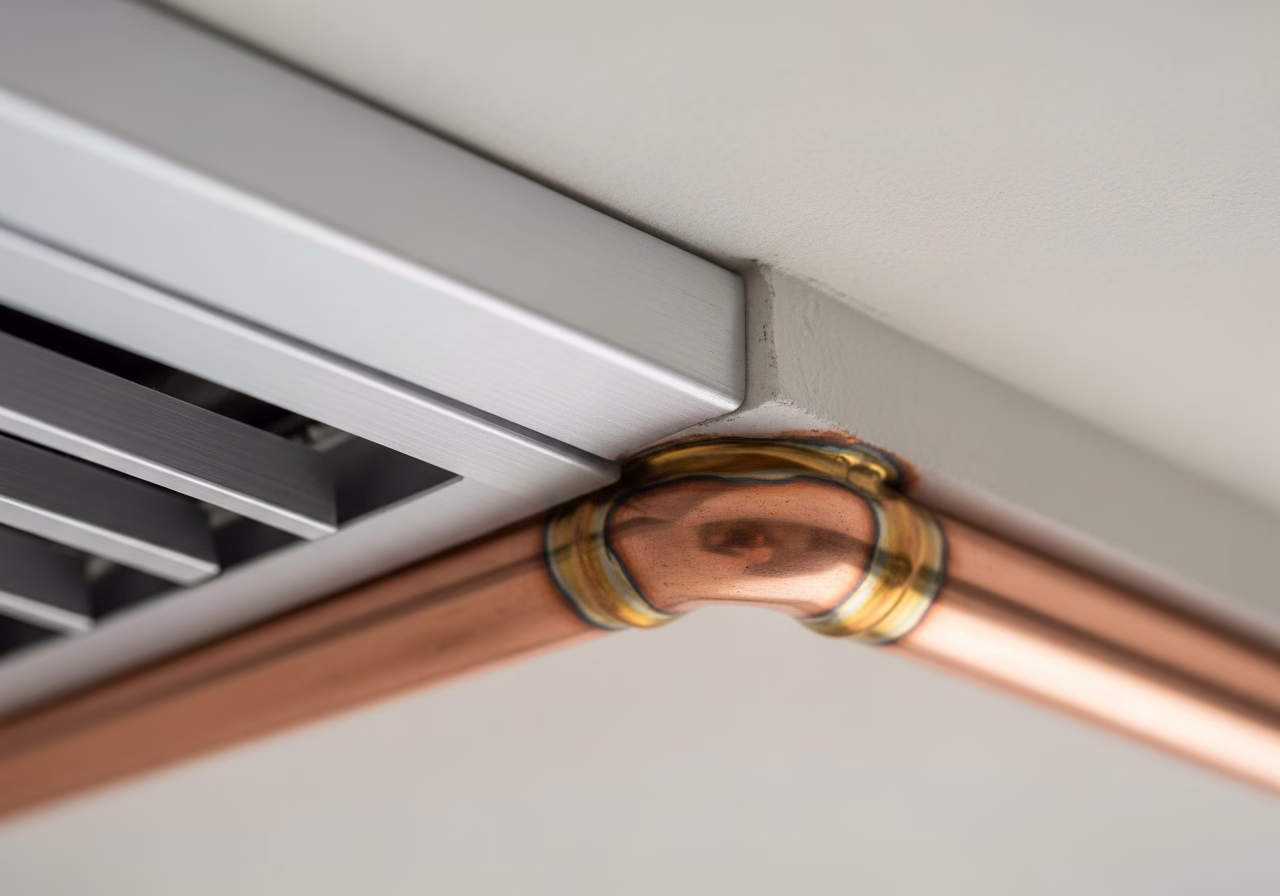
Insulation and Vapour Barrier
All HRV ducts in unconditioned space (attic, garage) must be insulated. R-6 minimum for HRV ducts.
In conditioned space, supply ducts should still be insulated for two reasons:
- Cold supply air (in winter, just out of the HRV) below indoor dew point causes condensation on bare metal.
- Insulation cuts duct noise.
Vapour barrier on the warm side. Tape all seams.
Routing Strategy in Toronto Homes
Old Toronto Bungalow (1950s-1970s)
Mechanical room is usually the basement. HRV mounts on a wall near the existing furnace. Supply trunks run along the basement ceiling between joists; branches drop down at exterior walls and return up at register locations. Exhaust trunks pick up bathroom and laundry through bored ceiling penetrations.
Toronto Semi (1900-1930)
Tighter spaces. HRV often hangs from the basement ceiling directly under the laundry chute or near the chimney chase. Supply runs through narrow joist bays. Branches into bedrooms often need wall-cavity routing rather than soffit.
North York Detached (1970s-1990s)
Standard mechanical room. Plenty of space. HRV mounts on a wall near the furnace. Supply distribution easy through the unfinished basement. Exterior hood location typically rear elevation.
New Build / Gut Renovation
Designed in from the start. Supply and exhaust runs route alongside main HVAC trunks; mechanical designer specs everything per CSA F326. The result is the cleanest install.
Permit and MVDS
For OBC 2024 compliant installs, the Mechanical Ventilation Design Summary documents:
- Principal CFM and exhaust CFM.
- Equipment make and model.
- Trunk and branch sizing.
- Exterior hood locations and separations.
- Filtration spec.
Permit reviewers reject MVDS submissions that show 4-inch flex on a 100+ CFM unit. They also flag intake/exhaust separation under 6 feet.
For the OBC walkthrough, see OBC 2024 HRV Requirement Toronto Explained.
Honest Positioning on Design
RenoHouse coordinates the project. The MVDS and detailed ductwork design is partnered with TSSA-registered subs that carry the engineering credential. Some HVAC installers carry an in-house designer; others partner externally. Either way, the design is signed off by a qualified person before permit submission. Our coordinator manages the schedule between trades.
Common Mistakes Summary
- 1. 4-inch flex on a 100+ CFM unit.
- 2. Sharp 90-degree elbows on flexible duct.
- 3. Long flex runs with no straightening.
- 4. Intake and exhaust hoods less than 6 feet apart.
- 5. Intake below grade in a window well.
- 6. Range hood exhaust routed through HRV.
- 7. Uninsulated supply duct dropping below dew point.
- 8. No boost switch in main bathroom.
- 9. HRV mounted in unconditioned attic without freeze protection.
- 10. No P-trap on the condensate drain.
- 11. Static pressure not measured at commissioning.
For the broader pitfalls, see HRV Installation Mistakes Toronto.
Final Word
Ductwork design is where HRV installs separate. The unit can be perfect; the ductwork can squander every advantage. Sizing the trunks correctly, placing exterior hoods with proper separation, keeping the range hood out of the HRV path, and budgeting static pressure are the four core decisions. RenoHouse coordinates HVAC-licensed installers and TSSA-registered design subs to make sure the design is signed off before the first duct gets cut.
Book at /services/hvac-energy/hrv-erv-installation. For deeper reads, see HRV & ERV Installation Toronto: The Complete 2026 Guide, HRV Installation Mistakes Toronto, OBC 2024 HRV Requirement Toronto Explained. Related: HVAC Thermal Audit (FLIR).
Sources & References
Authoritative sources cited in this guide:
- NRCan — Heating and Cooling — NRCan heating/cooling guidance
- Canada Greener Homes Loan — Federal energy retrofit financing
- CSA F326 (Mechanical Ventilation) — Residential HRV/ERV standard
- Enbridge Home Renovation Savings (HRS) program — Provincial heat pump rebate
- TSSA Fuel Safety — Ontario fuel/gas regulator
Continue Reading