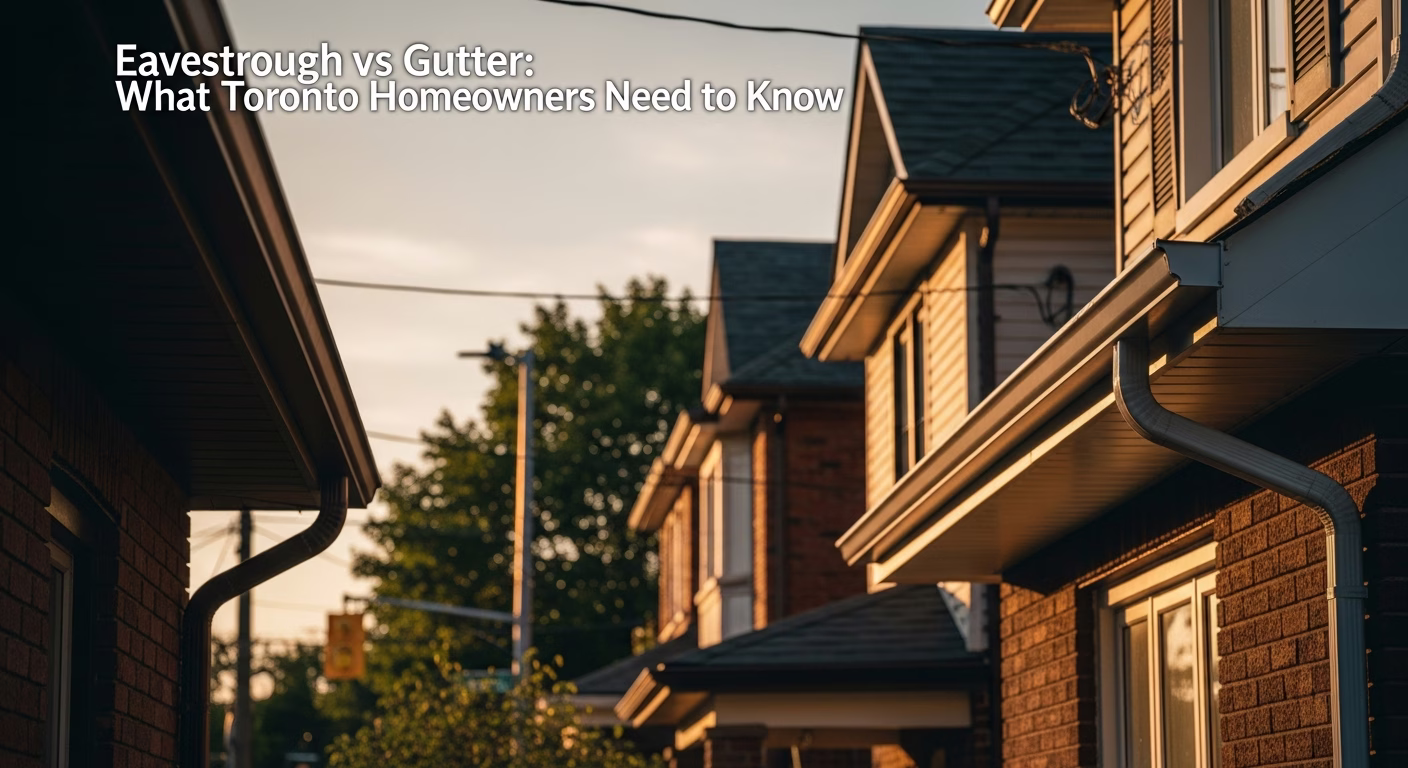
# Chimney Flashing Leak Repair Toronto 2026: Why Your Roof Leaks at the Chimney
Quick answer. When water shows up on the ceiling near a chimney, almost everyone's first thought is "the chimney is leaking." That's usually wrong. The chimney itself — the brick mass — is rarely the actual source. The flashing is.When water shows up on the ceiling near a chimney, almost everyone's first thought is "the chimney is leaking." That's usually wrong. The chimney itself — the brick mass — is rarely the actual source. The flashing is. The thin metal sheets that seal where chimney meets roof are the most common roof-leak point in Toronto homes, and they fail predictably.
This post covers how chimney flashing works, why it fails in Toronto's climate, what proper repair costs in 2026, and the cricket flashing detail that wide chimneys need but rarely have.
For the broader chimney repair picture, see our Chimney Repair & Removal Toronto 2026 Complete Guide. For roof-side issues beyond the flashing, see Roof Repair Toronto Guide.
Flashing Cost in Toronto, 2026
| Repair Scope | Toronto Price | Notes |
|---|---|---|
| Re-seal existing flashing (caulk + minor metal) | $250–$500 | Quick fix, 2–4 year extension |
| Replace step + counter flashing, aluminum | $400–$900 | Standard residential |
| Replace step + counter flashing, copper | $700–$1,400 | Heritage / premium |
| Add cricket flashing (saddle) | $600–$1,500 | Required for chimneys >30" wide |
| Full chimney perimeter rebuild | $1,200–$2,500 | All four sides + crown work |
Most Toronto homeowners need the full step + counter replacement ($400–$1,200) when leaks appear, because partial fixes don't last in Toronto's freeze-thaw climate.
How Chimney Flashing Works
A chimney flashing system has three components, all working together:
1. Step Flashing
Individual L-shaped pieces of metal woven into each course of shingles along the chimney's roof-side and gable-side faces. Each step piece overlaps the next, like fish scales. Step flashing is integrated into the roof — it's installed when the roof is shingled, not nailed onto the chimney.
2. Counter Flashing (Cap Flashing)
Metal that's bedded into the chimney mortar joints about 1.5 inches deep, then bent down to cover the top edge of the step flashing. Counter flashing is the seal between flashing system and chimney masonry.
3. Apron Flashing (Front)
A single piece across the down-roof side of the chimney, lapped under the shingles below and turned up against the chimney face.
4. Cricket / Saddle (Wide Chimneys)
For chimneys wider than 30 inches measured along the roof slope, a small triangular roof structure is built above the chimney to divert water around it. Without a cricket, snow and water pool against the up-slope chimney face and eventually leak through.
Why Toronto Flashing Fails
Freeze-Thaw on the Mortar Reglet
Counter flashing is bedded into a chiseled groove in a mortar joint, sealed with mortar or sealant. That mortar fails in 60–90 freeze-thaw cycles per year. Once the seal opens, water gets behind the flashing, soaks the underlying step flashing, and runs down the rafter to the ceiling.
Caulk Doesn't Last
Many Toronto chimneys have flashing "repaired" by previous owners with a tube of caulk. Silicone or polyurethane caulk lasts 3–7 years on a well-prepped surface, less in direct sun. The black smear of caulk on a flashing reglet is a tell that someone tried to delay a real repair.
Galvanic Corrosion
Aluminum flashing in contact with copper plumbing flashing or copper electrical service ground corrodes faster. Mixed metals on the same roof shorten flashing life.
Re-Roofing Errors
Many Toronto homes have flashing that was caulked back to the chimney during a reroof rather than properly re-bedded into a fresh mortar joint reglet. The shingles got replaced; the flashing didn't get redone properly. The leak shows up 4–8 years after the reroof.
Need professional exterior renovation?
Call RenoHouse at 289-212-2345 or get a free estimate today.
Get Free Estimate →Movement
Chimneys move differently than the roof during seasonal expansion and settling. The flashing system has to accommodate that movement. Rigid attachment fails first.
Diagnosing a Chimney Leak
Symptoms of a flashing leak:
- Stains on ceiling near chimney chase, especially after heavy rain or spring melt
- Water running down the chimney chase visible from the attic
- Mineral streaks on the chimney brick face below the roof line (water exiting through the bricks)
- Damp insulation in the attic on the down-slope side of the chimney
We diagnose by:
- 1. Visual inspection of all four sides of the chimney from the roof
- 2. Hose test — controlled water flow on each side, top-down, watching attic for entry point
- 3. Probe test — slipping a thin blade into the mortar reglet to test seal integrity
- 4. Photo documentation for warranty file
What a Real Flashing Repair Looks Like
The "right way" to redo chimney flashing:
Step 1: Strip Existing Flashing
Old counter flashing is pulled out of the mortar reglet. Old step flashing is lifted along with the affected shingle courses (this is why flashing repair often becomes a partial roof repair).
Step 2: Re-cut the Reglet
The mortar joint is chiseled or saw-cut to a clean 1.25–1.5 inch deep groove, ready to receive new counter flashing.
Step 3: New Step Flashing
New L-shaped pieces are woven into the shingle courses, each lapping the next by 2 inches. Aluminum is .020" thick standard; copper is 16 oz.
Step 4: New Counter Flashing
Counter flashing is bent to overlap the step flashing by at least 2 inches, with the top edge bedded into the mortar reglet. The reglet is then packed with mortar (not just caulk), and a bead of high-grade polyurethane sealant is run along the top edge for redundancy.
Step 5: Apron and Cricket
Apron flashing across the down-slope face is replaced if disturbed. If the chimney is wide enough to need a cricket and doesn't have one, the cricket is framed in 2x material, sheathed, ice-and-water-shielded, and shingled to match.
Step 6: Final Inspection
Hose test from above to verify watertight performance before signoff.
Cricket Flashing — The Detail Most Toronto Chimneys Lack
Toronto Building Code (and OBC reference standards) require a cricket on any chimney wider than 30 inches measured along the roof slope. Older homes — pre-1990s — frequently have no cricket because original framing predates the requirement, and re-roofs failed to add one.
Without a cricket, snow accumulates on the up-slope side of the chimney, water dams behind it, and ice forms inside the brick. Result: chronic leaks plus accelerated mortar failure on that face.
A retrofit cricket adds $600–$1,500 to a flashing job and is the right call for any Toronto chimney over 30 inches wide.
Aluminum vs Copper Flashing
| Aluminum | Copper |
|---|---|
| $400–$900 installed | $700–$1,400 installed |
| 25–30 year lifespan | 50+ year lifespan |
| Pre-finished colours match shingles | Develops patina (brown to green) |
| Standard residential | Heritage / premium / luxury |
| Galvanic risk near copper plumbing | Compatible with most metals |
For pre-1940 Toronto homes in HCDs (Cabbagetown, Wychwood Park, Casa Loma, Old Town), copper is often required by Heritage Permit guidelines. For most other Toronto homes, aluminum is the right cost-performance choice.
Coordination with Roof Work
Flashing repair almost always touches the surrounding shingles — at minimum 2 courses up-slope and 1 course down-slope. If your roof is mid-life (10+ years) and shingles are aging, plan for shingle disturbance and possible matching difficulty.
If your roof is past 18 years and due for replacement, bundle flashing into a full reroof rather than redoing it standalone. The cost of new chimney flashing inside a reroof scope is often only $600–$900 incremental vs. $1,200+ standalone, because the staging and shingle work are already happening.
For roof replacement timing, see Roof Repair Toronto Guide.
Common Flashing Mistakes We See
- Caulk-only repair — works for 3 winters, then leaks again
- Step flashing nailed through to the chimney — restricts movement, cracks at the nail
- Counter flashing surface-mounted instead of reglet-bedded — relies on caulk alone
- Missing apron flashing — front-side leak is rare but ugly
- No cricket on 32"+ chimneys — chronic leak guaranteed
- Mixed metals — aluminum step + copper counter = corrosion in 4–6 years
For the broader list of avoidable mistakes, see Chimney Repair Mistakes Toronto.
How RenoHouse Approaches Flashing
We hold roofing certification and do flashing work in-house — not subbed out. That matters because flashing repair is where the masonry meets the roofing, and the leak warranty has to cover both. We:
- Diagnose with hose test and photo documentation
- Spec aluminum or copper based on home age, HCD status, and roof condition
- Replace step + counter together (no spot fixes)
- Add cricket where required by code or sound practice
- Bundle with reroofing where roof age makes that the better economics
Get a flashing diagnosis through our Chimney Repair & Removal services page. Most flashing site visits are 30–45 minutes and we can usually quote same-day.
Sources & References
Authoritative sources cited in this guide:
- Toronto Building Permits — Permit info
- Ontario Building Code 9.27 (Cladding) — Exterior cladding standards
- NRC Building Codes — National building codes
Continue Reading