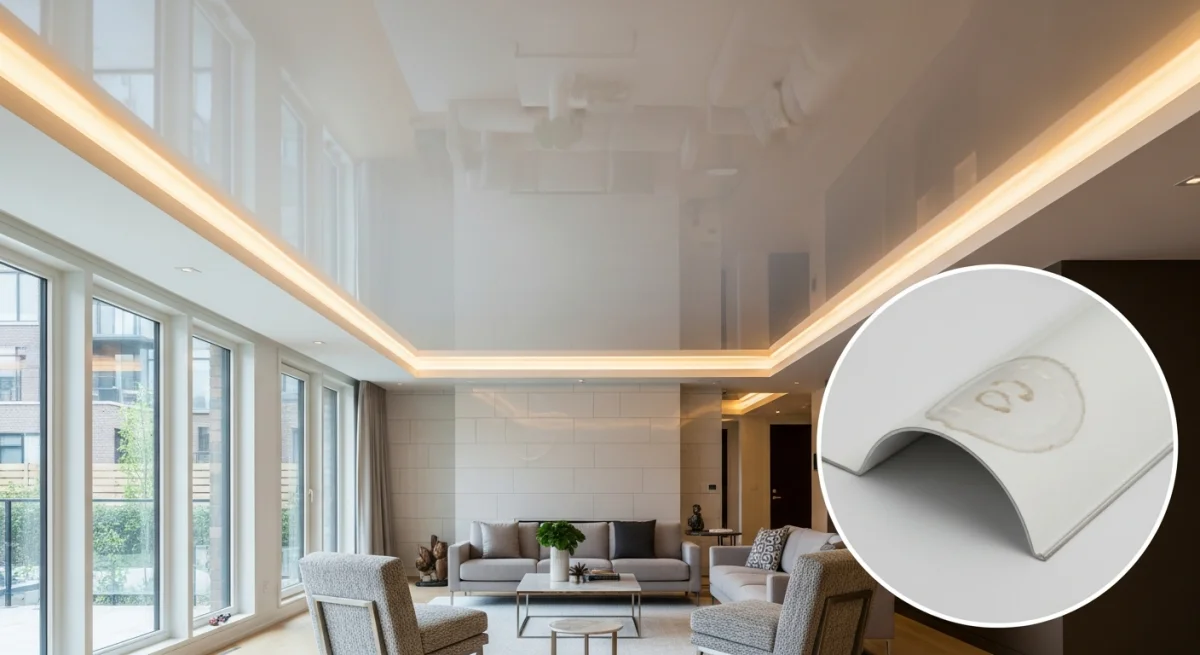
# Stretch Ceiling Water Damage Recovery in Toronto: The 100-Litre Rescue
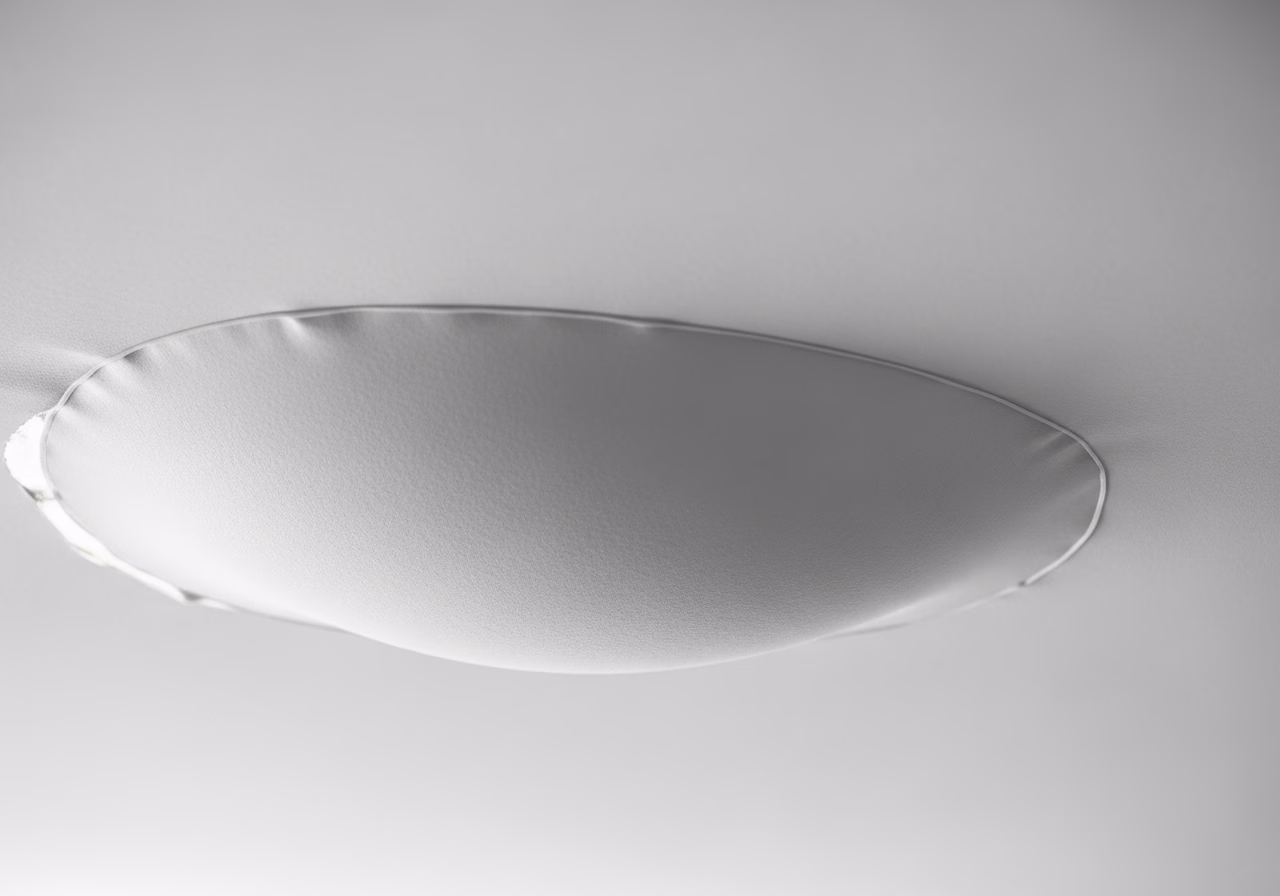
Quick answer. A welded-edge PVC stretch ceiling holds approximately 100 litres per square metre of upstairs-leaked water, ballooning down toward the floor without rupturing. The membrane stays sealed long enough for a professional to drain it through a small slit and re-tension it. Service call for emergency drainage runs $250–$400 in Toronto. Do not poke the bulge yourself. Place buckets under it for any perimeter overflow, call your installer, and document for your insurance adjuster.This is the single feature that justifies a stretch ceiling in any Toronto condo. Roughly 70% of Toronto's 440,000+ condo units are in buildings 15+ years old where upstairs-bathroom leaks, dishwasher failures, and washing-machine line bursts are routine. A drywall ceiling absorbs 5–15 litres before it sags and collapses, destroying flooring, furniture, electronics, and the unit below the unit below. A PVC stretch ceiling buys you the most valuable thing in a flood: time. Here's the playbook.
For broader stretch-ceiling install context, see our installation & care pillar. For removal scenarios after a leak is repaired upstream, see removal & replacement. For the full water-emergency response framework across all room types, see our Water Damage Emergency 24-Hour Response guide.
What's Actually Happening Up There
PVC film is impermeable to water. The harpoon edge is HF-welded around the entire perimeter — a continuous, water-tight seal. When water leaks from above (a burst supply line, a failed dishwasher gasket, an upstairs toilet overflow), it pools in the plenum cavity above your ceiling. Once enough water accumulates, it begins to push down on the membrane.
The membrane elasticity:- A standard 0.18–0.20 mm PVC film stretches plastically under load.
- It will sag visibly — down to 30–50 cm below the original ceiling line in a serious leak.
- The shape is roughly hemispherical, like a giant water balloon.
- The harpoon edge stays locked in the track because the geometry of the lock distributes load away from the weld.
- Approximately 100 L/m² for a typical 200 sqft (18.5 m²) bedroom — that's 1,850 litres total holding capacity. A bathtub holds ~150 litres for reference.
- Most upstairs leaks deliver 50–500 litres before they're noticed and shut off. Almost always within capacity.
- Catastrophic leaks (a burst supply line that runs unnoticed for hours) can exceed capacity. At that point the membrane fails — usually at the perimeter (harpoon weld) rather than centre rupture, which means water flows down the wall instead of dropping straight onto your bed.
What to Do In the First 10 Minutes
You walk into the room and see a giant downward-bulging dome where your flat ceiling used to be. Here's the order:
Need professional renovation?
Call RenoHouse at 289-212-2345 or get a free estimate today.
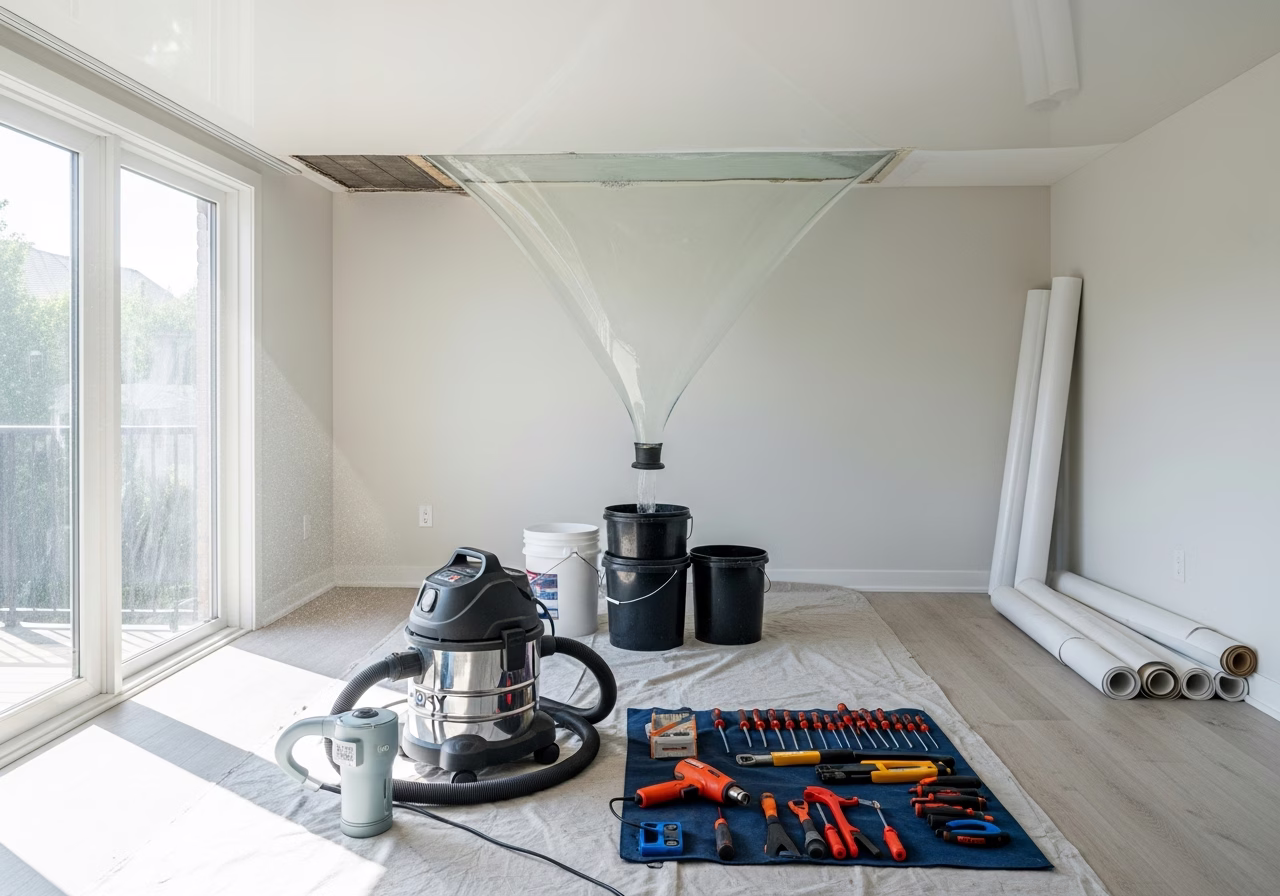
Get Free Estimate →The Drainage Process (60–90 Minutes)
The installer arrives with:
- A submersible pump or shop-vac with extension hose.
- A large bucket or 5-gallon containers.
- A small handheld heat gun (Steinel HL2020E or similar).
- Yashar/Dilov reverse spatulas.
- Replacement trim bead (sometimes the original is damaged in the process).
- 1. Assess the bulge. Estimate volume from the sag depth. Decide drainage point (usually the lowest point of the bulge, not the centre).
- 2. Place the bucket / pump directly under the planned drainage point.
- 3. Detach one corner of the membrane by reverse-spatulating the harpoon out of the track at that corner. The membrane begins to droop downward at that corner.
- 4. Cut a small slit (15–25 mm) at the lowest point of the bulge with a hooked utility blade. Water flows into the bucket / pump.
- 5. Drain controlled — the installer manages the flow rate by adjusting the slit and the corner detachment. A 200-litre leak takes 8–15 minutes to drain.
- 6. Inspect the plenum through the detached corner with a flashlight. Look for the source location, check for residual water, photograph for the insurance file.
- 7. Wait. The membrane needs to fully empty and the plenum needs initial inspection before re-tensioning.
- 8. Re-tension the membrane by re-hooking the corner and applying local heat to relax any stress wrinkles. The slit is patched with a factory matching adhesive disc — usually invisible.
- 9. Replace any damaged trim bead.
- 10. Document the final state with photos.
If the membrane is too damaged to re-tension (rare — usually only happens with very old or budget films that have lost elasticity), full removal and new membrane is recommended; see removal & replacement.
What Happens Next: The 48-Hour Drying Window
The plenum cavity above your stretch ceiling is now wet. Drywall, insulation, joists, and any wiring up there has been exposed to water. The drying step matters more than the drainage step.
The right protocol:- Industrial fan(s) running 24/7 in the plenum for 48–72 hours. RenoHouse coordinates this with a mitigation contractor if you don't have one.
- Dehumidifier in the room below to manage humidity.
- Inspection of insulation for residual moisture. Wet fiberglass insulation grows mold within 48 hours; it must be dried or replaced.
- Inspection of drywall above the ceiling — sometimes the drywall is the leaked-water reservoir and a section needs replacement (this is a separate trade).
Once the plenum is confirmed dry (moisture meter reading <16% on wood members, dry insulation), the membrane is re-tensioned. Total project time from leak to fully restored ceiling: 3 to 7 days, depending on plenum drying time.
Cost Breakdown
Emergency drainage call (single visit, single room): $250–$400 in Toronto. Travel premium to outer GTA (Mississauga, Oakville, Pickering): +$50–$100. After-hours premium (after 9 p.m. or weekends): +$100–$200. Plenum drying (industrial fans + dehumidifier rental): $200–$500 depending on duration and moisture-meter readings. Often coordinated through your insurance company's preferred mitigation vendor. Membrane re-tensioning (after plenum dries): $150–$300 — typically bundled with the original drainage call. New membrane (if original is damaged): $1,400–$2,000 for a 200 sqft room. Track is reused. Source repair (the actual leak fix): variable — can be $200 (a $5 dishwasher gasket and a plumber's hour) or $5,000+ (a full bathroom rebuild upstairs). Insurance coverage: most condo insurance policies cover sudden water damage from upstairs sources (Section A — Building, Section C — Contents). Your installer's drainage call and the membrane re-installation are typically reimbursable under Section C. Document everything; we provide invoices itemized for adjuster review.What Drywall Would Have Cost Instead

For perspective: a comparable upstairs leak through a drywall ceiling typically results in:
- Drywall ceiling collapse or saturation: replacement $800–$1,500 per affected ceiling.
- Flooring damage from the cascade: $2,000–$8,000+ if hardwood.
- Furniture damage: variable, often $3,000–$15,000 in a furnished living space.
- Electronics damage: $0–$10,000+.
- Mold remediation if unaddressed: $1,500–$5,000.
- Unit-below claim if water reaches their ceiling: another full insurance claim.
The savings on a single event often exceed the cost premium of installing a stretch ceiling in the first place. This is why we lead with the leak-protection angle in Toronto condo sales conversations — it's not marketing, it's math.
Insurance Documentation Checklist
What your adjuster will want:
- Photo of bulge before drainage (timestamped).
- Photo of source leak upstairs.
- Photo of plenum during drainage (flashlight visible).
- Invoice from drainage call (itemized: travel, drainage labor, materials, re-tensioning).
- Invoice from any plenum mitigation work.
- Invoice from source repair.
- Statement from upstairs unit / building (if applicable, for liability allocation).
- Pre-leak photos of room (any photos you have showing pre-incident condition help establish baseline).
RenoHouse provides itemized invoices in adjuster-ready format on request, with all photographic documentation included.
When Stretch Ceiling Doesn't Help
Slow leaks (drips over weeks). Slow seepage can sometimes wick around the harpoon edge and into the wall below. Major leaks (sudden, large-volume) are what stretch ceilings are designed for; chronic slow leaks need source repair regardless. Steam exposure (unrelated to leaks). Bathrooms with poor ventilation can develop condensation behind the membrane that, over years, can affect the plenum. This is a ventilation issue, not a leak event; the answer is a working bath fan, not a different ceiling. Fire-damage water (sprinkler activation). Stretch ceilings hold the water — but the heat from the fire that activated the sprinkler may have already damaged the membrane. Replacement is usually needed regardless.Get on Our Emergency Roster
If you have a stretch ceiling installed by RenoHouse's installer network, you're already on our emergency-drainage roster — same-day response, GTA service area, 8 a.m.–9 p.m. with after-hours premium. If your ceiling was installed by another company, we still take emergency calls; the response is the same regardless of who installed.
Get a free quote on a new stretch ceiling installation and the leak-protection benefit comes built-in. For broader install context, see our installation & care pillar; for the full water-emergency framework, see Water Damage Emergency 24-Hour Response.FAQ
Can the membrane handle a hot-water leak? Yes — PVC tolerates up to ~70 °C without damage. A typical residential hot-water supply runs 50–60 °C; well within tolerance. Will the ceiling sag permanently after a leak? No, if drained and re-tensioned correctly. PVC's elastic memory restores within 24 hours of re-tensioning. What if I'm not home when the leak happens? The membrane will continue to hold for hours-to-days depending on volume. The first concern is the source still leaking — install a smart leak detector (Moen Flo, Phyn Plus) at vulnerable points if you travel often. Is fabric (Clipso) leak-proof too? No — fabric is breathable. This is one of the main reasons we default-recommend PVC for Toronto condo bedrooms. See heat-gun vs cold install for the trade-offs. Will my insurance rate go up after a leak claim? Possibly — depends on your insurer and your claim history. The stretch ceiling's role in capping the loss often actually reduces the claim amount enough to keep it under deductible-trigger thresholds. Talk to your broker. What about leaks from my own unit (e.g., my own bathroom drain)? Same drainage process, same membrane behaviour. The insurance handling differs (your own unit is your insurance, not the upstairs neighbour's).Continue Reading
- Stretch Ceiling Water Leak Resilience: How PVC Holds 100 Litres Per Square Metre
- Stretch Ceiling Installation & Care in Toronto: The Complete 2026 Owner
- Toronto Condo Stretch Ceiling: Leak Protection for King West, Liberty Village, CityPlace