# Translucent Backlit Panel Stretch Ceiling: How the Glow Surface Is Built
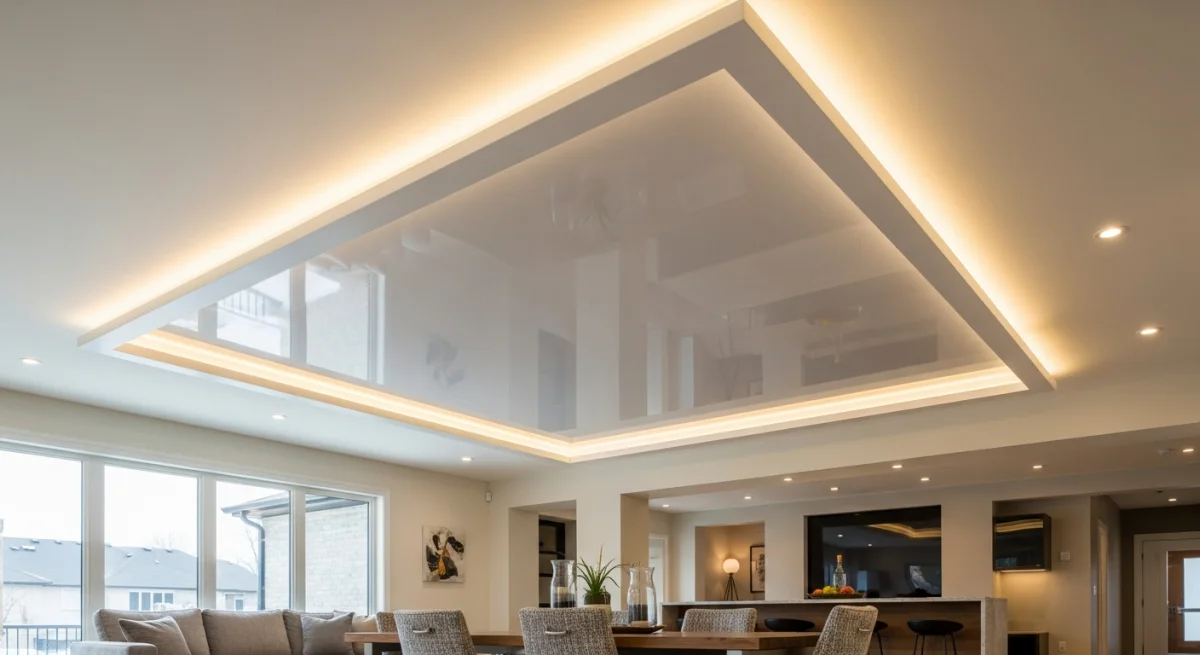
Quick answer. A translucent backlit stretch ceiling is a light-transmitting PVC film or coated polyester fabric stretched into a perimeter track, with an LED panel array sitting above the membrane in a 150–400mm plenum cavity. The film transmits 50–75% of the light, the cavity acts as a diffusion volume, and the result is a uniform glowing surface with no visible hotspots. Common Toronto specs: Cosmolight or MSD translucent film at the workhorse tier, Barrisol Lumière at the premium tier, 6500K or 4000K LED panels above the film (because diffusion warms the perceived temperature), and a secondary acrylic diffuser sheet for shallow-cavity condo retrofits. Installed cost runs $18–$30/sqft in 2026.This article is part of our LED backlit stretch ceiling pillar. For Barrisol's premium translucent system specifically see our Barrisol Lumière guide. For costs see our LED stretch ceiling cost article.
The Engineering Problem
A backlit ceiling is a giant edge-lit luminaire. The challenge: produce uniform light output across the entire surface with no visible LED dots, no hotspots, no colour shift edge-to-edge, and a colour temperature that reads correctly to the eye.
Three variables determine whether the result looks luxury or looks like a Costco light box:
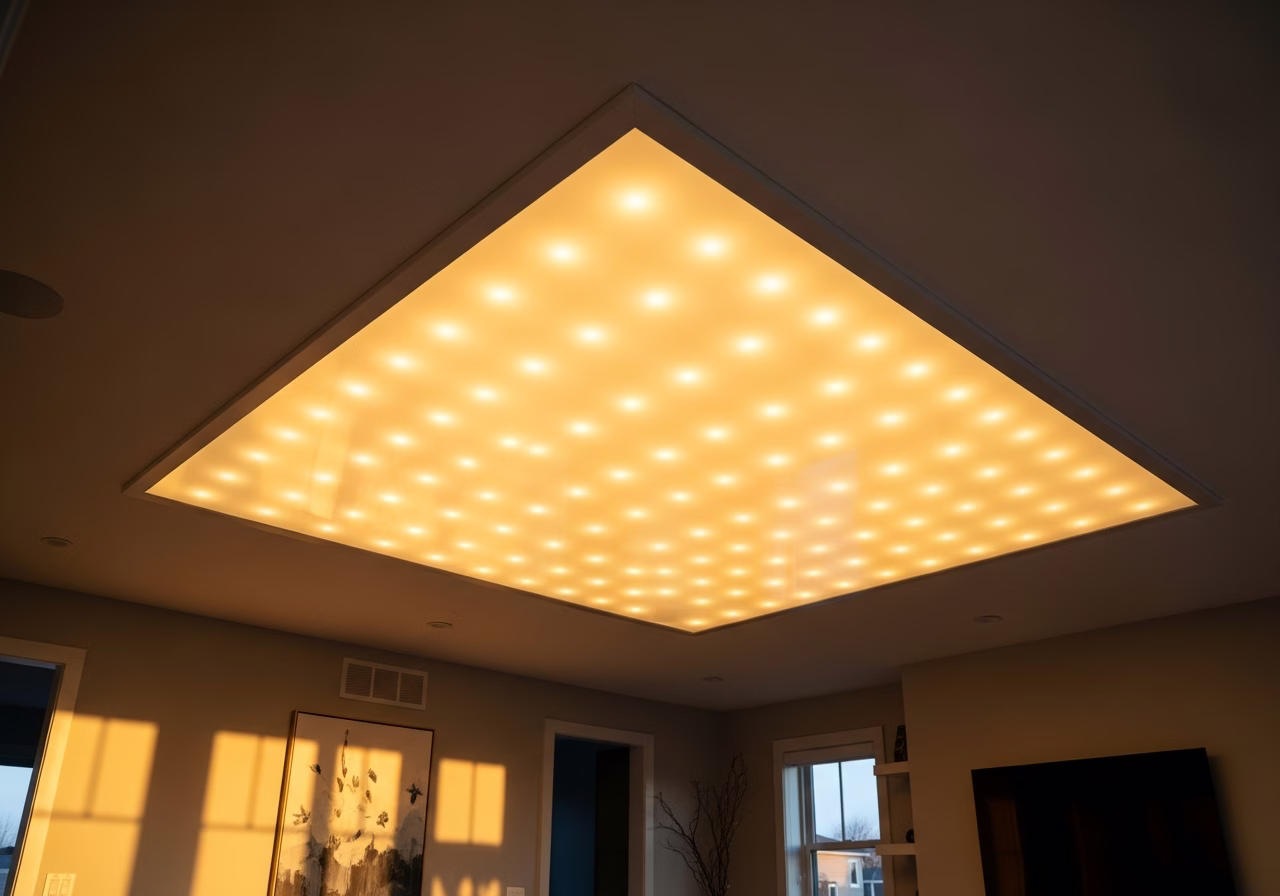
- 1. Cavity depth — distance from LED source to translucent film.
- 2. LED density and pattern — strip spacing, panel coverage, edge-vs-grid configuration.
- 3. Film transmission and diffusion — light transmission percentage and how the film scatters light.
Get any one wrong and the ceiling fails.
Cavity Depth — The Single Biggest Variable
The deeper the cavity, the more uniform the light. Toronto installation reality:
| Cavity Depth | Hotspot Risk | Suitable For |
|---|---|---|
| 80–150mm | High — visible LED dots | Not recommended without secondary diffuser |
| 150–250mm | Moderate — manageable with diffuser sheet | Condo retrofits with limited slab height |
| 250–400mm | Low — uniform output | Standard backlit, residential and commercial |
| 400mm+ | None | Premium, large-format installations |
In a Toronto condo with 8'0" slab, going to 300mm cavity gives you a finished height of about 7'8" in the backlit zone — borderline acceptable. Many condo backlit projects compromise at 200mm cavity with a strong secondary diffuser, accepting the modest hotspot risk for the height savings.
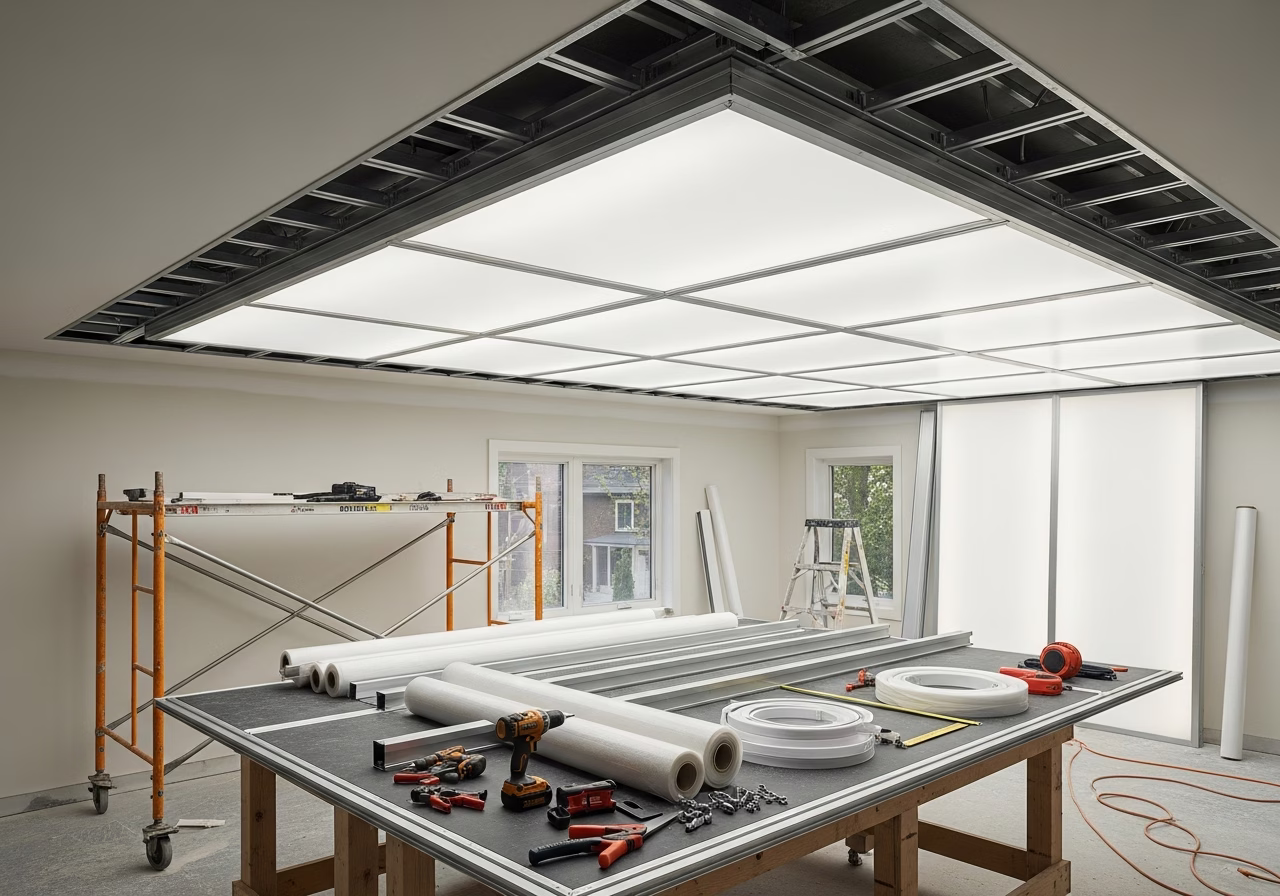
The LED Panel Array
Three patterns dominate:
Need professional renovation?
Call RenoHouse at 289-212-2345 or get a free estimate today.
Get Free Estimate →Pattern A: LED Strip Grid
Continuous LED strip mounted on aluminium channels, parallel runs at 50–100mm spacing. Cheapest material cost. Highest hotspot risk in shallow cavities. Best suited for deeper cavities (300mm+) where the spacing blurs into uniformity.
Pattern B: LED Panel Array
Edge-lit LED flat panels (typically 600x600mm or 300x1200mm) mounted on a grid above the film. Premium uniformity, mid-range cost. Brands: Halco, Pixi, MaxLite, premium Lutron-spec panels. Each panel is its own diffusion layer, so the light reaching the translucent film is already uniform. We default to this pattern for Toronto residential.
Pattern C: Edge-Lit Light Box
Acrylic diffuser sheet sits at the cavity bottom directly above the translucent film, with LED bars mounted along the cavity perimeter shooting light into the acrylic edge. This is the Barrisol Lumière luxury system — extremely uniform, expensive, used in retail flagships and premium hospitality.
Film Selection

The translucent membrane is the visible diffusion layer.
| Brand | Origin | Light Transmission | Toronto Availability | Cost (relative) |
|---|---|---|---|---|
| Barrisol Lumière | France | 70% | Limited (Groupe Mayer Ottawa) | Premium ++ |
| Cosmolight | Italy | 60–75% | Mid availability | Premium |
| Pongs lite | Germany | 55–65% | Trade channels | Mid-Premium |
| Descor Backlit | Germany | 50–70% | Trade channels | Mid-Premium |
| MSD translucent | China | 50–60% | Wide via Russian-Canadian installers | Mid (workhorse) |
| Halead translucent | China | 45–55% | Some availability | Budget |
Higher transmission = brighter ceiling for the same LED wattage. Lower transmission = better diffusion, less hotspot visibility. The sweet spot is 60–65% transmission — bright enough to feel like a real light source, diffuse enough to hide LED structure.
The Diffusion Layer
For shallow cavities or premium uniformity, a secondary diffusion layer sits between the LED source and the translucent film. Options:
- Opal acrylic sheet (1–3mm) — most common, $4–$8/sqft material.
- Light-frosted secondary film stretched on its own internal track — more expensive but adds depth.
- Honeycomb or microprismatic diffuser — premium commercial spec.
For a 150mm cavity in a Toronto condo, we always spec a secondary opal acrylic diffuser. For 300mm+ cavities, the diffuser is optional but improves hot-spot rejection.
Color Temperature Above the Film
A counter-intuitive but well-documented effect: diffusion warms the perceived colour temperature. A 4000K LED above a translucent film reads as roughly 3000–3500K in the room. A 6500K daylight LED reads as 4000–4500K. Practical implication:
- For a "warm skylight" look, spec 4000K LED panels above the film.
- For a "natural daylight skylight" look, spec 6500K LED panels above the film.
- 3000K LEDs above the film can read as muddy yellow — usually too warm.
For tunable white systems (which we recommend for premium installations), use 2700–6500K tunable panels and let the homeowner set the room mood.
Power and Driver Sizing
Backlit cavities are wattage-hungry. Typical figures:
- Continuous LED strip at 14W/m, 50mm spacing in a 200 sqft (≈18 m²) cavity: roughly 80m of strip = 1,120W nominal, 1,344W after safety factor. Spec two 700W drivers, two zones.
- LED panel array with 600x600 panels at 36W each, covering 200 sqft with 60 panels: 720W after safety factor. Spec two 400W drivers.
- Edge-lit light box (Barrisol Lumière style) for 200 sqft: 400–600W. Single driver possible.
The driver lives in the plenum cavity on a dedicated junction box. The 120V feed must be wired by an ESA-licensed Master Electrician — non-negotiable. RenoHouse coordinates the electrician on every backlit project.
Maintenance Access
Drivers fail. LED panels fail (rarely, but they do). Plan for access:
- Removable maintenance hatch in the stretch ceiling — typically a 600x600 cut with a Velcro re-attachable section, or a more elegant gasketed hatch with a magnetic frame.
- Driver placement near hatch — install drivers within reach, not in the centre of the room.
- Spare strip / panel reserved at install — we keep one panel and 2m of strip in the homeowner attic for future repairs.
Common Failures We Repair
- Visible hotspots in shallow-cavity condo retrofits — diagnosis: cavity too shallow, no secondary diffuser. Fix: retrofit acrylic diffuser ($800–$1,500) or accept the hotspots.
- Yellowed translucent film after 5–7 years — diagnosis: cheap MSD or Halead film with poor UV stabilisation. Fix: full membrane replacement.
- Driver buzz or flicker — diagnosis: cheap driver, dimmer mismatch. Fix: replace driver with Mean Well or Magnitude.
- One zone goes dark, others working — diagnosis: failed driver. Fix: driver replacement, $250–500.
- No 120V feed during install — diagnosis: skipped electrician. Fix: stop the install, bring in the ESA-licensed electrician, redo the timeline.
Where Backlit Translucent Works Best in Toronto Homes
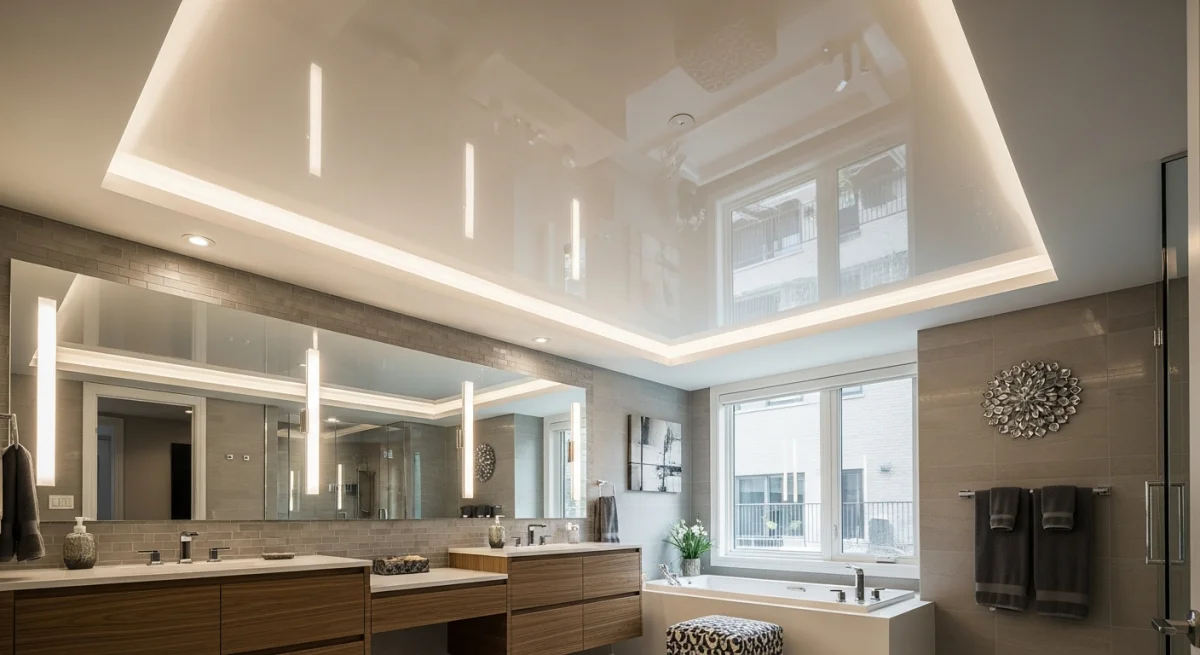
- Master bathroom over the tub or vanity — softens the room, replaces harsh pot lights.
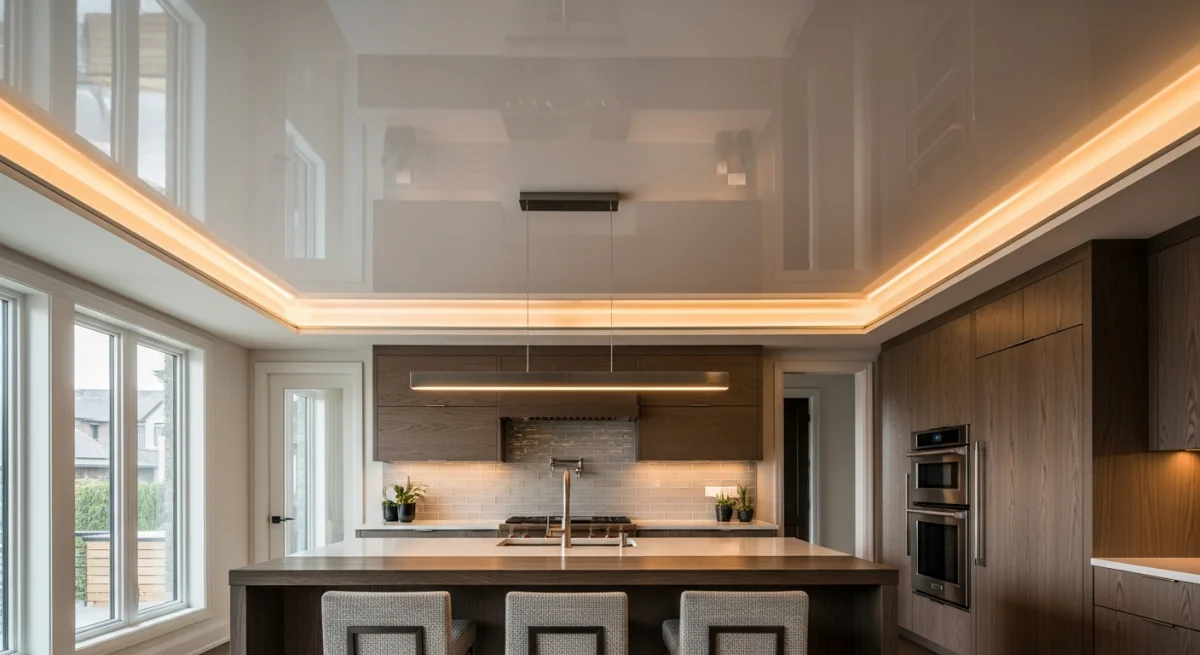
- Kitchen island ceiling — focused glow over the island, dramatic when paired with pendant lighting.
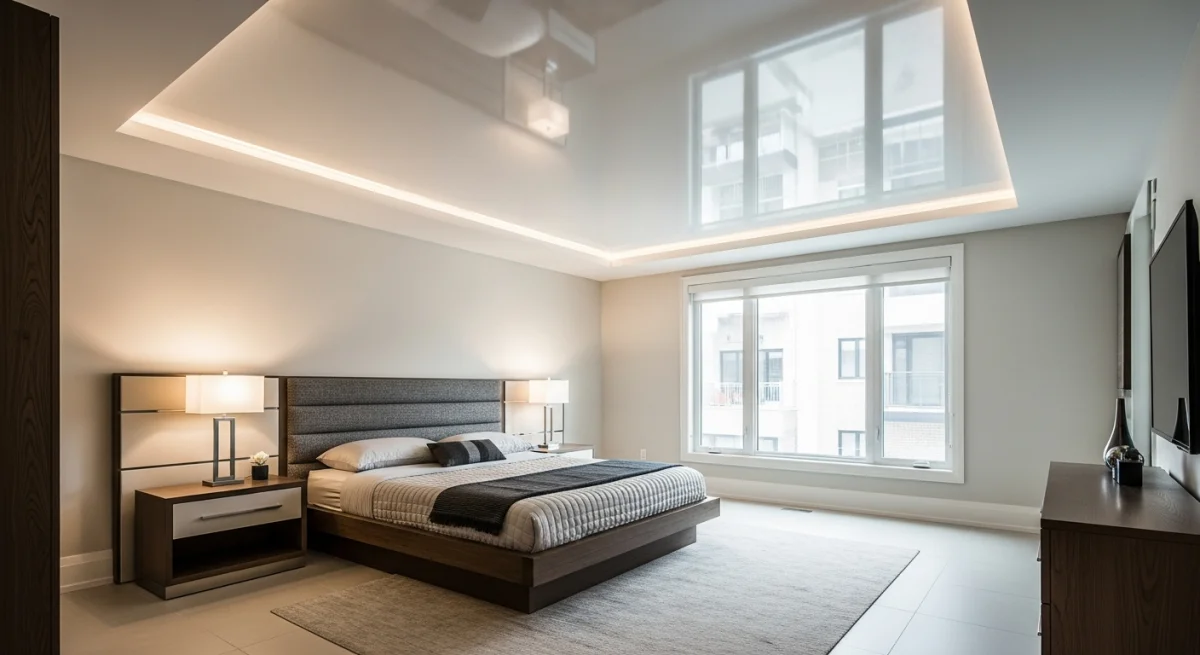
- Master bedroom feature panel — partial backlit zone (e.g., 6'×4' panel) plus standard stretch ceiling around it.
- Home theatre soffit — backlit shadow gap around the screen or seating.
- Foyer or entry — daylight emulation in a windowless space.
- Powder room — small-format backlit ceiling, full-room scale.
- Dressing room and walk-in closet — premium glow, replaces overhead pot lights.
For a full room-by-room treatment of stretch ceiling applications see our stretch ceiling by room pillar.
Honest Positioning
Translucent backlit ceilings are an engineered system, not a finish swap. Cavity depth, LED density, film transmission, diffuser layer, driver sizing, and ESA-compliant 120V wiring all have to be coordinated. A vetted installer plus an ESA-licensed Master Electrician is the only honest way to deliver a backlit ceiling that performs for 10+ years.
Book a backlit stretch ceiling consultation and we will model the cavity, spec the system, and quote a fixed all-in price. For broader context see our LED backlit stretch ceiling pillar.