# Cove Lighting with Stretch Ceiling in Toronto: Profiles, Strips, and the Wall-Wash Effect
Quick answer. Cove lighting integrated with a stretch ceiling uses a specialty perimeter profile (most often a KP-profile or L-profile with light slot) to conceal an LED strip behind the membrane edge, washing light up the wall, down across the ceiling surface, or both. In Toronto in 2026, cove integration adds $12–$22 per square foot to a base stretch ceiling project. The most popular spec is a KP-profile with 24V single-color tunable white at 14W/m, dimmed via Lutron Caseta or Diva — clean architectural look, dependable performance, $2,400–$3,600 installed for a 200 sqft master bedroom.This article is part of our LED backlit stretch ceiling pillar. For LED strip selection see our RGB vs RGBW vs RGBWW comparison. For full cost detail see our LED stretch ceiling cost article.
What "Cove Lighting" Means in a Stretch Ceiling Context
In traditional drywall construction, cove lighting is a recessed shelf that hides an LED strip and bounces light off the ceiling. In stretch ceiling construction, cove lighting is built into the perimeter profile itself. The aluminium track that holds the membrane has a secondary slot or shelf that accommodates an LED channel. No drywall shelf is needed — the perimeter of the room becomes the cove.
Three profile families are commonly used in Toronto:
KP-Profile (Combined Cove and Shadow Gap)
A two-piece European profile that creates both a clean shadow gap (a 5–10mm dark line where the ceiling meets the wall) and a wall-wash light effect simultaneously. The LED channel sits in a 12–15mm slot behind the membrane edge. This is the spec we use for most Toronto premium projects — looks architectural, modern, and lets the membrane finish flush.
L-Profile with Light Slot
A simpler one-piece profile with a 10mm LED channel slot. The light washes the wall directly. Less expensive than KP, common in mid-tier projects.
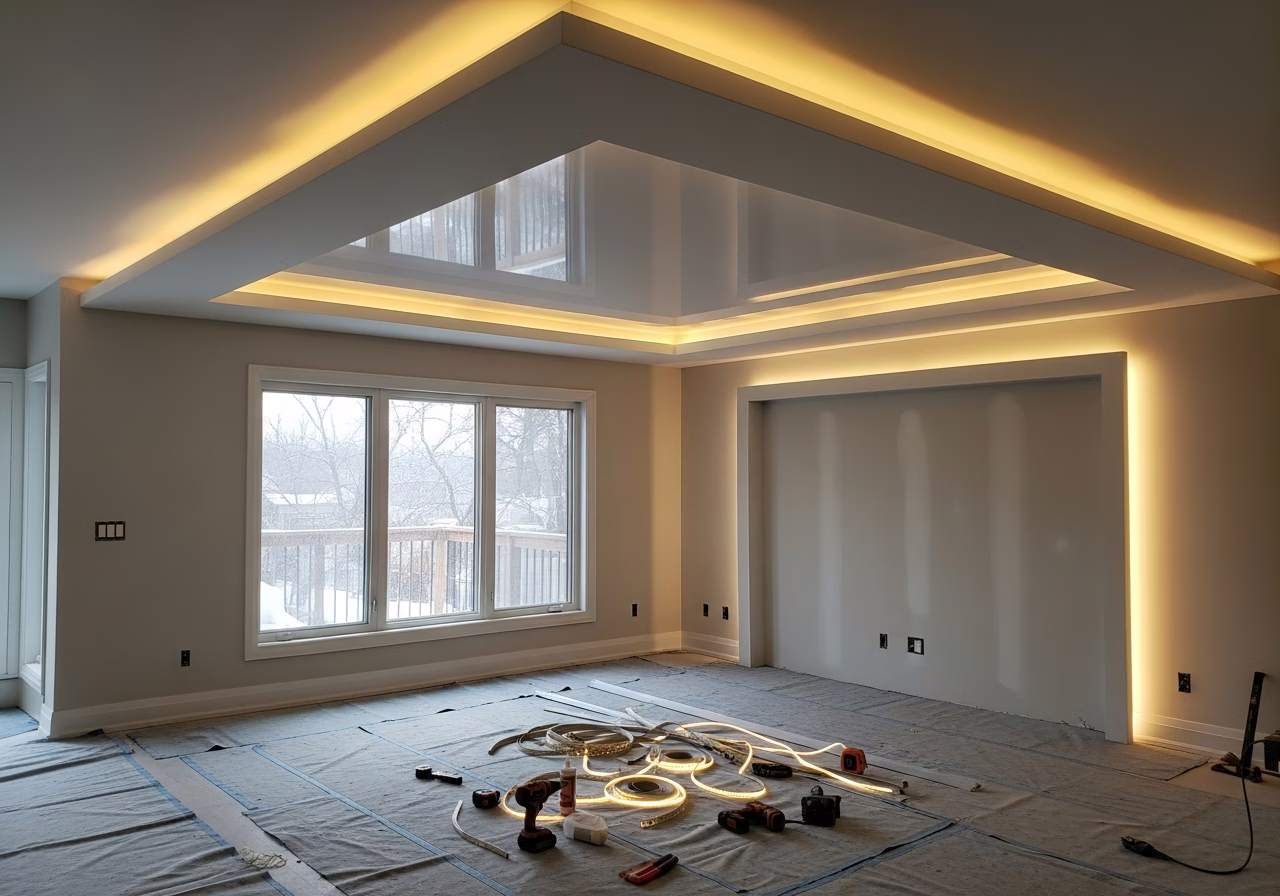
Coffered Internal Profile (Multi-Level Stretch Ceilings)
For multi-level stretch ceilings (a lower perimeter and a raised central panel, for example), the internal step profile can accommodate an LED strip that washes light across the lower perimeter and up into the raised panel. Premium effect, more complex install. Typical cost premium $1,500–$3,000 for the framing alone.
Wall-Wash vs Ceiling-Wash vs Both
The orientation of the LED channel determines the visual effect.
Need professional renovation?
Call RenoHouse at 289-212-2345 or get a free estimate today.
Get Free Estimate →Wall-Wash (Light Going Down)
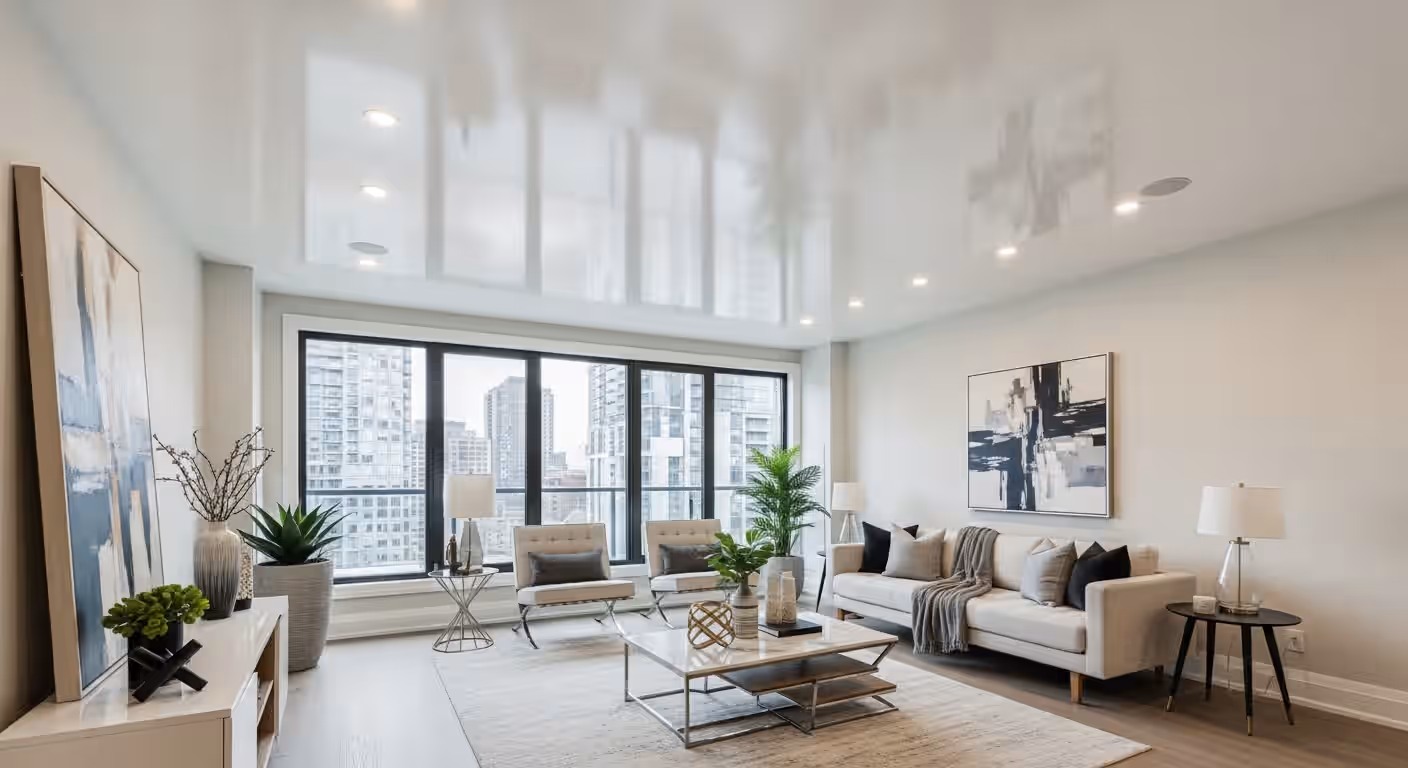
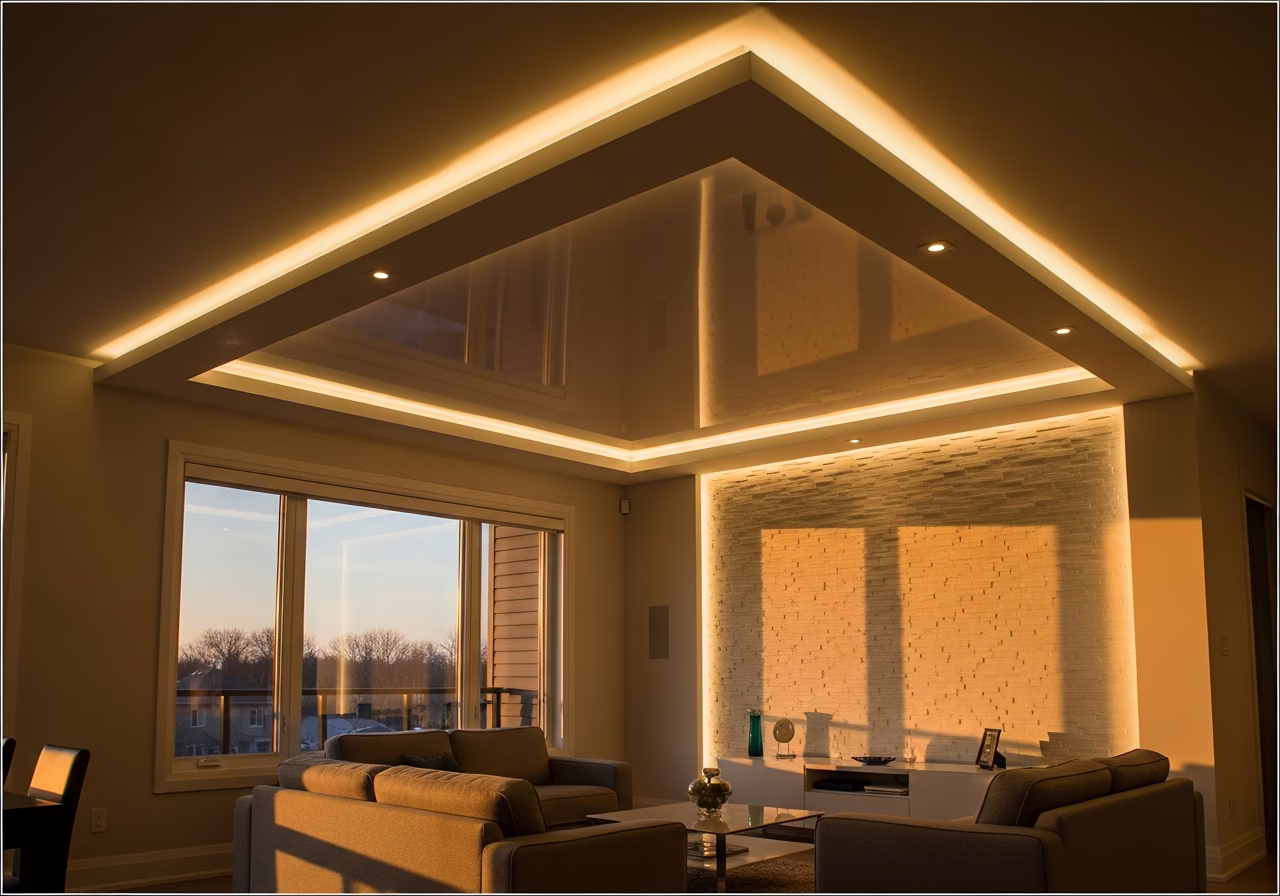
LED strip pointed downward, lighting the wall below the ceiling line. Creates a dramatic vertical wash — emphasizes architectural features, art, headboards. Best for living rooms, master bedrooms, and rooms with statement walls.
Ceiling-Wash (Light Going Up)
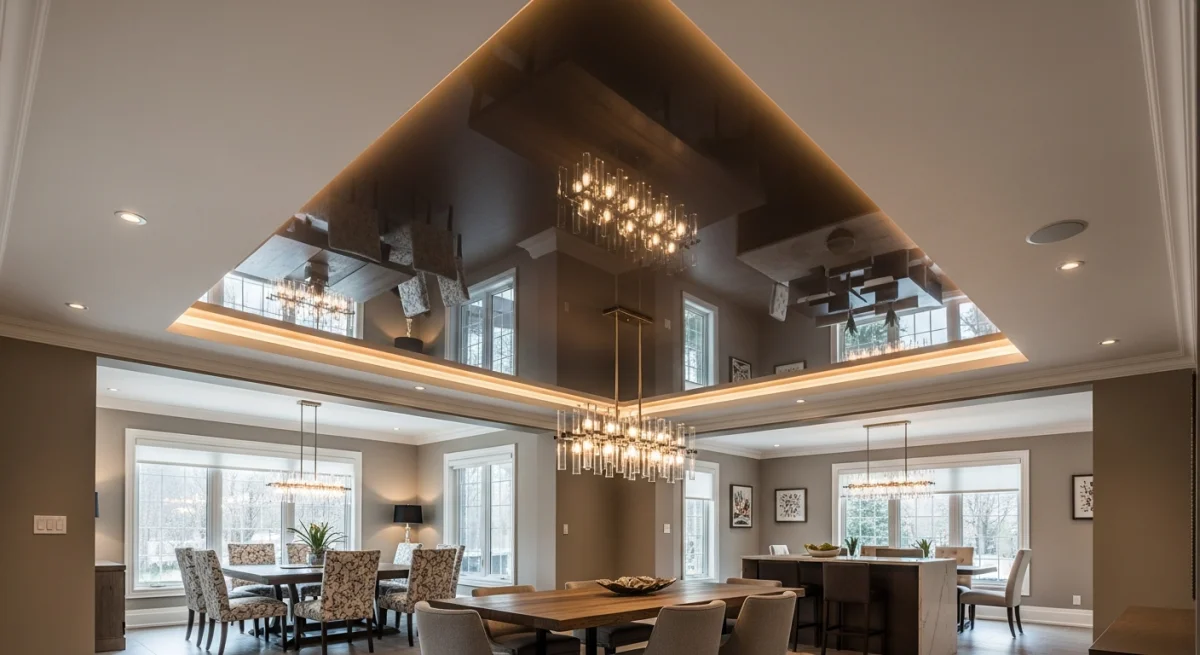
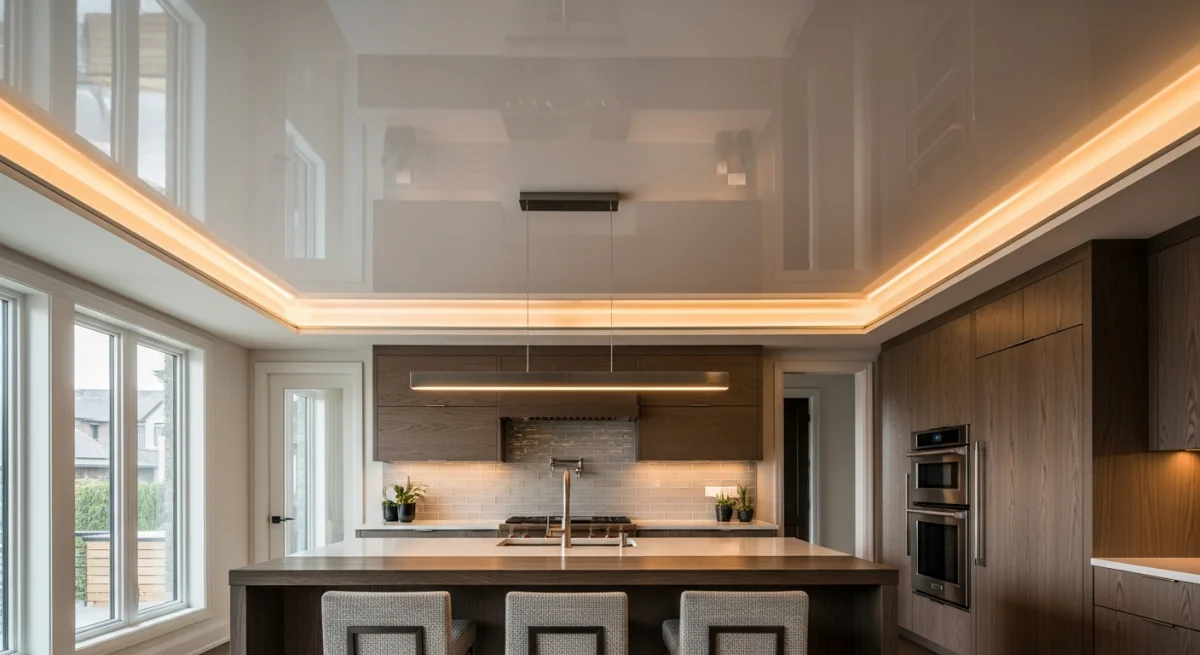
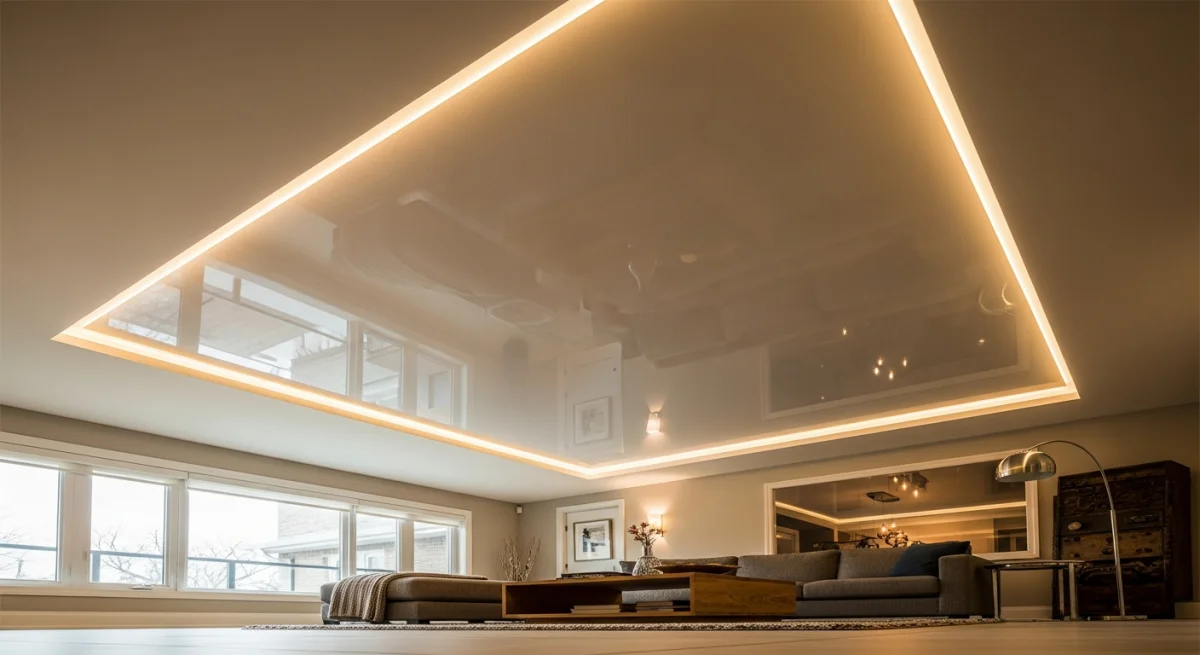
LED strip pointed upward, lighting the membrane surface from below. Creates a soft halo effect — the ceiling appears to glow at the edges. Best when paired with a glossy stretch ceiling for the mirror effect, or in dining rooms and home theatres for ambient mood.
Both (KP-Profile with Twin Slots)
The premium KP profile can carry two LED channels, one wall-wash and one ceiling-wash, separately controlled. Doubles the cost and the visual impact. Used in Toronto luxury master suites and home theatres.
Strip Selection for Cove
Most cove applications work best with single-color tunable white at 24V, 14W/m, 90+ CRI. The visual effect is the wash itself, not the colour — RGB and RGBW are overkill unless you specifically want occasional ambience.
When RGBW makes sense:
- Kids' rooms — colour scenes for fun.
- Home theatre — bias lighting in colour scenes.
- Entertainment / bar zones — party mode.
When tunable white (no RGB) is the right answer:
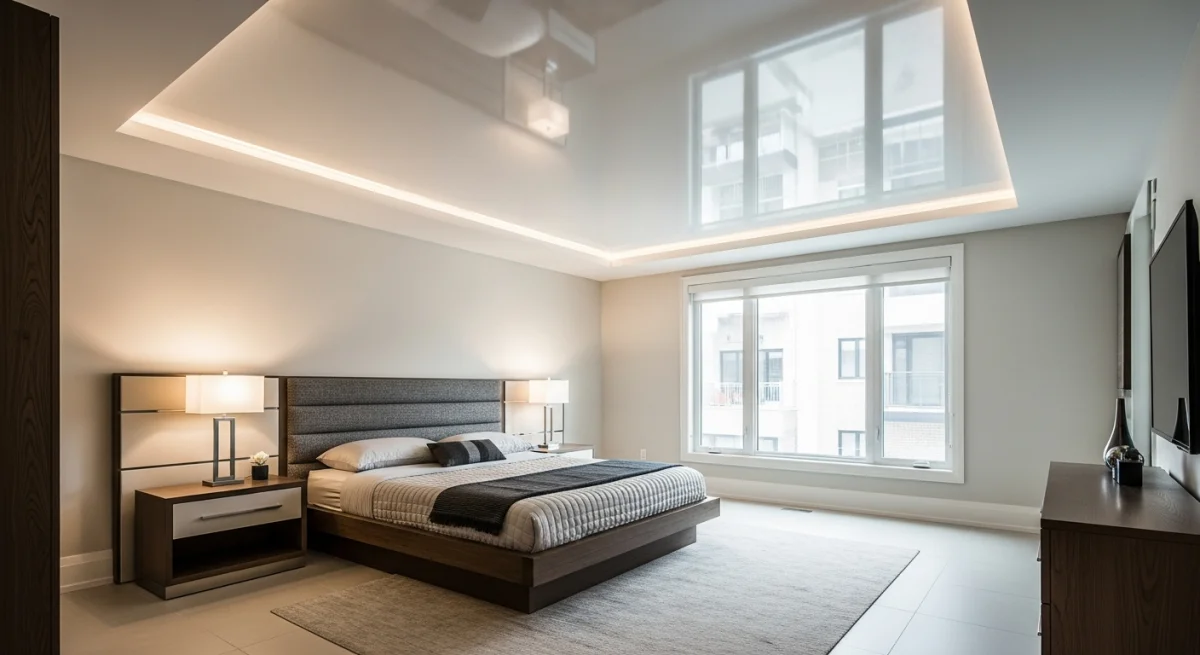
- Master bedroom — circadian shift from cool morning to warm evening.
- Living room — warm conversational evenings, neutral daytime.
- Kitchen — neutral 4000K for cooking, warm 3000K for dining.
- Dining room — warm 2700K only.
- Hallway and entry — warm 2700K with simple dimming.
For full strip type comparison see our RGB vs RGBW vs RGBWW article.
Channel Geometry — The Quality Determinant
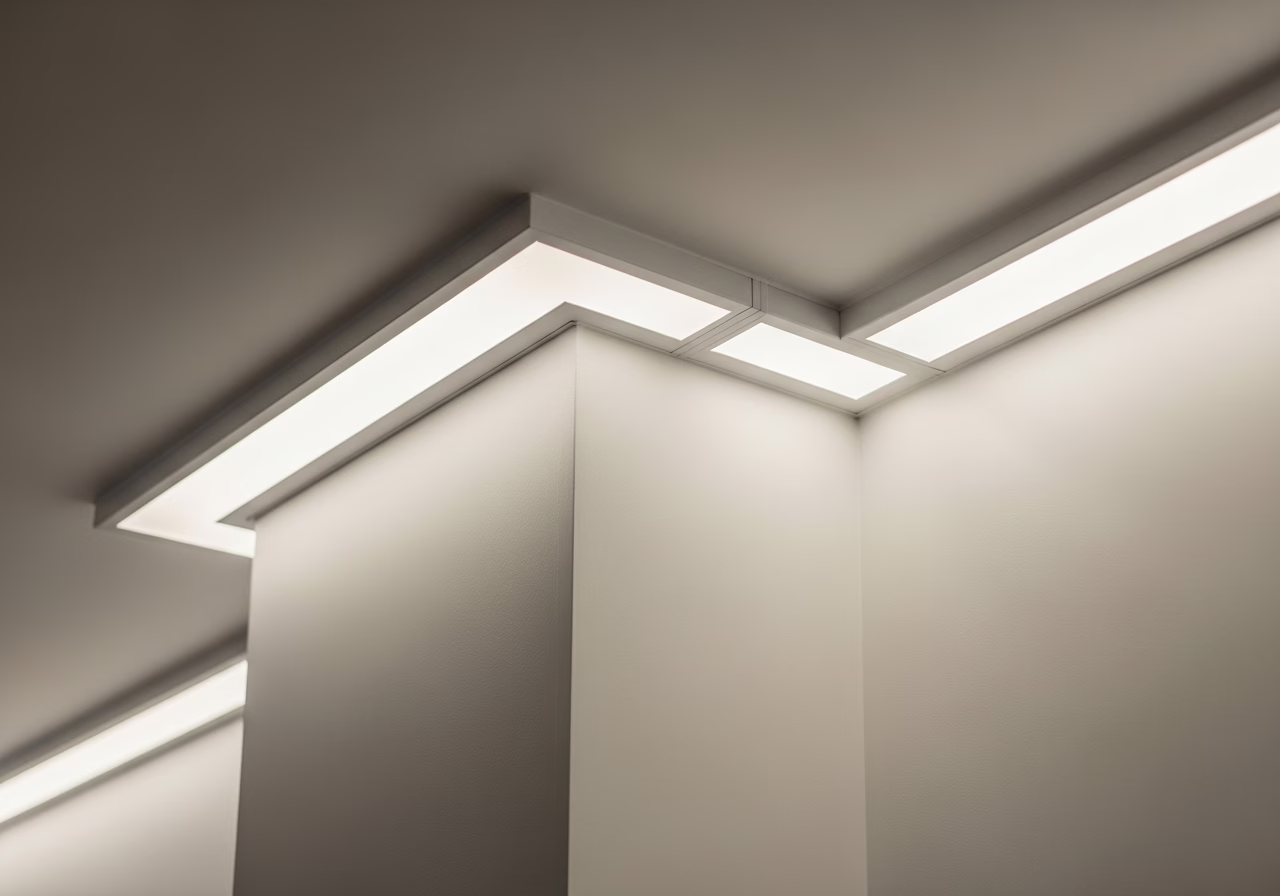
A bad cove install puts the LED strip too tight to the wall, creating uneven scallop patterns where each LED is visible. A good cove install respects the geometry:
- Setback from wall: minimum 30mm. We typically spec 40–50mm for clean wall-wash.
- LED density: 60 LEDs/m for normal cove, 120 LEDs/m for tight cove or short throw.
- Aluminium channel with frosted lens cover: softens the LED dots, prevents pixel patterns. Always specify the lens cover — open channel cove looks cheap.
- End caps and corner connectors: every corner of the room needs a flexible corner LED or a soldered jumper to keep the wash continuous.
Driver and Dimmer
For an 18m perimeter at 14W/m on a tunable white strip:
- Total wattage: 252W nominal, 302W after safety.
- Spec 350W constant-voltage driver (Mean Well HLG-350H-24A or equivalent), ELV-dimmable.
- Wall dimmer: Lutron Diva ELV ($90 list) or Lutron Caseta Pro ELV ($210 list) for smart control.
For tunable white with two channels (warm white plus cool white), the driver and dimmer setup doubles — two channels, two dimmers, or one tunable controller. We typically use a Hue White Ambiance Lightstrip for residential tunable white because the bridge handles two-channel control natively.
Smart-Home Integration
| Hub | Strip | Notes |
|---|---|---|
| Lutron Caseta | Single-color or tunable white | Reliable, no-neutral capable |
| Lutron RA3 + Lumaris | RGBW or RGBWW | Premium, hard-wired bus |
| Philips Hue White Ambiance | Tunable white | Easy app control |
| Philips Hue Lightstrip Plus | RGBW | Most flexible homeowner experience |
| KNX-DALI | Any | European luxury bus |
For broader integration context see our Toronto smart home installation pillar, and our Lutron Caseta stretch ceiling integration article.
What Cove Lighting Adds to a Stretch Ceiling Project
| Project Type | Without Cove | With Single-Color Cove | With RGBW Cove + Smart |
|---|---|---|---|
| 200 sqft master bedroom | $1,800–$3,000 | $2,400–$3,600 | $3,200–$4,400 |
| 300 sqft living room | $2,700–$4,500 | $3,600–$5,400 | $4,800–$6,600 |
| 150 sqft kitchen island ceiling | $1,500–$2,500 | $2,000–$3,000 | $2,700–$3,800 |
| 80 sqft powder room | $800–$1,400 | $1,200–$1,800 | $1,500–$2,300 |
ESA Master Electrician 120V tie-in is included in the "with cove" pricing.
Common Cove Mistakes We Fix
- No frosted lens cover on the LED channel — visible LED dots from below. Retrofit the cover.
- Channel installed flush to wall — uneven scallop pattern. Reposition to minimum 30mm setback.
- Cheap dimmer with quality driver — flicker. Replace dimmer with Lutron Diva ELV.
- Cheap driver with quality dimmer — flicker. Replace driver with Mean Well or Magnitude.
- Single 350W driver feeding 25m perimeter without power injection — voltage drop, dim ends. Add power injection at midpoint.
- No 120V tie-in by ESA-licensed electrician — fails inspection, voids insurance.
Honest Positioning
Cove lighting is the highest-value LED upgrade for most Toronto stretch ceiling projects — it transforms a flat ceiling into an architectural feature for a 30–50% project premium. Skip the RGB hype unless you have a specific use case; specify a quality KP-profile, a 24V tunable white strip with frosted lens cover, a Mean Well driver, and a Lutron dimmer; coordinate the ESA-licensed Master Electrician for the 120V tie-in; and you have a system that performs for 15+ years.
Book a stretch ceiling consultation and we will design the cove for your room. For the full guide see our LED backlit stretch ceiling pillar.