# Multi-Level Stretch Ceilings: Coffered Design Without Drywall
A flat ceiling is an unfinished design choice in 2026. Multi-level stretch ceiling designs combine two or three planes at different heights, with integrated cove lighting hidden in the level transition - delivering coffered, tray, and floating-effect ceilings without the labour of site-built drywall coffers. This guide covers the design vocabulary, framing premium, lighting integration, and real GTA pricing for multi-level stretch ceiling projects.
For broader context, see our Toronto stretch ceiling complete guide. Related: LED backlit stretch ceiling pillar, 3D shaped stretch ceilings.
What Multi-Level Means
A "multi-level" or "multi-tier" stretch ceiling has two or more horizontal planes at different heights, framed with internal aluminum or drywall sub-frames between them. Common patterns:
- 2-level tray: central recessed pocket lower than the perimeter (or vice versa). The perimeter "ring" sits 100-150 mm below the central rectangle.
- 2-level inverted tray: central area higher (raised) with perimeter dropped 100-150 mm.
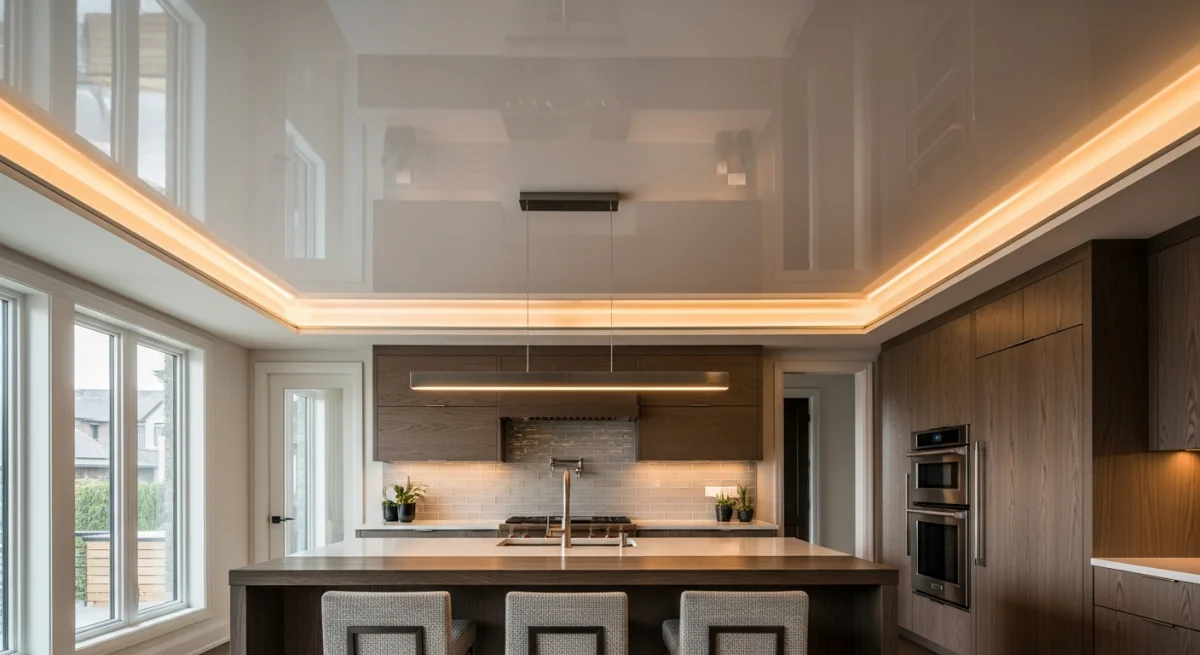
- 2-level offset: room divided into two zones with different heights (e.g., over-island lower, rest of kitchen higher).
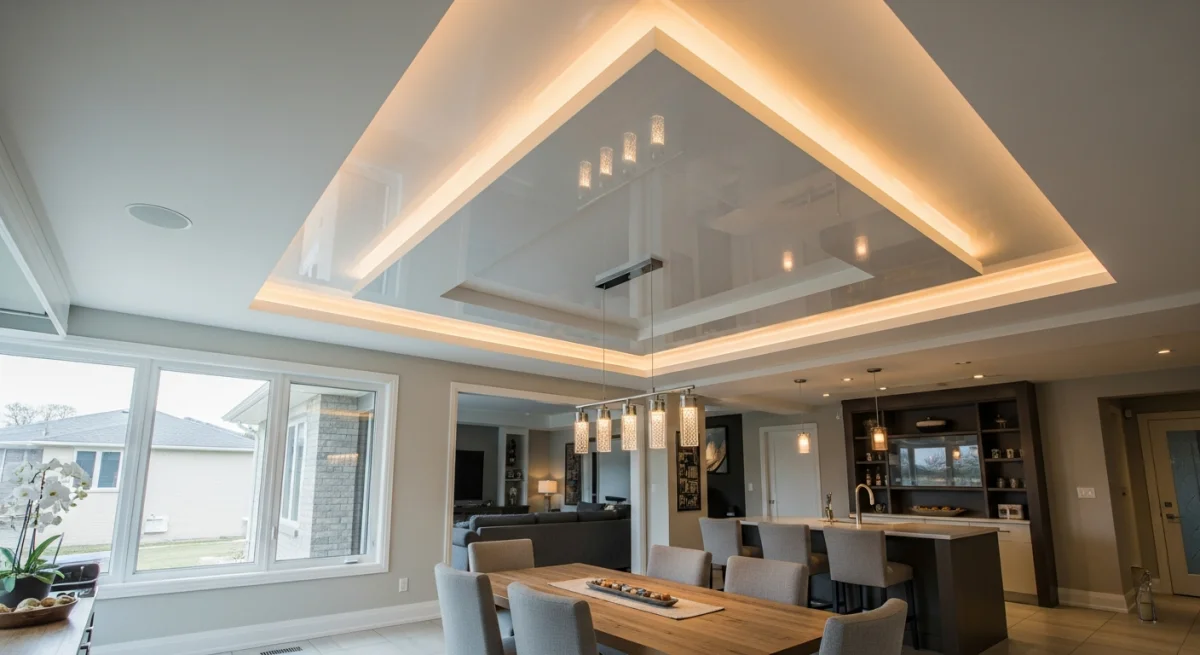
- 3-level coffered: central rectangle, intermediate ring, outer perimeter, three planes.
- Asymmetric multi-level: custom geometry following furniture layout (e.g., dropped pocket over dining table).
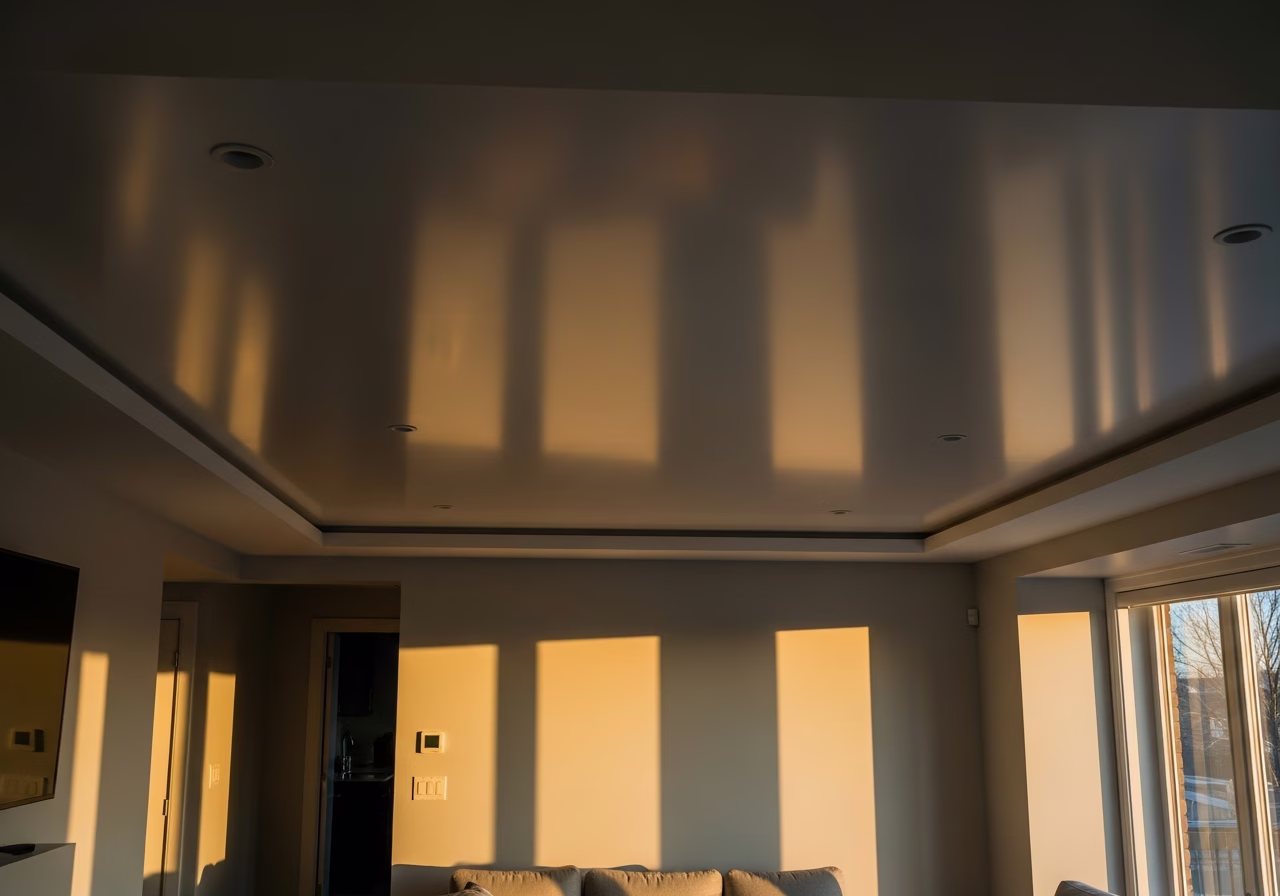
The level transition between planes is where the design magic happens: the gap is typically 10-20 cm wide and houses RGB or warm-white LED cove lighting that washes upward and outward, creating a floating-effect halo.
Why Multi-Level Beats Site-Built Drywall Coffers
Traditional coffered ceilings are drywall and trim - framed sub-structure, drywall installed on the bottom of joists or beams, trim mouldings around the openings, multiple coats of mud and paint. Skilled work, multi-week project, dust-heavy.
Multi-level stretch ceiling delivers the same visual outcome:
Need professional renovation?
Call RenoHouse at 289-212-2345 or get a free estimate today.
Get Free Estimate →- Faster install: 1-2 days for a multi-level vs 7-10 days for drywall coffered.
- Cleaner finish: glossy or satin PVC reads as more refined than painted drywall.
- Integrated lighting: cove LEDs are designed in from the start.
- Lower cost: $4,000-$8,000 framing premium for stretch vs $8,000-$15,000 site-built drywall coffers.
- Reversible: if you sell to a buyer who wants flat, the stretch ceiling and frame come down in 2-3 hours.
The only downsides: stretch ceiling does not look identical to traditional plaster coffered (a heritage purist will spot the difference) and the design vocabulary is contemporary rather than classical.
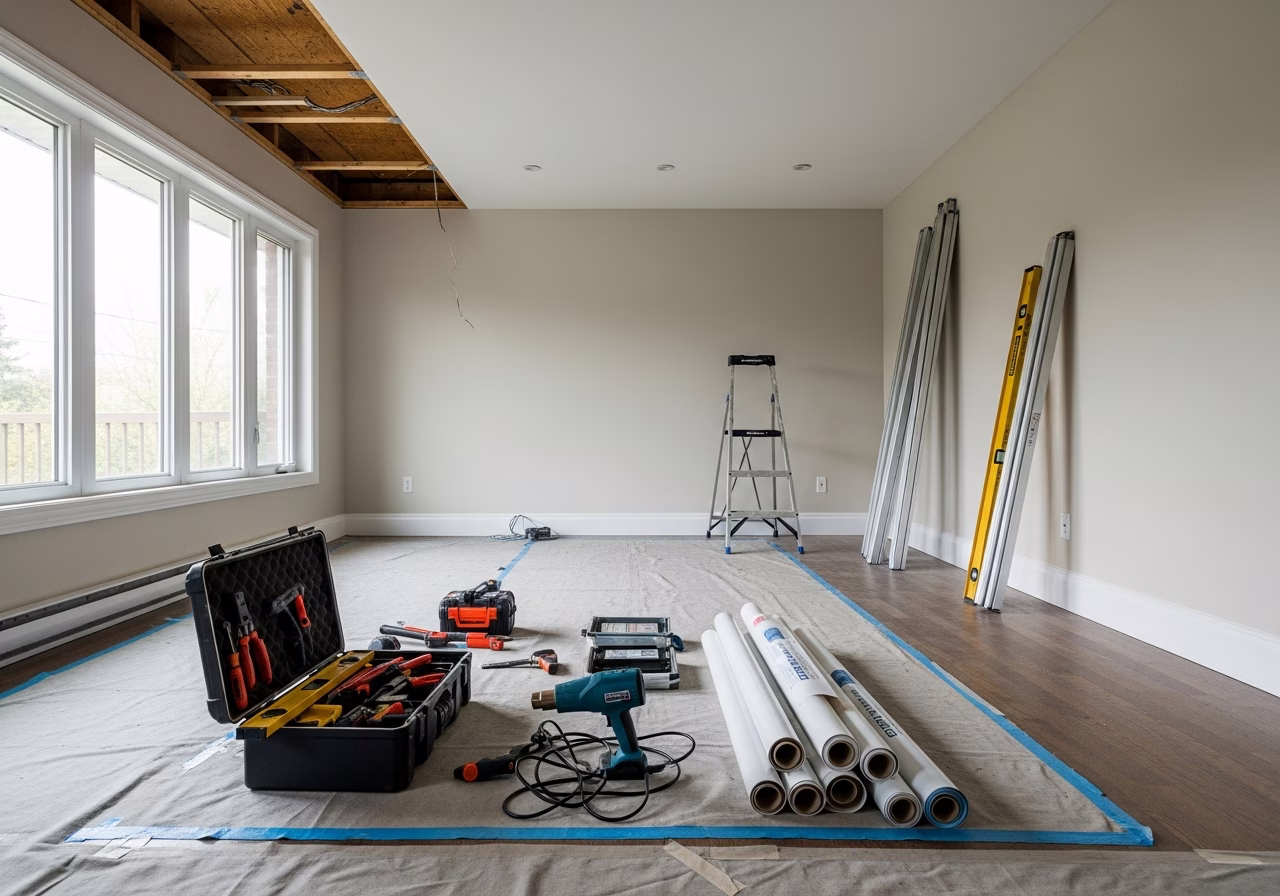
How It Is Built
The framing sequence:
Stage 1: Plan the levels. The designer or RenoHouse PM marks the desired ceiling pattern on the existing structural ceiling using laser lines and chalk. Cove lighting positions, fixture locations, and HVAC pass-throughs are mapped. Stage 2: Install the sub-frame. Drywall or aluminum profile is mounted to the structural ceiling at the planned level transitions. The sub-frame creates the geometric "step" between planes. Common sub-frame depth: 80-150 mm. The sub-frame is finished with primer and (on the visible vertical face only) paint - because the bottom face will be covered by stretch ceiling. Stage 3: Mount stretch ceiling profiles. Aluminum harpoon profile is mounted around each plane's perimeter. The profile follows the geometry of the design. Stage 4: Pre-install LED strips. RGB, RGBW, or warm-white LED strips are installed on the vertical face of the sub-frame, hidden from below by the upper plane's profile. Wired to a controller (Lutron, Hue, GLEDOPTO Zigbee). Stage 5: Install stretch ceiling membranes. Each plane is separately stretched and hooked - the upper (perimeter) plane first, then the lower (central) plane. The harpoon hooks engage the profiles in their respective levels. Stage 6: Trim and test lighting. Plastic trim beads close the harpoon gaps. LED controllers tested. Walkthrough with homeowner.Total install time for a 200-300 sqft 2-level: 1.5-2 days.
Cost Breakdown (2026 GTA)
| Element | Cost |
|---|---|
| Base flat stretch ceiling (200 sqft, MSD Premium glossy) | $2,200-$3,000 |
| 2-level framing premium | +$2,500-$4,500 |
| 3-level framing premium | +$4,500-$7,500 |
| RGB LED cove (10 m perimeter, mid-tier) | +$800-$1,400 |
| RGBW LED cove (10 m, premium with controller) | +$1,500-$2,500 |
| Lutron Lumaris RGB+TW (10 m, premium smart) | +$3,000-$5,500 |
| Custom shape (asymmetric, follows furniture) | +$1,500-$3,000 |
Total examples for a 200 sqft 2-level master bedroom:
- Mid-tier glossy 2-level with warm-white cove: $5,500-$7,500
- Premium glossy 2-level with RGB cove: $7,000-$10,500
- Premium glossy 3-level with Lutron Lumaris: $13,000-$18,000
Compare to site-built drywall coffered with cove lighting: $8,000-$18,000 typical, plus 2-3 weeks of disruption.
Design Patterns That Work in Toronto
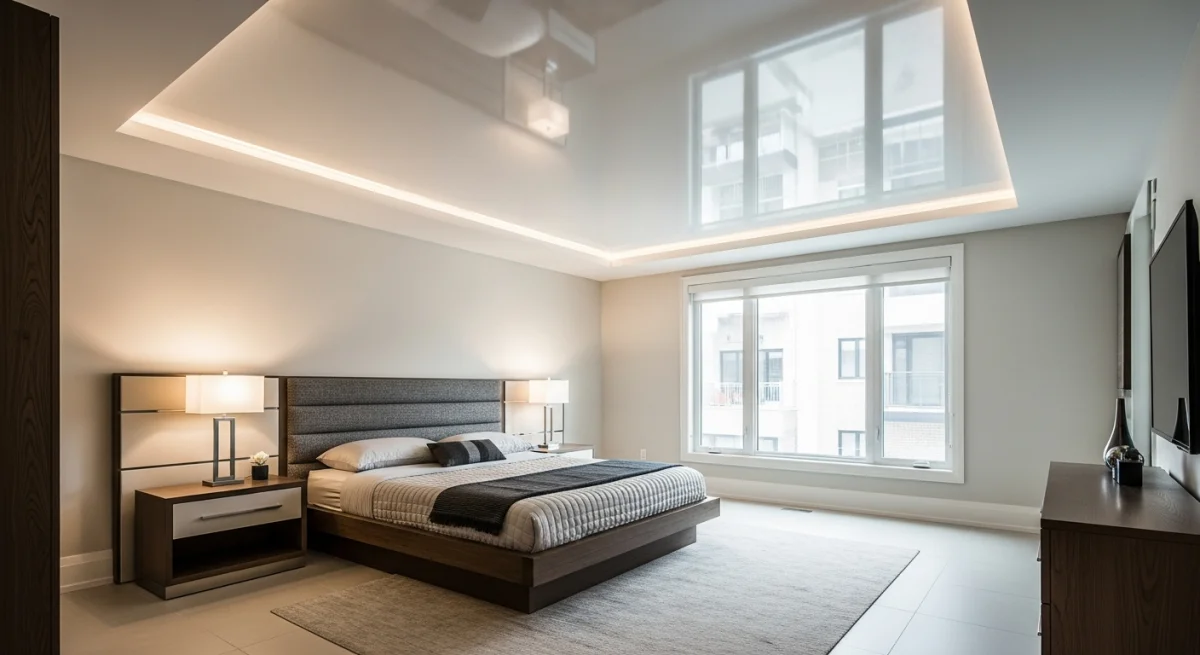
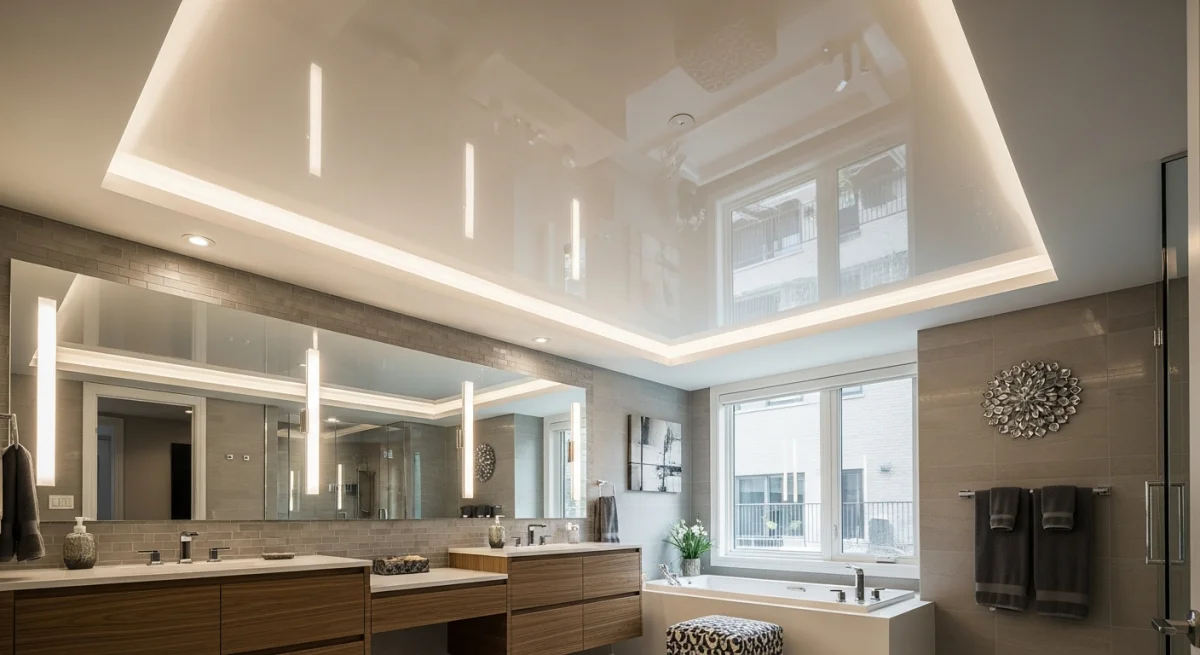
Master bedroom 2-level tray:- Central rectangle covering the bed area, 100-120 mm lower than perimeter.
- Glossy white centre, satin perimeter.
- Warm-white (3000K) cove around the central pocket.
- Optional: integrated chandelier in the centre pocket.
- Best for: 4-5 m wide bedrooms with king bed.
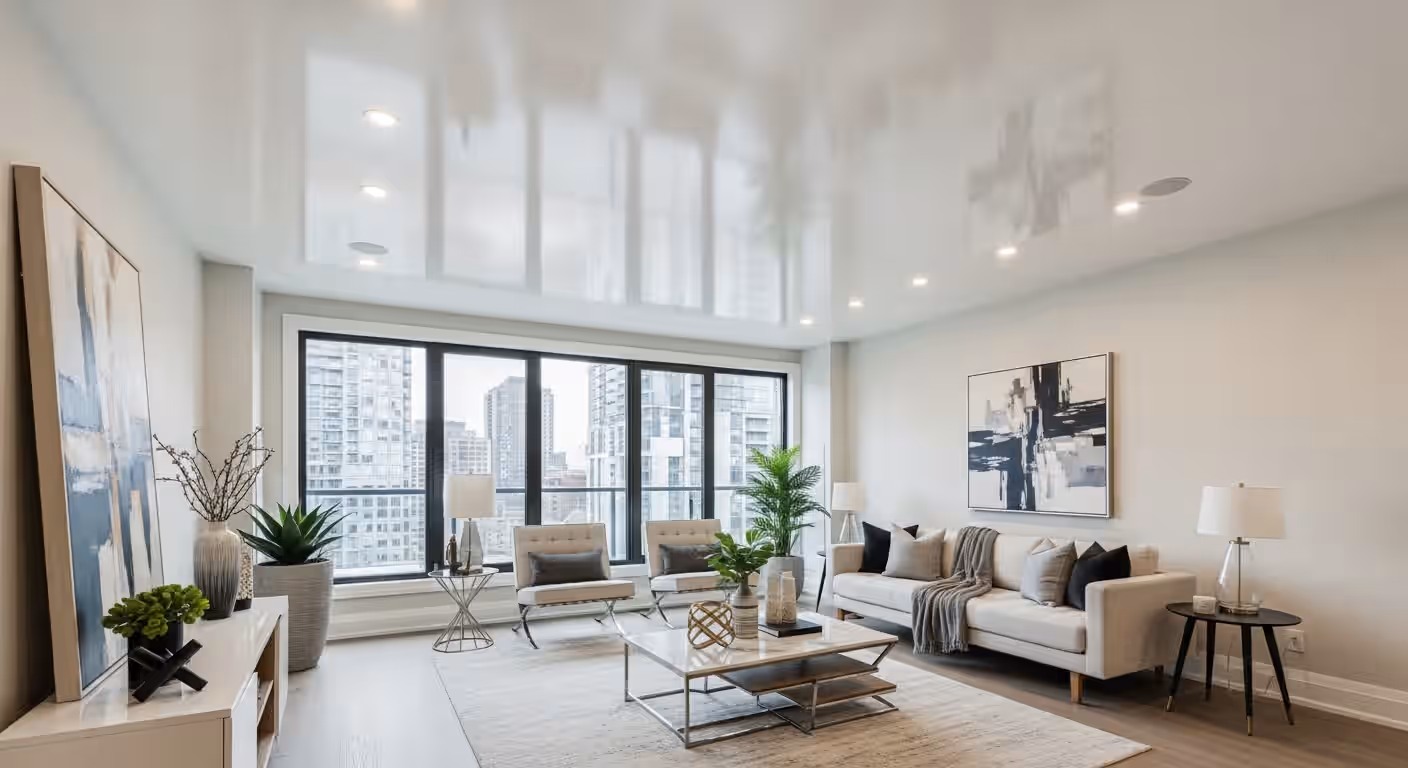
- Central area raised (perimeter dropped 100-150 mm).
- Sense of expansion - the ceiling "lifts" over the seating area.
- RGB cove around the perimeter for mood lighting.
- Best for: 4-6 m wide living rooms with central seating.
- Lower level over the island/dining area (intimate).
- Higher level over the broader kitchen/living (expansive).
- Cove lighting in the offset transition.
- Best for: open-plan condos and townhomes.
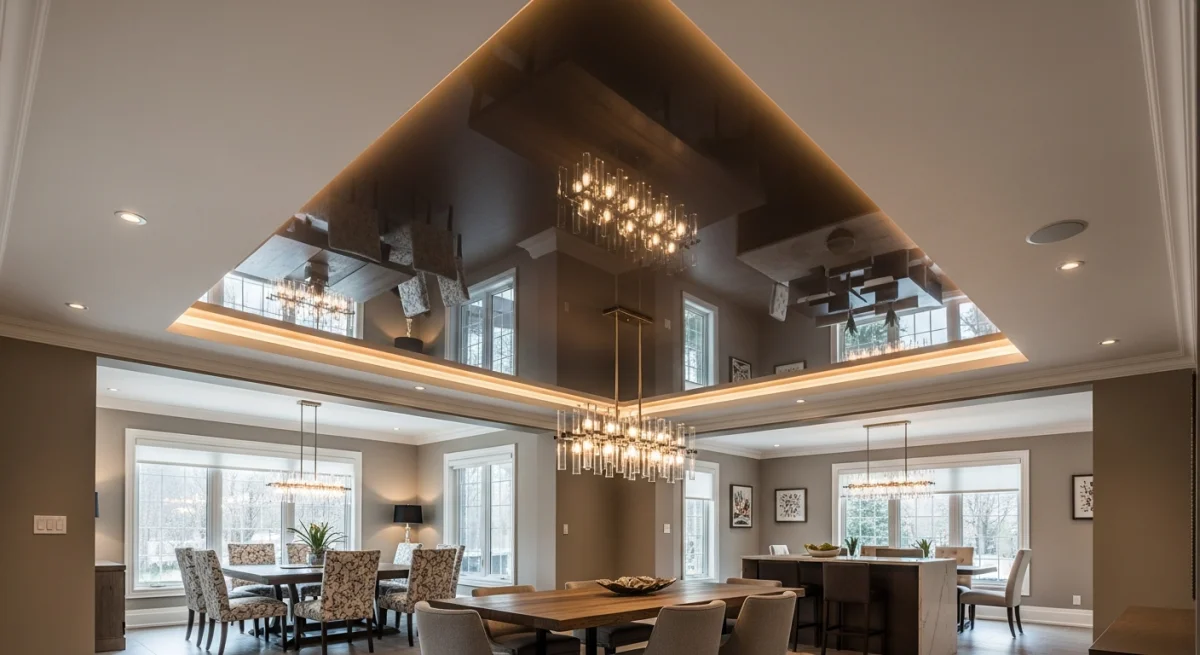
- Central recessed pocket directly over the dining table.
- Statement chandelier hangs from the upper plane through the pocket.
- Cove lighting around the pocket reflects up.
- Best for: 3-4 m square dining rooms.
- Three planes with elaborate coved geometry.
- Central crystal chandelier.
- Glossy throughout with strong reflections.
- Often paired with elaborate cornice mouldings on walls.
- Common in Thornhill, Vaughan, North York luxury homes.
Lighting Integration: The Multi-Level Killer Feature
The cove lighting in the level transition is what separates a great multi-level from an ordinary one. Specification options:
Warm-white static cove (2700-3000K):- Cheapest, most universal.
- Single colour, dimmable.
- Best for traditional aesthetics.
- Cost: $400-$800 for a typical room.
- Adjusts colour temperature throughout the day.
- Pairs well with circadian-rhythm bedroom designs.
- Smart-home control via Lutron Caseta or Hue.
- Cost: $700-$1,500.
- Full colour control, mood lighting.
- Hue, GLEDOPTO Zigbee, or generic 24V controllers.
- Popular in Russian-Canadian and modern condo aesthetics.
- Cost: $800-$1,800.
- Best colour science in the industry.
- Native integration with RadioRA 3, HomeKit, Alexa, Google.
- Premium smart-home spec.
- Cost: $2,500-$5,500.
For 80% of Toronto residential, RGBW with a generic controller delivers the right balance of features and cost. Premium Lutron is for whole-home automated installations.
Ceiling Height Considerations
Multi-level designs eat ceiling height:
- 2-level: 100-150 mm at the lower plane (vs 25-40 mm for flat).
- 3-level: up to 200 mm at the lowest plane.
- Cove lighting adds 20-40 mm of profile depth.
For an 8-foot Toronto condo (2.44 m), losing 150-200 mm at the lowest plane means the lowest ceiling height is 2.24-2.29 m. Tight but workable.
For 9-10 foot ceilings, multi-level fits naturally with plenty of clearance.
For under 8-foot ceilings (rare in Toronto, but some pre-war Annex/Riverdale homes), multi-level is not recommended - flat stretch ceiling preserves the existing height.
When Multi-Level Is Worth It
- High-traffic primary spaces (master bedroom, living room, dining)
- 9+ foot ceilings where the design has room to breathe
- Russian-Canadian aesthetic preference (3-4x more multi-level installs per capita)
- Open-plan condos where the multi-level defines functional zones
- Designer-led projects where the ceiling is part of the design language
When To Skip Multi-Level
- 8-foot or lower ceilings (height loss is critical)
- Bedrooms where calm, minimal aesthetic is preferred
- Budget under $5,000 total (the framing premium dominates)
- Heritage homes where flat plaster matches the architecture
- Resale-focused renovations in Anglo-Canadian neighbourhoods (the design is polarizing)
How RenoHouse Designs Multi-Level
Our process:
- 1. Initial consultation with a RenoHouse PM at your home, with floor plan and laser measurement.
- 2. Design rendering in 2D and 3D showing the proposed levels, lighting positions, fixture coordination.
- 3. Fixed quote with framing, membrane, and lighting itemized.
- 4. Coordination with electrician for cove LED circuits and controller mounting.
- 5. Sub-frame and stretch ceiling install by our vetted partner installer.
- 6. Lighting commissioning and walkthrough.
- 7. 10-year RenoHouse-backed warranty on the entire assembly.
FAQ
Can I add multi-level to an existing flat stretch ceiling? Yes - but the existing ceiling is typically removed and replaced as part of the multi-level install. The membrane peels out in 15 minutes; profile is reused if compatible. How much height do I lose? 100-150 mm at the lowest plane for 2-level; up to 200 mm for 3-level. Can I have warm-white cove without the multi-level framing? Yes - perimeter cove lighting can be added to a flat ceiling using a smaller profile. Not as dramatic but cheaper. Will the cove LEDs need replacement? Quality 24V LED strips are rated 50,000+ hours - approximately 17 years at 8 hours/day. Replacement is straightforward through the same profile. Do I need a permit for multi-level stretch ceiling? No - same as flat. Interior, non-structural, reversible.Continue Reading