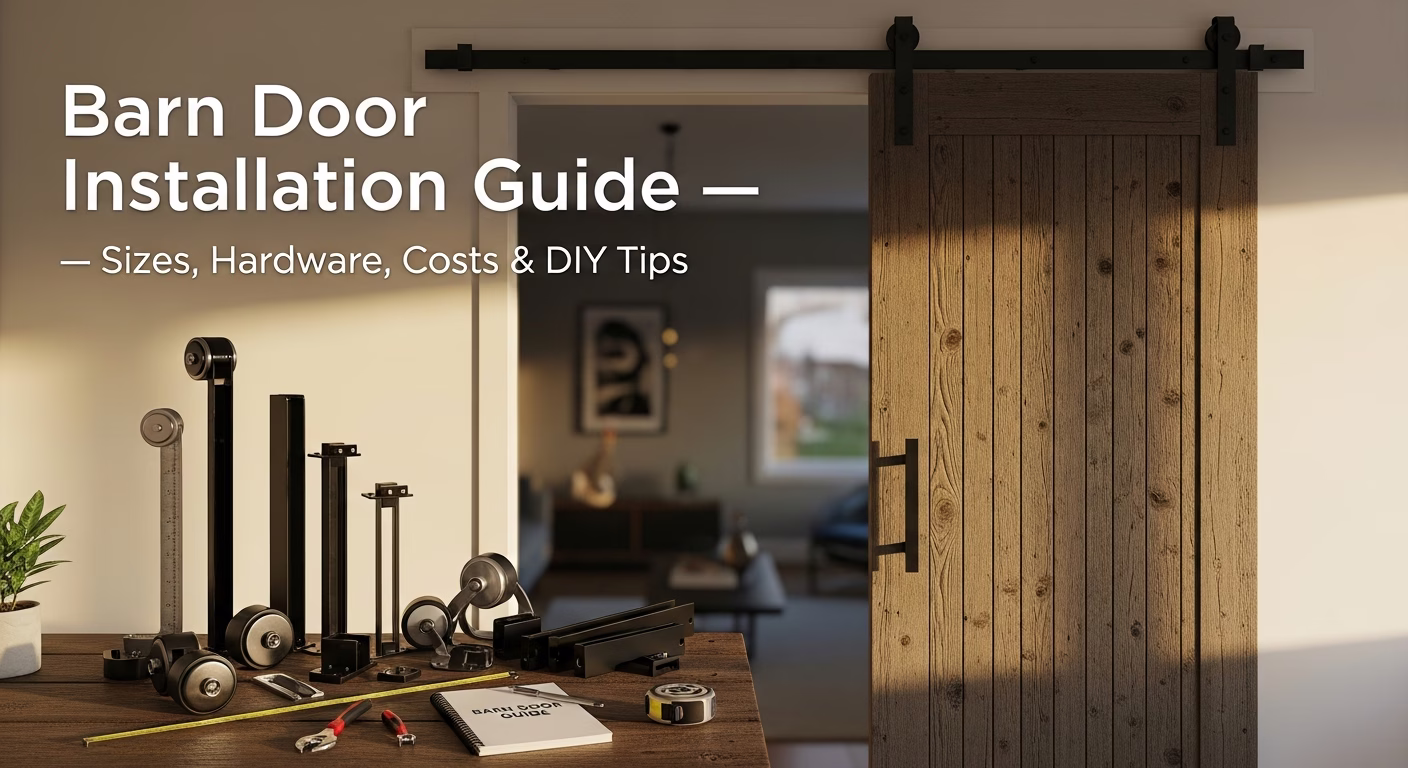
# Barn Door Installation Guide — Sizes, Hardware, Costs & DIY Tips
Need professional door & window services?
Call RenoHouse at 289-212-2345 or get a free estimate today.
Get Free Estimate →Barn doors add character, save floor space, and create a design focal point. For a full overview of door options, see our Doors & Windows Guide Toronto 2026.
Barn Door Costs in Toronto
| Component | Cost Range (CAD) |
|---|---|
| Barn door slab (basic) | $150–$400 |
| Barn door slab (premium/custom) | $400–$1,200 |
| Hardware kit (track, rollers, guide) | $80–$300 |
| Professional installation | $150–$400 |
| Total DIY | $230–$700 |
| Total Professional | $380–$1,600 |
Standard Barn Door Sizes
| Opening Width | Door Width | Door Height | Track Length |
|---|---|---|---|
| 24 inches | 28-30 inches | 80-84 inches | 56-60 inches |
| 30 inches | 34-36 inches | 80-84 inches | 68-72 inches |
| 36 inches | 40-42 inches | 80-84 inches | 80-84 inches |
| 48 inches (double) | Two 26-28 inches | 80-84 inches | 96 inches |
Where Barn Doors Work Best
Great applications: Pantry, home office, master bathroom, closet (see Mirror and Closet Doors), laundry room, room divider. Where they do NOT work: Small bathrooms needing privacy (gaps on sides), noise-sensitive rooms (no acoustic seal), fire-rated openings.DIY Installation Steps
What You Need
Stud finder, level, drill, measuring tape, lag bolts, optional header board (2x6).
Step-by-Step
Step 1: Verify Wall Structure — Track must mount to wall studs or header board. Never mount to drywall alone — the door will fall. Step 2: Install Track — Mark level line 2-3 inches above opening. Pre-drill into studs. Secure with lag bolts (3/8 x 3 inch minimum). Step 3: Attach Rollers — Mount 3-4 inches from each end of door. Step 4: Hang Door — Place rollers on track. Install end stops and bottom guide. Step 5: Adjust — Level door, tighten hardware, install soft-close if included.Common Mistakes to Avoid
- 1. Not checking for studs — Number one failure cause
- 2. Wrong door size — Too small leaves gaps; too large cannot open fully
- 3. Forgetting floor guide — Door swings and bangs without it
- 4. Track too short — Must clear the opening completely
- 5. Ignoring door weight — Heavy doors need heavy-duty hardware
Barn Door Styles Trending in 2026
| Style | Description | Best For |
|---|---|---|
| Classic Z-brace | Diagonal Z pattern | Farmhouse, rustic |
| Modern flat panel | Clean slab | Contemporary, minimalist |
| Glass panel | Wood frame with glass | Modern, allows light |
| Reclaimed wood | Salvaged wood | Rustic, industrial |
| Shaker | Simple frame, flat center | Transitional, modern farmhouse |
| Double barn | Two doors meeting in middle | Wide openings, walk-in closets |
Related Guides
- Doors & Windows Guide Toronto 2026
- Interior Doors Guide Toronto
- Mirror and Sliding Closet Doors Toronto
- Door Replacement Cost Toronto
- Door Installation and Replacement Toronto
- French Doors vs Sliding Doors
Sources & References
Authoritative sources cited in this guide:
- Ontario Building Code — OBC official text
- Toronto Building Permits — City permit portal
- Tarion New Home Warranty — Ontario warranty regulator
- HCRA — Home Construction Regulatory Authority — Ontario builder/vendor licensing
Continue Reading
- Mirror & Sliding Closet Doors Toronto— Types, Installation &
- Interior Doors Guide: Types & Costs Toronto
- Door Replacement Cost in Toronto: Interior & Exterior
Related Services