DIY Drywall Repair vs. Hiring a Pro: A Toronto Homeowner's Guide
It’s a familiar story for any Toronto homeowner. You’re moving a piece of furniture, and *thump*. You hang a picture, and the nail leaves a crater. Or you just notice the collection of dings, dents, and screw holes that have accumulated over the years. The temptation is strong: head to Canadian Tire, grab a small tub of spackle, and fix it yourself. How hard can it be?
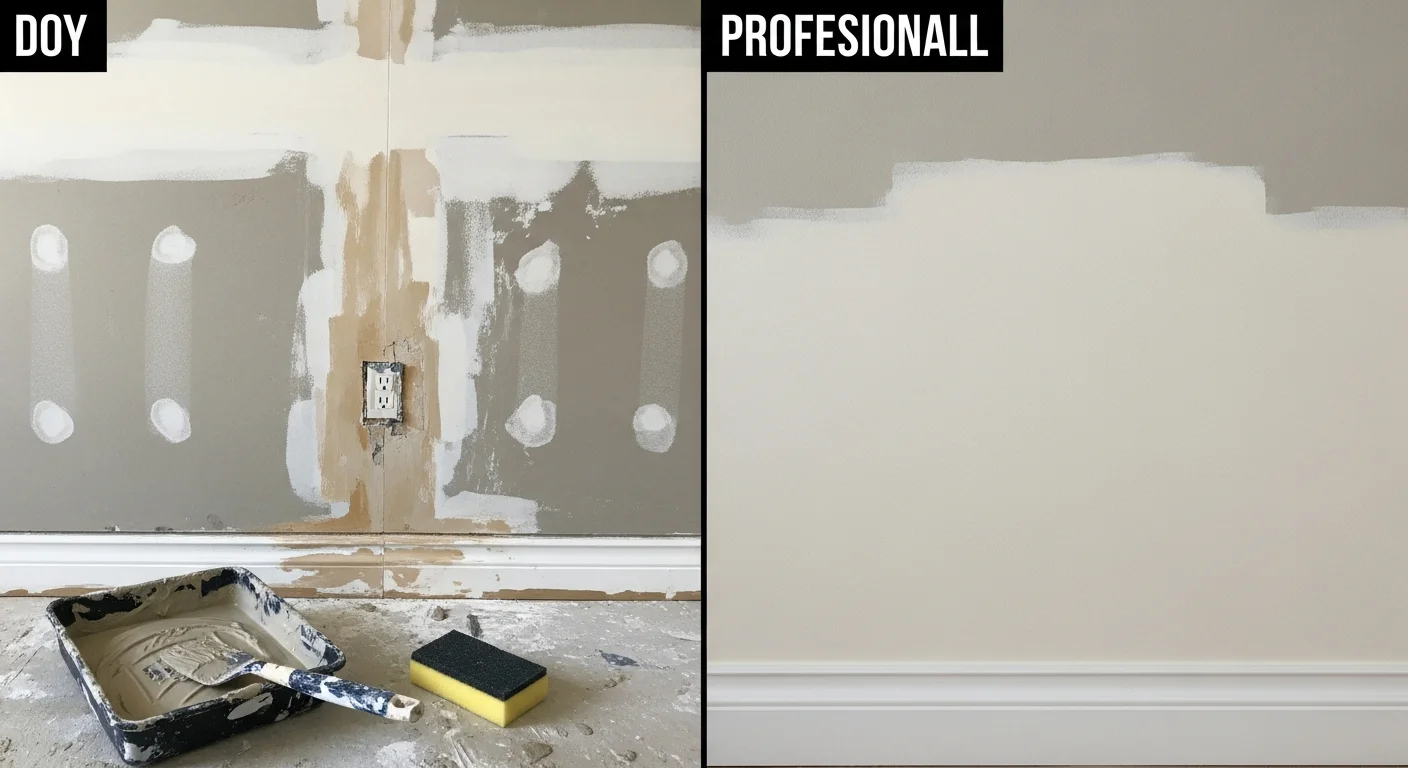
As a contractor based in Etobicoke serving the entire GTA, we’ve seen the results of countless DIY drywall repair Toronto projects. Some are perfectly fine. Others... not so much. A poorly done patch can look worse than the original damage, with visible seams, a mismatched texture, or a paint job that flashes and draws the eye right to the spot you were trying to hide.
This isn't a post to scare you away from DIY. It's an honest assessment from the field. We want to help you understand which drywall repairs are genuinely simple weekend tasks and which ones will save you time, money, and headaches by calling in a professional from the start. Let's break it down.
The Allure of DIY: What You *Can* Realistically Tackle
There's a real satisfaction in fixing something yourself. For small, cosmetic issues, a DIY approach is often the most sensible and cost-effective solution. These are the jobs where the risk is low and the required skill level is minimal.
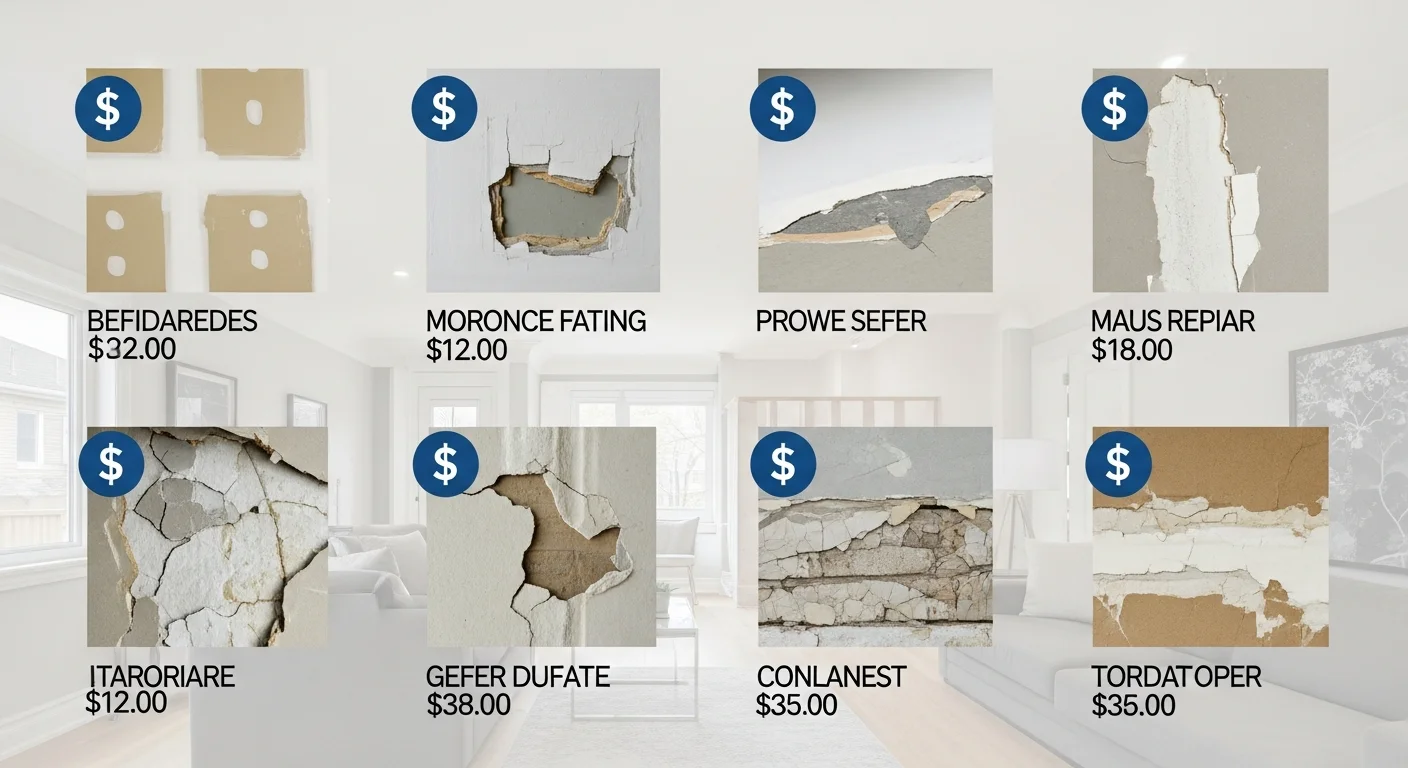
You can likely handle:* Small Nail & Screw Holes: Leftover holes from pictures, shelves, or old wall anchors are the perfect entry-level repair. They're tiny, require minimal filling, and are easy to sand smooth.
* Minor Dings & Scratches: A light scrape from a vacuum cleaner or a small dent in a low-traffic area is another great candidate for a DIY fix. As long as the paper face of the drywall isn't torn extensively, you're good to go.
For these jobs, a simple all-in-one kit is your best friend. You don't need to buy a giant bucket of mud and a full set of taping knives.
| Item | Typical Cost (GTA) | Where to Buy | Notes |
|---|---|---|---|
| All-in-One Repair Kit (Spackle, putty knife, sandpaper) | $25 - $35 | Home Depot, RONA, Canadian Tire | Look for brands like DAP or CGC Synko. |
| Small container of primer | $10 - $15 | Any hardware store | Crucial step! Don't skip it. |
|---|---|---|---|
| Leftover wall paint | $0 | Your basement | Hopefully you have some! |
| Total DIY Cost | ~$35 - $50 | Plus your time. |
- 1. Prep: Gently sand the area to remove any loose debris. If it's a nail pop, drive the nail or screw slightly deeper into the stud.
- 2. Fill: Apply a small amount of spackle with the putty knife, pressing it firmly into the hole. Scrape away the excess, leaving a thin, smooth layer.
- 3. Dry & Repeat: Let it dry completely (check the instructions). It will likely shrink. Apply a second, very thin coat, feathering the edges out slightly wider than the first.
- 4. Sand: Once bone dry, lightly sand with fine-grit sandpaper until it's perfectly flush with the wall. Don't over-sand!
- 5. Prime & Paint: Apply a coat of primer over the patch. This is non-negotiable. It seals the patch so the paint absorbs evenly, preventing a dull spot or 'flashing'. Once the primer is dry, apply your wall paint.
For these minor jobs, the DIY route makes perfect sense. You save money and get the job done on your schedule.
The "Maybe" Pile: When DIY Gets Risky
This is where homeowners get into trouble. These repairs seem straightforward but have hidden complexities that can lead to a very obvious, unprofessional-looking patch.
Doorknob Holes
A classic. The door swings open too hard and the knob punches a perfect, fist-sized hole through the wall. It seems contained, but it's trickier than it looks. The impact has crushed the gypsum core and torn the paper. A simple spackle fill won't work.
You'll need a self-adhesive mesh patch or even a 'California patch' (a new piece of drywall). The challenge is getting it perfectly flat and feathering the mud out far enough (at least 15-20 centimetres in every direction) so you don't see the outline of the patch. This takes practice and the right tools.
*Self-assessment: If you're not confident with a 6-inch and 10-inch taping knife, this is where you should consider calling us. A bad doorknob patch is incredibly noticeable. See how we handle doorknob hole repair.*
Stress Cracks
Those hairline cracks that appear over doorways or windows in your 1960s Etobicoke bungalow are usually from the house settling. Just filling them with spackle is a temporary fix; the crack will reappear.
A proper wall crack repair involves using fibreglass or paper tape, embedding it in joint compound, and applying multiple coats of mud, sanded between each. This creates a flexible bridge that moves with the house, preventing the crack from returning. It's a skill that separates the pros from the amateurs.
Common DIY Pitfalls in the "Maybe" Pile:
* Visible Seams: Not feathering the joint compound out far enough from the repair.
* Over-Sanding: Sanding too aggressively and roughing up the paper on the surrounding drywall.
Need professional renovation?
Call RenoHouse at 289-212-2345 or get a free estimate today.
Get Free Estimate →* Tool Marks: Leaving lines and ridges in the dried mud from an unsteady hand.
* Paint Flashing: Skipping the primer step, causing the final paint coat to look different over the patch.
Stop! Don't DIY This: When to Call a Professional
Some jobs carry risks that go far beyond a cosmetic flaw. Attempting these can lead to bigger, more expensive problems. For these situations, put down the tools and call a professional.
1. Water Damage
If you see a brown stain, bubbling paint, or feel soft, spongy drywall, this is not a drywall problem. It's a water problem. The first call should be to a plumber or roofer to fix the source of the leak.
Once the leak is fixed and the area is 100% dry, the damaged drywall must be cut out and replaced. We always cut back to the nearest stud and well beyond the visible stain to ensure all moisture-compromised material is gone. Why? Mould. Trapping even a little moisture behind a new patch can lead to a serious mould colony, which is a health hazard and a much more expensive remediation project.
2. Large Holes
Anything bigger than your fist, like damage from furniture impact hole repair, requires more than just a patch. A new piece of drywall needs to be cut to size and properly secured. This often involves adding wood backing inside the wall for support. The taping and mudding process is also far more extensive to ensure a seamless, strong repair.
3. Ceiling Repairs
Working overhead is difficult, messy, and unforgiving. Gravity is working against you every step of the way. Holding a taping knife full of mud above your head while on a ladder is a recipe for a mess and a sore neck. Furthermore, ceiling patches are often more visible due to lighting, making any imperfection stand out.
4. Texture Matching
This is perhaps the biggest giveaway of a DIY repair. If your walls or ceilings have any kind of texture—popcorn, knockdown, orange peel—matching it is an art form. It requires specific tools, techniques, and a deep understanding of how the material behaves. It's nearly impossible for a homeowner to buy a spray can of texture and perfectly blend it with a 20-year-old ceiling. A pro will make the patch completely disappear.
5. Lath and Plaster Walls
If you live in an older Toronto home in a neighbourhood like Cabbagetown or The Annex, you might not have drywall at all. Lath and plaster is a completely different system. The repair methods are not the same. Attempting a drywall-style repair on plaster will fail and can cause even more of the wall to crumble away.
The True Cost of a Bad DIY Drywall Repair in Toronto
Your time has value. A project that takes a pro two hours might take a homeowner an entire weekend of frustrating work, multiple trips to the hardware store, and a dusty mess. And if the result isn't good, you end up paying someone to do it twice.
| Task | Typical DIY Cost | Estimated Pro Cost (RenoHouse) | Cost to Fix a Bad DIY Job |
|---|---|---|---|
| Nail Pops (x10) | $30 (Kit) + 3-4 hours | $150 - $250 | $250 - $350 (We have to sand down your work first) |
| Doorknob Hole | $40 (Kit) + 4-6 hours | $250 - $350 | $400 - $500 (Often requires a larger area to be re-done) |
| Small Water Stain (2'x2') | Don't Do It | $450 - $700 (after leak is fixed) | $1000+ (If mould develops or the patch fails) |
What to Expect When You Hire a Pro Like RenoHouse
When you hire a professional, you're not just paying for mud and tape. You're paying for speed, expertise, and a guaranteed result.
Our process is designed to be painless for you:
- 1. Fast, Easy Quote: You don't need to take a day off work for an estimate. Just send us a few photos of the damage via Telegram, and we'll have a detailed quote back to you, often within the hour.
- 2. Containment: We know this is your home, not a construction site. We use plastic sheeting and drop cloths to completely isolate the work area and protect your floors and furniture.
- 3. Professional Repair: We use the right materials and techniques for your specific issue, whether it's a modern condo with steel studs in Liberty Village or a century home with plaster in High Park.
- 4. Dust Control: This is a big one. We use professional-grade sanders, like those from Festool, that connect directly to HEPA vacuums. This captures over 95% of the dust, keeping your home clean.
- 5. Perfect Finish: We prime every repair and can even help with paint matching, ensuring the final sheen (e.g., Benjamin Moore's Aura in Matte vs. Eggshell) is a perfect match to your existing wall.
Your Drywall Repair Decision Checklist
Still on the fence? Ask yourself these questions:
* Is the damage purely cosmetic and smaller than a golf ball?
* Yes: This is a great DIY candidate.
* Is there any discolouration, softness, or sign of moisture?
* Yes: Call a pro. No exceptions.
* Is the hole bigger than your fist or on a ceiling?
* Yes: A professional will get a stronger, better-looking result.
* Is the wall or ceiling surface textured?
* Yes: Call a pro for a seamless match.
* Do you have the right tools, time, and patience to apply 2-3 coats of compound and sand between each?
* No: A pro will be faster and cleaner.
Ultimately, knowing your limits is key. A successful DIY project is incredibly rewarding. But for anything beyond the basics, a professional Drywall Repair service ensures the job is done right the first time, saving you from the headache of a visible, lasting mistake.
If you're looking at a hole in your wall and thinking it might be beyond a simple DIY fix, we're here to help. Send us a photo of the damage, and let's get you a quote.