RenoHouse

*For a complete overview, see our drywall Guide.*
Drywall damage is one of the most common issues in Toronto homes — from doorknob holes and settling cracks to basement water damage. The good news? Most repairs are straightforward and affordable.
In 2026, Toronto drywall repair costs range from $50 for a simple nail pop to $500+ for extensive water damage. This guide covers every type of repair, pricing factors, and when it makes sense to DIY vs. call a professional.
Cost by Damage Type
Here's a detailed breakdown of what each type of drywall repair costs in Toronto:
| Damage Type | DIY Cost | Professional Cost | Difficulty |
|---|---|---|---|
| Nail pop / screw pop | $5–$10 | $50–$100 | Easy ✅ |
| Small hole (< 3") | $10–$20 | $75–$150 | Easy ✅ |
| Medium hole (3"–6") | $15–$30 | $125–$250 | Moderate ⚠️ |
| Large hole (6"+) | $20–$50 | $150–$350 | Hard ❌ |
| Hairline crack | $5–$15 | $75–$150 | Easy ✅ |
| Structural crack | $10–$30 | $100–$250 | Moderate ⚠️ |
| Corner bead damage | $10–$25 | $100–$200 | Moderate ⚠️ |
| Seam/tape failure | $10–$20 | $100–$200 | Moderate ⚠️ |
| Water damage (small area) | $20–$50 | $200–$350 | Hard ❌ |
| Water damage (large area) | $50–$100 | $300–$500+ | Hard ❌ |
| Ceiling repair | $20–$50 | $150–$400 | Hard ❌ |
| Texture matching | Included | $50–$150 (add-on) | Hard ❌ |
What Affects the Price?
- Location — Ceilings cost more (harder access, gravity working against you)
- Height — Stairwells and vaulted ceilings require scaffolding ($50–$150 extra)
- Texture — Matching existing texture adds $50–$150 per area
- Paint — Some contractors include primer; most don't include final paint
- Access — Furniture-filled rooms take longer to prep
Small Repairs (DIY)
Many drywall repairs are perfect DIY projects. Here's what you can confidently tackle yourself:
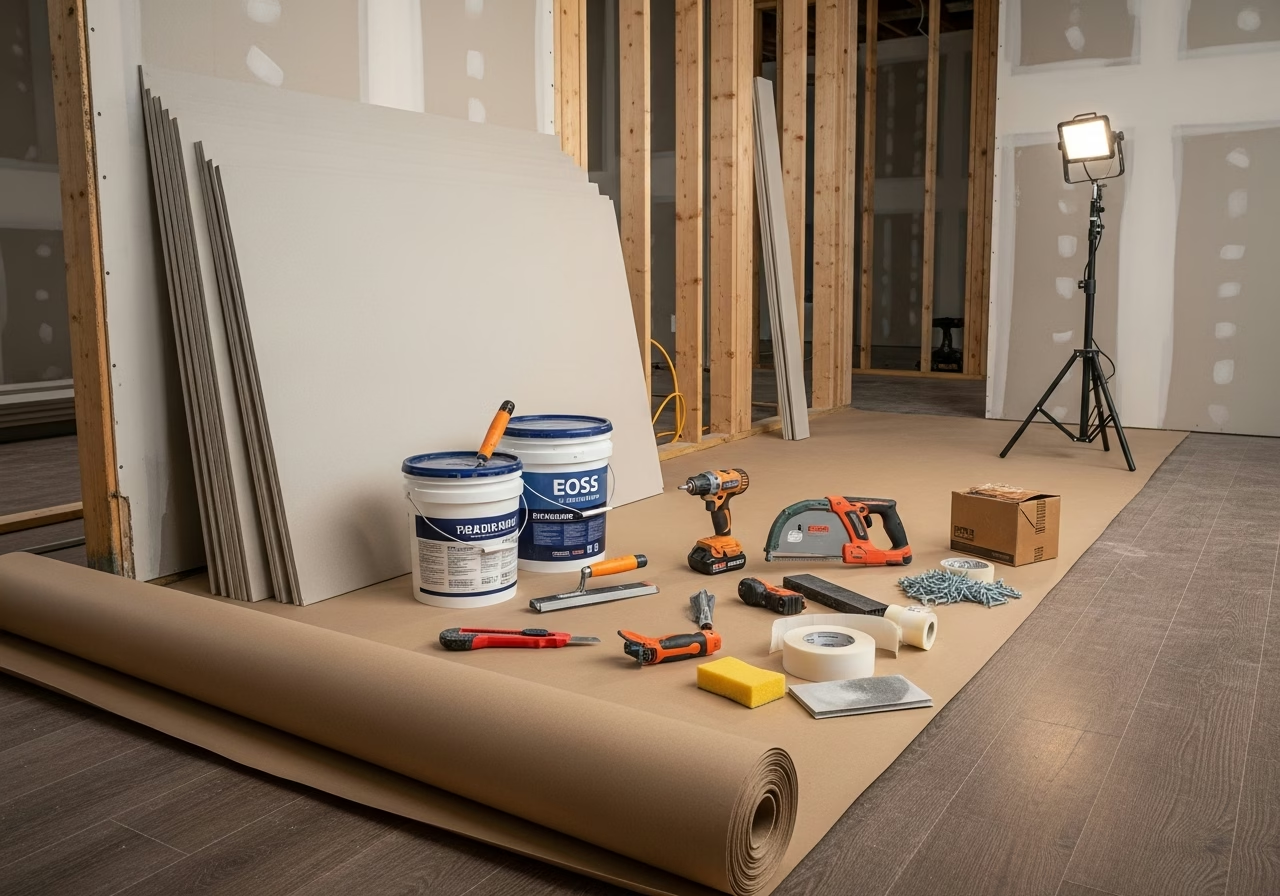
Nail/Screw Pops
These are the bumps that appear when drywall fasteners push through the surface — very common in newer homes as the framing settles.
How to fix:- 1. Drive a new drywall screw 1–2 inches above or below the pop
- 2. Tap the popped nail/screw below the surface with a hammer and nail set
- 3. Apply two thin coats of joint compound, sanding between coats
- 4. Prime and paint
Small Holes (Under 3 Inches)
Doorknob holes, picture hook damage, and accidental dings.
How to fix:- 1. Use a self-adhesive mesh patch (available at any hardware store for $5–$8)
- 2. Apply 2–3 thin coats of joint compound over the patch
- 3. Feather each coat wider than the last (6–8 inches beyond the patch)
- 4. Sand smooth with 120-grit, then 220-grit
- 5. Prime with PVA primer, then paint
Hairline Cracks
Common along seams and at corners, especially in older Toronto homes with seasonal movement.
Need professional drywall repair?
Call RenoHouse at 1-289-212-2345 or get a free estimate today.
Get Free Estimate →- 1. Widen the crack slightly with a utility knife (V-shape)
- 2. Apply mesh drywall tape over the crack
- 3. Cover with 2–3 thin coats of joint compound
- 4. Sand, prime, paint
Essential DIY Supplies
Keep these on hand for quick repairs:
- Joint compound (pre-mixed, $15 for a small tub)
- Self-adhesive mesh tape ($5 per roll)
- Mesh patches (assorted sizes, $8)
- 6" and 10" drywall knives ($15–$25 combined)
- Sanding block with 120 and 220-grit ($5–$10)
- PVA primer ($10–$15)
When to Call a Professional
Some drywall damage is beyond DIY territory. Call a pro when:
- 1. The hole is larger than 6 inches — Requires cutting out damaged drywall, installing backing or new drywall, proper taping, and multi-coat finishing
- 2. Water damage is involved — The source must be fixed first, and wet drywall may harbor mold
- 3. Cracks keep returning — May indicate foundation settlement or structural issues
- 4. Ceiling damage — Working overhead with compound is messy and difficult to get smooth
- 5. Texture matching is critical — Knockdown, orange peel, and other textures require specialized tools and experience
- 6. Multiple areas need repair — Bundling into one pro visit is more efficient than DIY over multiple weekends
- 7. You need it done fast — A pro can complete in hours what takes DIY multiple days of coats and drying
The Repair Process
Understanding the professional repair process helps you evaluate quotes and know what to expect:
Step 1: Assessment
The contractor examines the damage, checks for underlying issues (water, structural), and measures the area.
Step 2: Preparation
- Furniture is moved or covered with drop cloths
- Damaged drywall is cut out to clean edges
- Backing or blocking is installed for large patches
Step 3: Patching
- New drywall piece is cut to fit
- Piece is secured with screws to backing or studs
- Drywall tape is applied over all seams
Step 4: Finishing (Mudding)
- First coat — Embeds the tape and fills the seam
- Second coat — Widens the compound, building a smooth transition
- Third coat — Thin skim coat feathered 10–12 inches wide
- Each coat must dry fully (12–24 hours) before sanding
Step 5: Sanding & Texture
- Sanded smooth with progressively finer grit
- Existing texture is matched (if applicable)
- Dust is cleaned up
Step 6: Priming
- PVA primer seals the repair and ensures uniform paint absorption
- Most contractors stop here — painting is usually the homeowner's responsibility
Matching Existing Texture
Texture matching is the hardest part of drywall repair — and what separates a professional finish from a visible patch. Here are the common Toronto home textures:
| Texture | Common In | Matching Difficulty | DIY? |
|---|---|---|---|
| Smooth (Level 5) | Modern homes, condos | Moderate | ⚠️ |
| Orange peel | 1990s–2010s homes | Hard | ❌ |
| Knockdown | 2000s–present | Very hard | ❌ |
| Popcorn/stipple | Pre-1990s ceilings | Easy (but ugly) | ✅ |
| Sand/swirl | 1970s–1980s homes | Very hard | ❌ |
| Skip trowel | Custom homes | Expert only | ❌ |
Tips for Better Texture Matching
- Practice on scrap drywall first — Get the technique down before touching the wall
- Match the tool — Same roller nap, spray tip, or trowel as the original
- Dilute compound to the right consistency — Too thick or thin changes the texture
- Prime the patch first — Bare compound absorbs differently, creating a visible difference
- Paint the entire wall — Spot-painting over a repair almost always looks different due to sheen variation
Water Damage Drywall Repair
Water damage is especially common in Toronto due to:
- Basement flooding from spring thaws and heavy rains
- Ice dam leaks through roofs in winter
- Pipe bursts during freezing temperatures
- Bathroom moisture from inadequate ventilation
The Critical First Step: Fix the Water Source
Never repair drywall until the water source is identified and fixed. Otherwise, you'll be doing the same repair again in months.Water Damage Repair Costs
| Scenario | Cost Range |
|---|---|
| Small area (< 4 sq ft), no mold | $200–$350 |
| Medium area (4–16 sq ft), no mold | $300–$500 |
| Large area (16+ sq ft), no mold | $500–$1,000+ |
| Any area with mold present | $500–$3,000+ (mold remediation required first) |
Signs of Water-Damaged Drywall
- 1. Staining — Yellow or brown discoloration
- 2. Bubbling — Paint or compound lifting off the surface
- 3. Sagging — Ceiling drywall drooping (⚠️ collapse risk)
- 4. Soft spots — Drywall feels spongy when pressed
- 5. Musty smell — Indicates mold growth behind the surface
The Mold Factor
If drywall has been wet for more than 48 hours, mold growth is likely. In Ontario:
- Mold remediation for a small area: $500–$1,500
- Large-scale remediation: $2,000–$5,000+
- Testing for mold type: $200–$400
- Do not disturb visible mold — Disturbance spreads spores
Frequently Asked Questions
How long does drywall repair take to complete?
Small repairs (patch + paint): 2–3 days total (30 minutes of work spread over 2–3 days for drying). Large repairs: 3–5 days. The actual labor is minimal — it's the drying time between coats that extends the timeline.Can I just paint over a crack to hide it?
Paint hides nothing — cracks telegraph through any paint within weeks. The crack must be properly taped and mudded first. For hairline cracks in low-visibility areas, elastomeric paint ($40–$60/gallon) can flex with minor movement, but it's a temporary solution.
Why do cracks keep coming back in the same spot?
Recurring cracks indicate ongoing movement — either seasonal expansion/contraction or foundation settlement. Address the root cause first. If it's seasonal, using flexible drywall tape (fiberglass mesh) and setting compound provides a more durable repair than paper tape and pre-mixed compound.
Should I repair or replace water-damaged drywall?
If the drywall is still structurally sound (not crumbling, not sagging, no mold), it can often be repaired after drying. If it's soft, crumbling, or moldy, cut it out and replace the damaged section. Never skim-coat over compromised drywall.
How do I find a good drywall contractor in Toronto?
Look for contractors who specialize in drywall (not general handymen) for texture-sensitive work. Check Google reviews, ask for photos of previous patch work, and insist on a texture match guarantee. Expect to pay a premium for quality finishing — a $50 savings on a bad patch means a permanent eyesore.
Is there a minimum charge for drywall repair?
Yes — most Toronto contractors charge $150–$200 minimum for a service call. Maximize value by bundling all needed repairs into one visit. Walk through every room and note all damage before booking.
Sources & References
Authoritative sources cited in this guide:
- Ontario Building Code 9.29 — Wall finishing standards
- ASTM C840 Drywall Standard — Drywall installation standard
Continue Reading
- Drywall Repair Cost Guide Toronto 2026: Holes, Cracks & Water Damage
- Drywall Repair Cost in Toronto 2026
- Drywall Guide Toronto| Installation, Repair & Taping Costs
Related Services