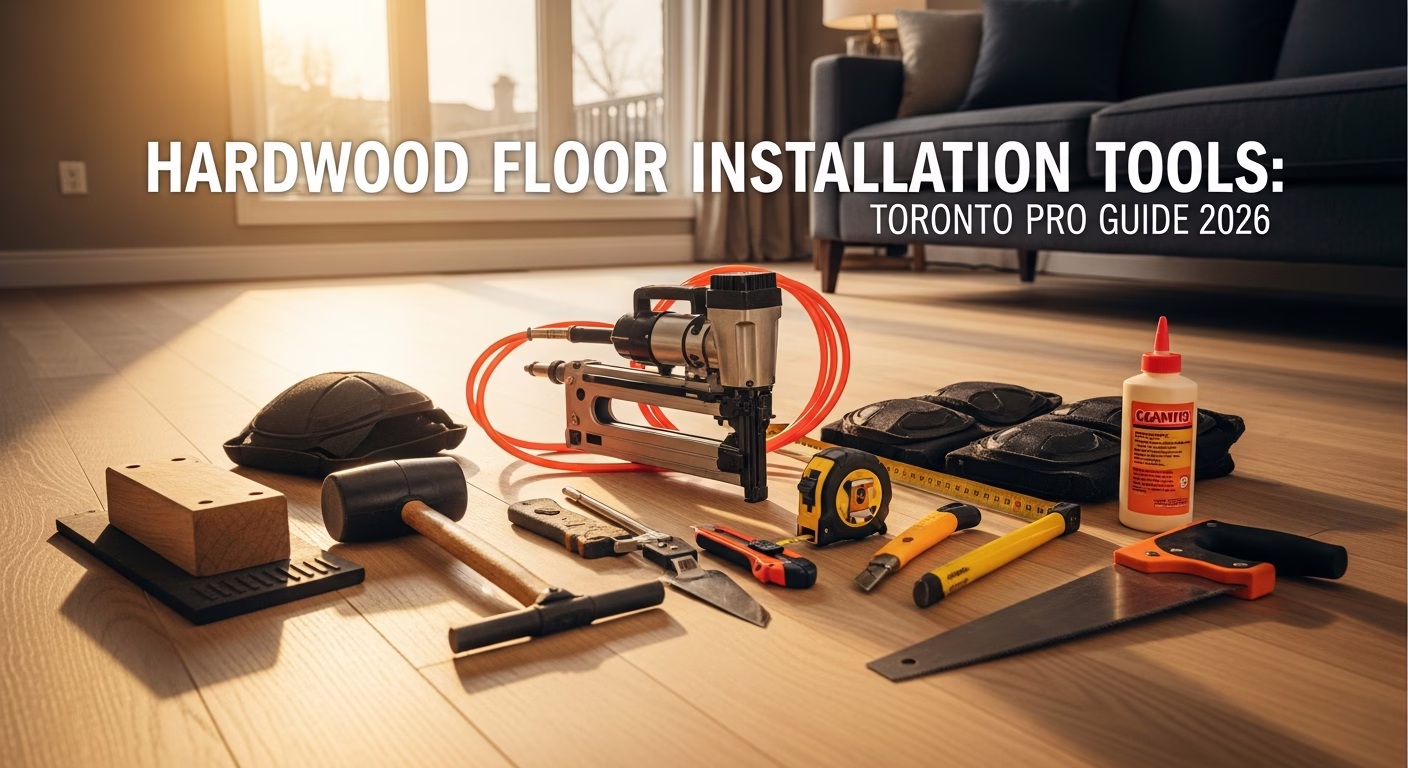
# Hardwood Floor Installation Tools: What Toronto Pros Use
Quick answer. Solid hardwood installation requires 8–12 specialized tools, from a pneumatic cleat nailer to a moisture meter. In the GTA, renting the full set costs $150–$300 for a weekend; buying everything outright runs $900–$2,500 depending on quality. A 500 sq ft installation by a licensed Toronto flooring contractor typically runs $2,000–$4,500 in labour alone at 2026 GTA rates.Tool Costs: Renting vs. Buying in the GTA
Hardwood installation is tool-heavy work. The single most critical piece of equipment is the pneumatic flooring nailer — also called a cleat nailer or staple nailer — which drives fasteners through the tongue of each board at a consistent angle. Renting one from a Home Depot, RONA, or local tool rental shop in Mississauga, Etobicoke, or Scarborough typically costs $60–$90 per day or $140–$200 for a weekend. For a one-time project, rental is almost always the smarter call.
For homeowners in Oakville, Richmond Hill, or Vaughan doing a full first-floor renovation, a complete rental package — nailer, compressor, drum sander, and miter saw — runs $250–$400 for a weekend. Buying that same kit new ranges from $1,400 to $2,800. Mid-grade nailers from brands like BOSTITCH, Powernail, or Primatech sit at $300–$500; professional-grade models used by flooring crews run $600–$900.
A moisture meter is one tool worth owning rather than renting. Concrete subfloors and wood subfloors in basements across North York, Etobicoke, and older Toronto homes frequently have elevated moisture that causes cupping, warping, or gapping after installation. A decent pin-type or pinless meter costs $50–$180 and pays for itself after one saved floor.
| Tool | Rent (per day, GTA 2026) | Buy (mid-grade) |
|---|---|---|
| Pneumatic cleat nailer | $60–$90 | $280–$500 |
| Air compressor (15–20 gal) | $40–$65 | $250–$450 |
| Miter saw (12") | $55–$80 | $400–$700 |
| Table saw | $70–$110 | $500–$1,200 |
| Drum sander (subfloor prep) | $65–$95 | $800–$1,500 |
| Moisture meter | $15–$25 | $50–$180 |
| Pull bar and tapping block kit | $10–$15 | $25–$60 |
Beyond the mallet, tapping block, and pull bar, most remaining tools — chalk line, tape measure, pry bar, speed square, utility knife — are likely already in a homeowner's garage. Budget another $80–$150 if you need to pick these up from a hardware store in Brampton, Ajax, or Pickering.
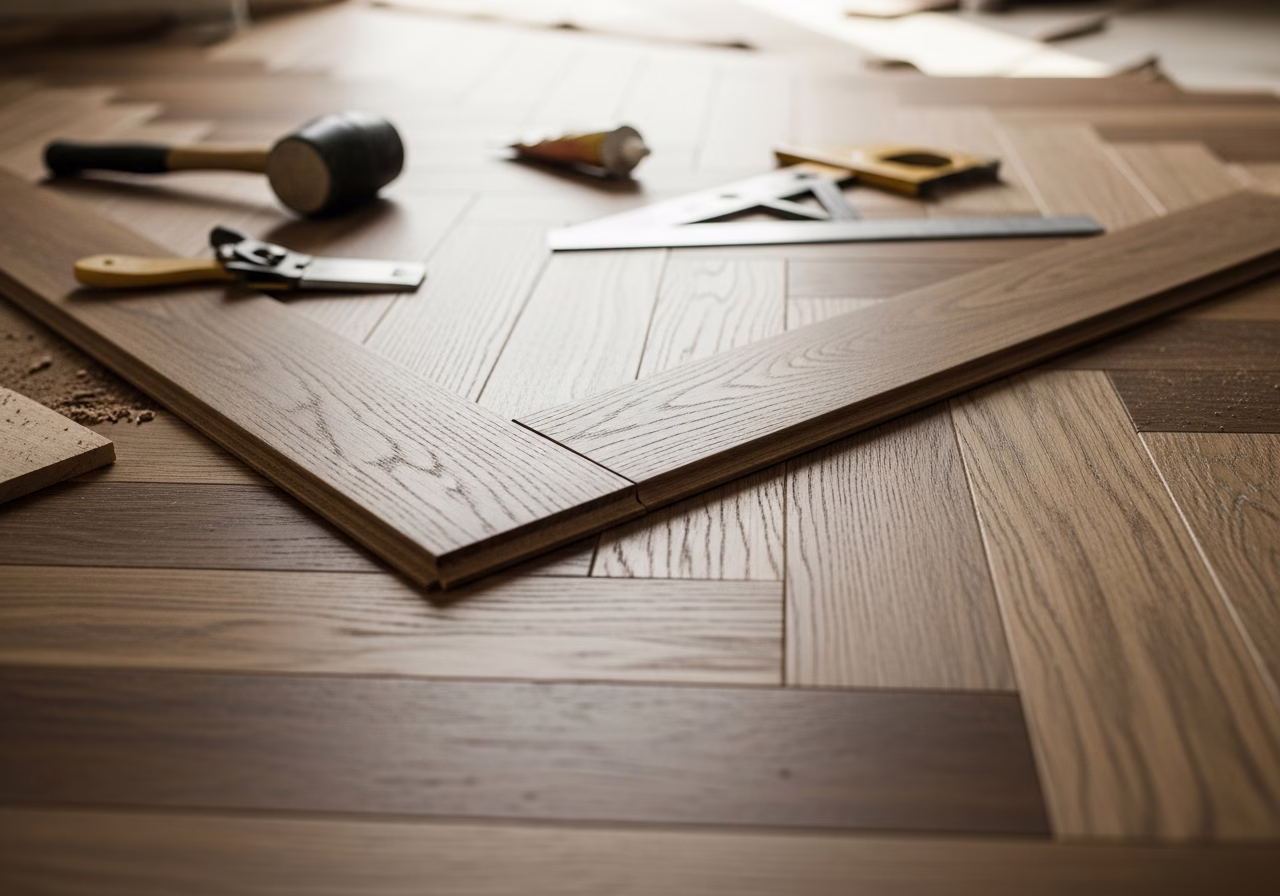
How Hardwood Installation Works and Which Tool Does What
A proper solid hardwood installation follows a specific sequence, and each stage has a matching tool. Improvising substitutes is a reliable way to end up with a floor that squeaks, gaps, or buckles within a season.
Need professional renovation?
Call RenoHouse at 289-212-2345 or get a free estimate today.
Get Free Estimate →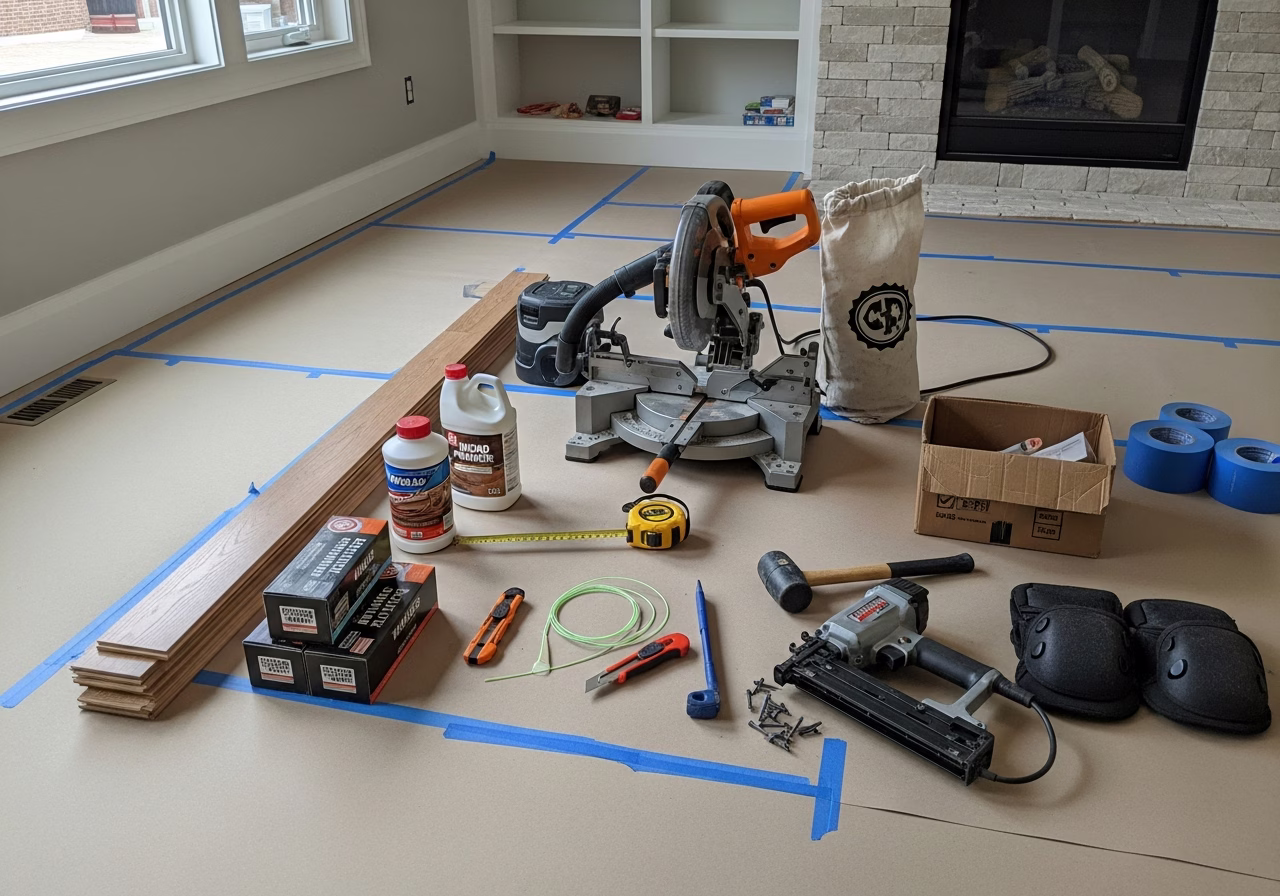
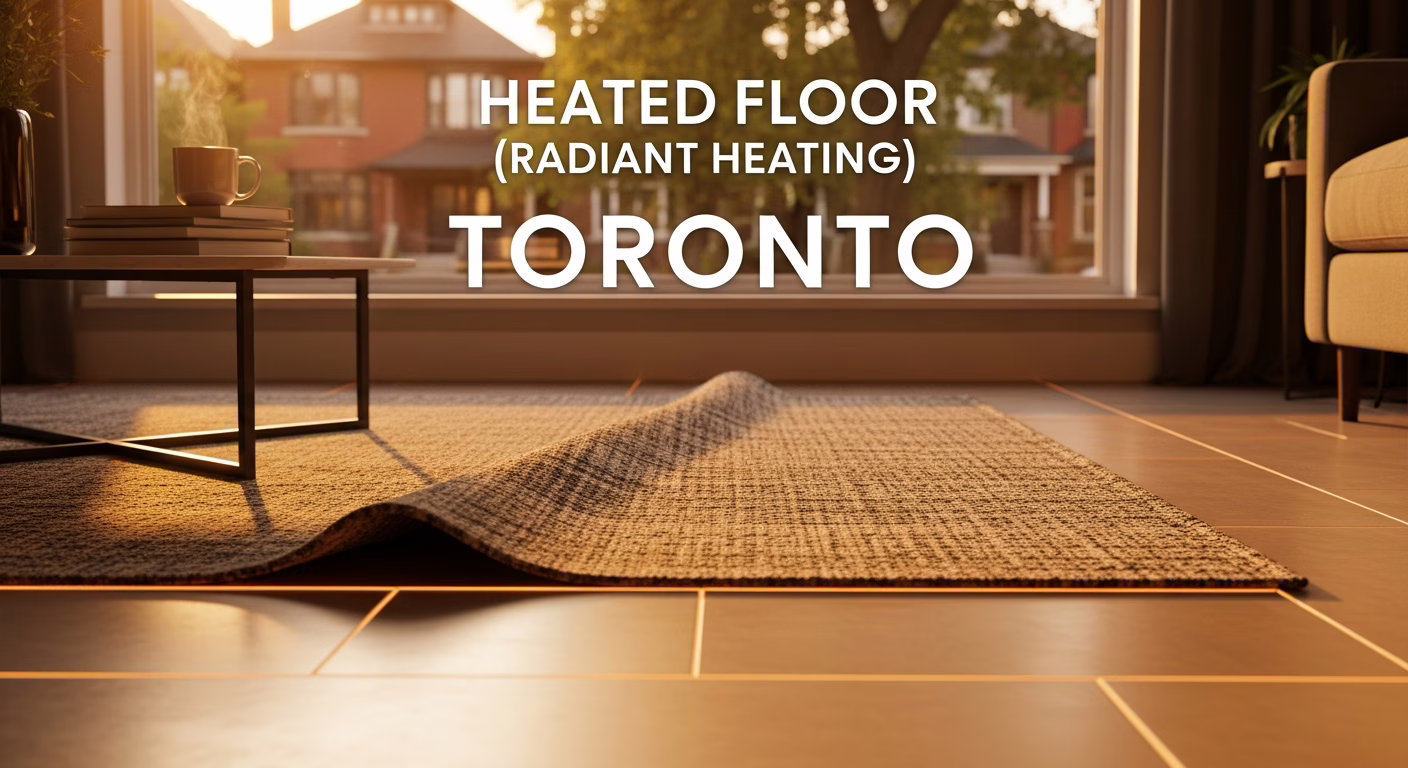
No Toronto building permit is required for hardwood floor installation in a residential home. However, if radiant in-floor heating is part of the plan, the heating system installation may involve ESA (Electrical Safety Authority) oversight depending on the system type. See our post on heated floor costs in Toronto before combining projects.
DIY vs. Hiring a Professional: Honest Comparison
The GTA flooring labour market in 2026 puts professional hardwood installation at $4–$8 per square foot for labour only, excluding materials. On a 600 sq ft main floor that is $2,400–$4,800 in labour — real money. The DIY question deserves a straight answer.
DIY makes sense when you have tiling or carpentry experience, you are working in a single rectangular room, the subfloor is in sound condition, and you have a full weekend plus a helper. First-timers in those conditions can produce a solid result. Renting tools, buying consumables — fasteners, rosin paper, sandpaper — and accounting for the occasional ruined board, expect to spend $300–$600 on the process beyond the cost of the wood itself.
DIY gets complicated when the subfloor has moisture problems (common in Mississauga and Etobicoke homes with slabs), the layout involves multiple rooms with offsets, there are transitions to other flooring types, or the home has radiant heat. Each scenario adds technical judgment that costs more to fix than to get right the first time.
Warning signs of a poor hardwood installation — whether DIY or contractor:
- Visible gaps between boards larger than a credit card's thickness at non-peak humidity seasons
- Squeaking from multiple areas, usually indicating loose boards from inconsistent nailer depth or wrong fastener spacing
- Cupping or crowning within the first year, pointing to moisture management failure at install
- Uneven surface telegraphing through finished boards, meaning subfloor prep was skipped
- Transition strips missing or poorly fitted at doorways, creating trip hazards and moisture entry points
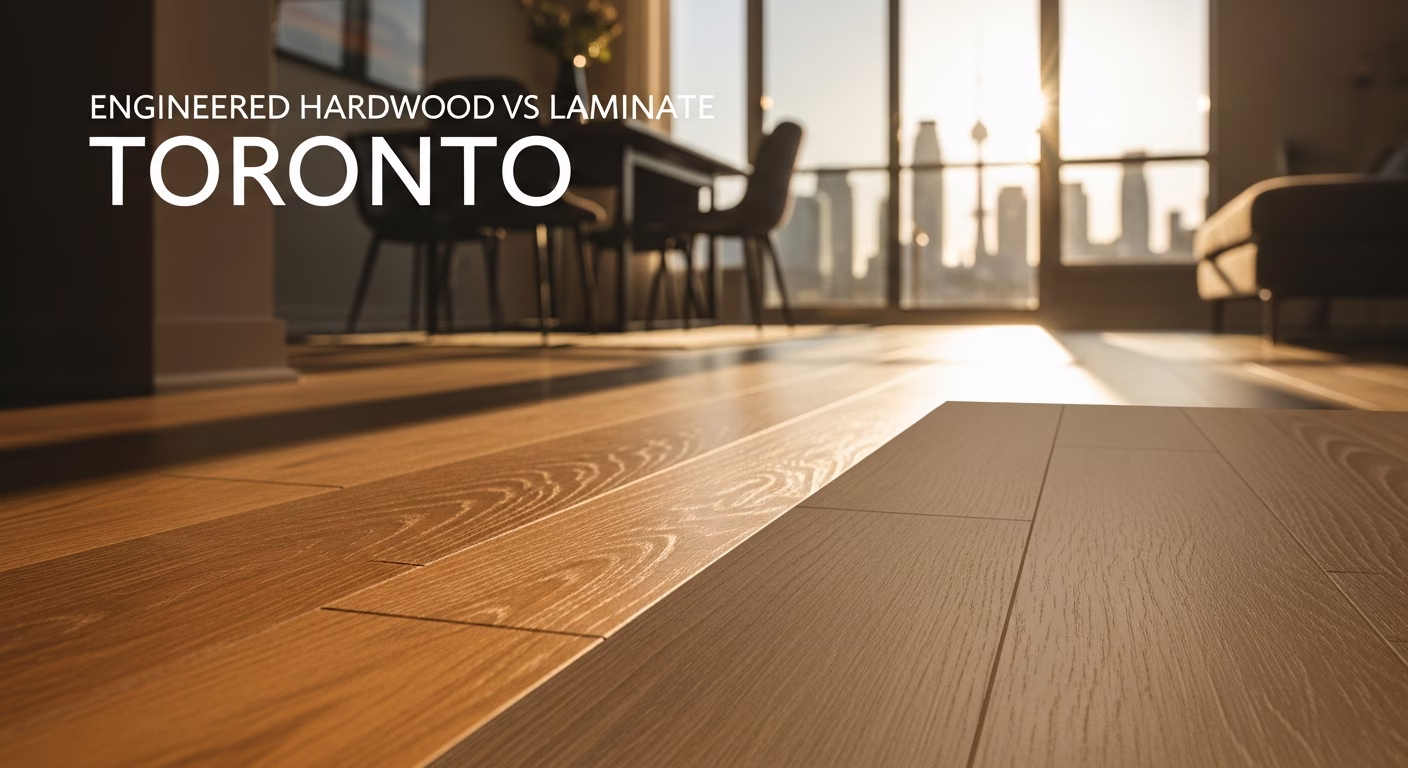
For a side-by-side look at material choices that affect which tools and techniques apply, see our post on engineered hardwood vs laminate in Toronto — the tool requirements and subfloor standards differ meaningfully between the two.
Frequently Asked Questions
Do I need a pneumatic nailer, or can I hand-nail hardwood floors?
Hand-nailing solid hardwood is technically possible but impractical for anything beyond a single small room. It is time-consuming, physically demanding, and produces inconsistent fastener depth. Modern pneumatic cleat nailers drive each fastener at the correct angle in one mallet strike. For engineered hardwood, a flooring stapler or adhesive spread with a notched trowel are common alternatives. Rental nailers are widely available across the GTA and make the job manageable for a determined DIYer.
What PSI does a hardwood floor nailer need?
Most pneumatic flooring nailers operate between 70 and 100 PSI. Check the manufacturer spec for your specific nailer and wood species — harder species like maple, common in Toronto-area homes, need the higher end of that range, while softer species like pine tolerate less pressure. An underpowered shot leaves the fastener proud of the tongue, preventing the next board from seating. An overpowered shot splits the tongue and ruins the board.
Can I install hardwood over a concrete subfloor in my Toronto home?
Yes, but not without preparation. Concrete must be tested for moisture — acceptable levels for solid hardwood are generally below 3 lbs per 1,000 sq ft per 24 hours on a calcium chloride test, or below 75% RH on an in-slab probe. If moisture is elevated, a vapour barrier or moisture-mitigation coating is required before installation. In many Etobicoke and North York homes with older slabs, engineered hardwood is a more practical choice than solid hardwood over concrete, as it handles moisture variation with less risk of movement.
How long does hardwood floor installation take in a typical GTA home?
A professional crew installing hardwood in a 1,000 sq ft main floor typically completes the work in 2–3 days, including subfloor prep and transitions. A careful DIYer working the same space should plan for 3–4 days spread over a long weekend. Acclimation time — 3–7 days before starting — is separate and non-negotiable regardless of who is doing the work. Furniture can usually return after 24 hours, though the floor reaches full hardness over the following week.
Need a Quote in the GTA?
If you are planning a hardwood floor installation in Toronto, Mississauga, Etobicoke, Oakville, or anywhere across the GTA and want a professional assessment of your subfloor before committing to materials, call RenoHouse at 289-212-2345 or request a free quote online. With 12+ years of GTA flooring experience, we identify subfloor moisture and levelness issues before they become expensive post-installation problems.