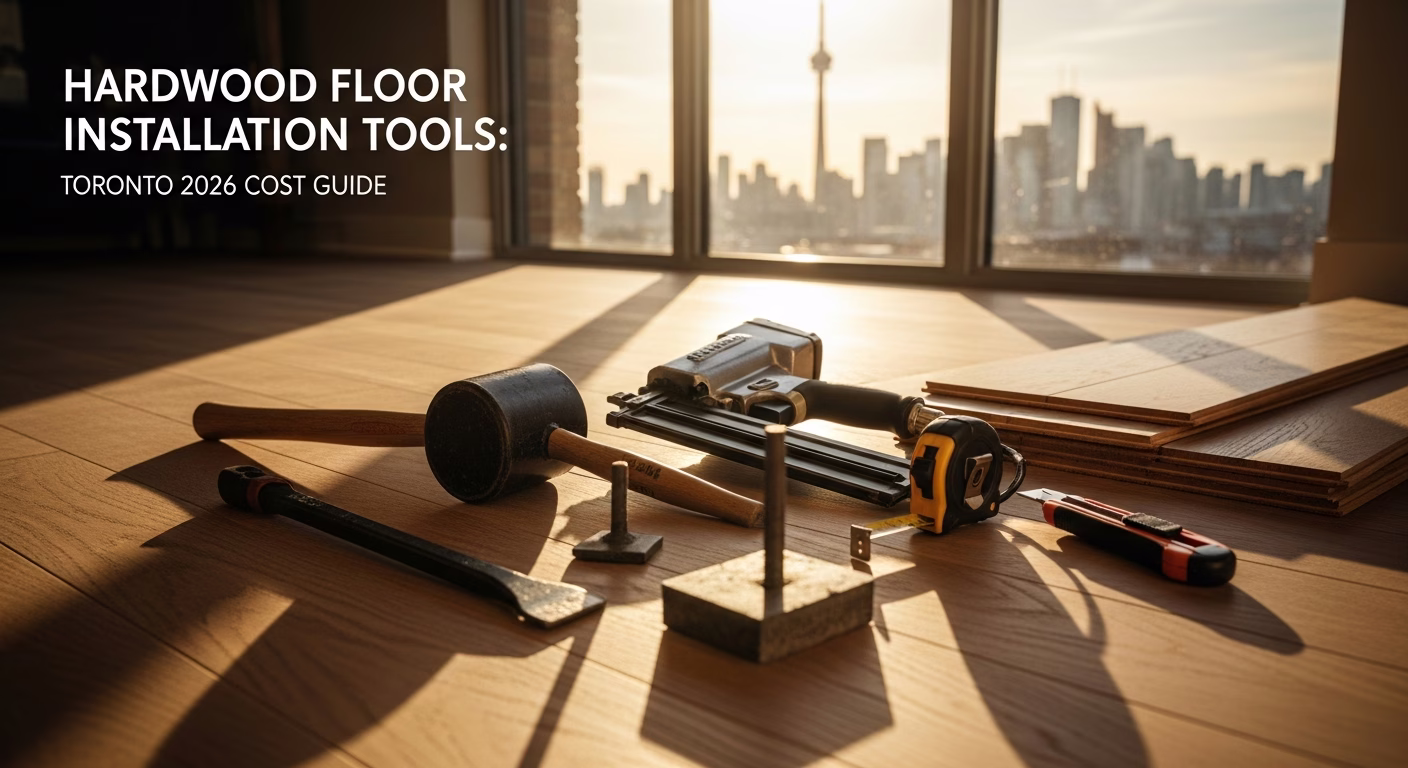
# Installing Hardwood Floors Tools: What You Need in Toronto
Quick answer. A complete hardwood floor installation toolkit costs $900–$2,500 to buy outright in the GTA, or $150–$250 per day to rent the key specialty tools. The non-negotiables are a pneumatic flooring nailer, a compound miter saw, an air compressor, a moisture meter, and a chalk line — without all five, you will either damage the boards or end up with a floor that moves, gaps, or squeaks.What Hardwood Flooring Tools Cost in the GTA (2026 Prices)
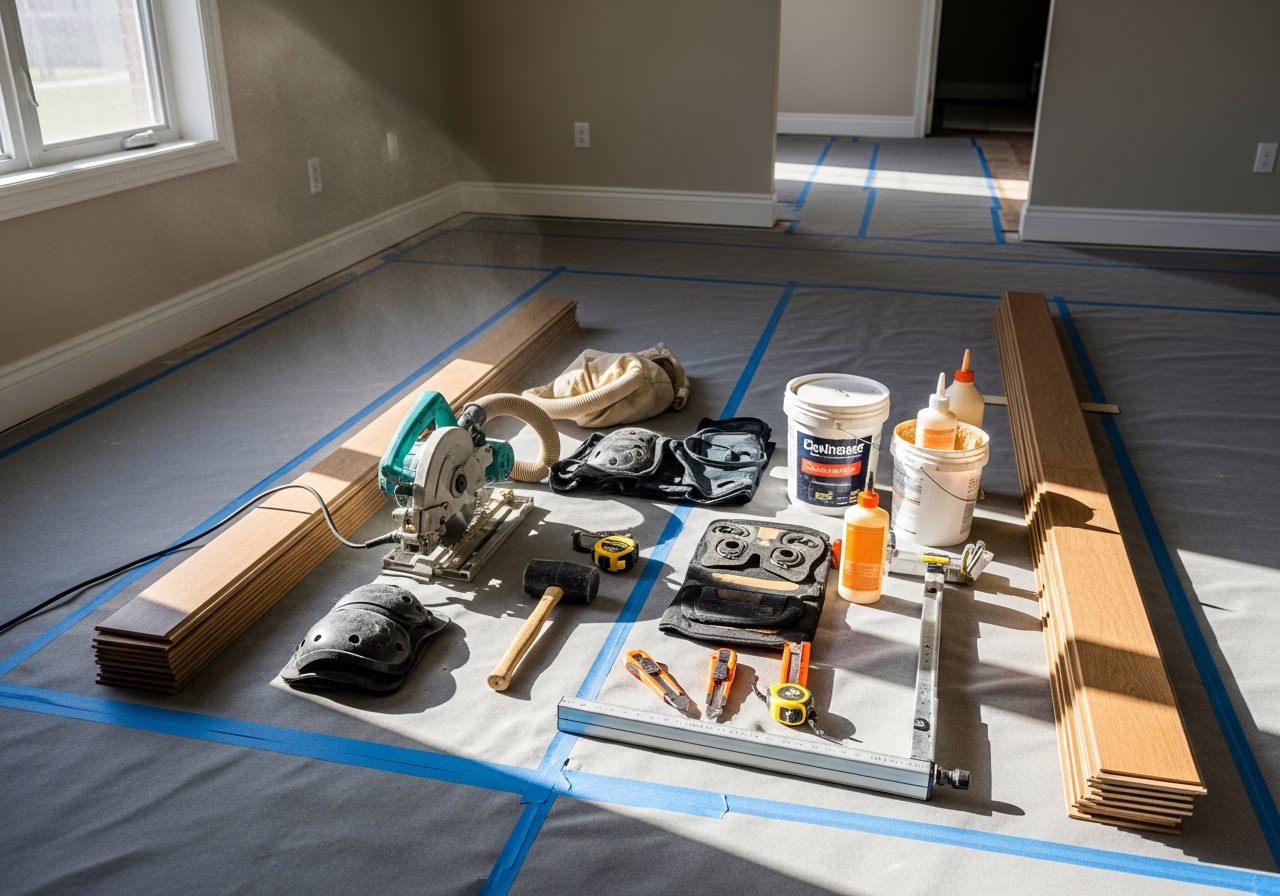
Solid hardwood installation divides the tool list into two categories: specialty tools you will likely rent, and basic hand tools most homeowners already own or can buy cheaply. Knowing which is which keeps your budget in check before you pull up a single board.
Specialty tools — rent unless you install floors regularlyThe pneumatic flooring nailer (also called a cleat nailer or stapler) is the biggest single cost. Purchasing a quality L-cleat nailer from brands like Bostitch, Powernail, or DeWalt runs $350–$650 at Toronto-area suppliers such as Home Depot, Lowe's, or flooring trade houses in Etobicoke and Mississauga. Renting the same tool from a GTA equipment rental yard costs $55–$90 per day. For a standard 1,000 sq. ft. floor, most DIYers need two to three full days, so budget $120–$250 in rental fees for the nailer alone.
You also need an air compressor capable of 70–100 PSI and at least 2.5 CFM. A pancake compressor (6-gallon) is the minimum; most rental packages bundle it with the nailer for $80–$130 per day. If you own a compressor already, verify the CFM output before you start — an underpowered unit will slow down every shot and leave cleats partially set.
| Tool | Buy (CAD, 2026) | Rent/Day (CAD) | Own Already? |
|---|---|---|---|
| Pneumatic L-cleat nailer | $350–$650 | $55–$90 | Unlikely |
| Air compressor (6+ gal) | $200–$450 | $30–$50 | Possibly |
| Compound miter saw (10 in.) | $400–$850 | $60–$100 | Possibly |
| Circular saw | $120–$280 | $25–$45 | Likely |
| Moisture meter | $35–$90 | n/a (buy) | Unlikely |
| Jigsaw | $100–$220 | $20–$35 | Possibly |
| Chalk line reel | $15–$30 | n/a (buy) | Possibly |
| Tapping block + pull bar set | $20–$40 | n/a (buy) | Unlikely |
| Oscillating multi-tool | $80–$180 | $30–$45 | Possibly |
Buying all specialty tools outright lands you in the $1,300–$2,500 range. Renting the three big-ticket items (nailer, compressor, miter saw) for three days totals roughly $400–$600 — a far better option for a one-time project.
Hand tools and consumables you still need to buyEven with a full rental package, budget $80–$150 at a hardware store for: 1/4-inch spacers (expansion gaps), a pry bar, knee pads, safety glasses, a tape measure (25 ft minimum), a carpenter's square, a pencil scriber for irregular cuts, and an underlayment stapler. These are low cost but not optional — skipping the spacers alone is responsible for a large share of warranty-voiding installations across Brampton, Scarborough, and North York.
How to Use the Tools: The Installation Process Step by Step
Understanding what each tool does — and when it enters the process — prevents wasted cuts and ruined boards. Here is how a professional hardwood installation unfolds in a Toronto home, using a standard nail-down method over plywood subfloor.
Before any tools come out, stack your hardwood in the room where it will be installed for 48–72 hours (longer in winter when Toronto homes run dry heat). Use the moisture meter to verify the wood is within 2–4% of the subfloor moisture level. In GTA homes with forced-air gas heat, interior humidity often drops below 30% in January and February; boards that absorb moisture after installation will buckle. This step costs nothing but time and prevents costly repairs.
Need professional renovation?
Call RenoHouse at 289-212-2345 or get a free estimate today.
Get Free Estimate →A 4-foot level and a screw gun are your tools here. Plywood subfloor must be flat within 3/16 inch over 10 feet. Nail or screw down any squeaky or bouncy panels. If the subfloor is OSB thinner than 3/4 inch, you may need to add a layer — hardwood nailers require solid bite or the cleats will pull free. Toronto homes built between 1950 and 1980 often have 5/8-inch subfloor boards that are borderline; check before renting equipment.
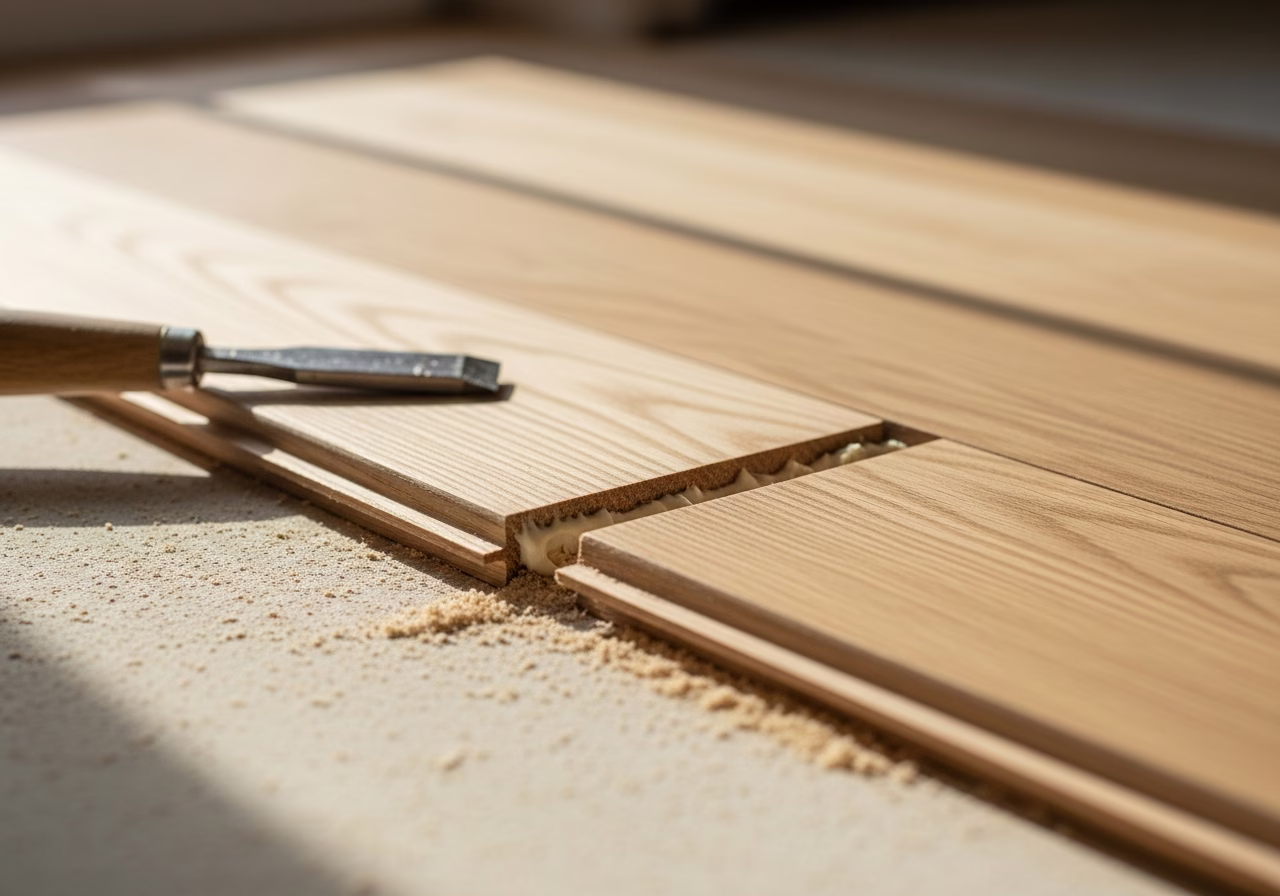
Step 3 — Snap a chalk line and lay the first rowsStrike a straight chalk line 15/32 inch from the starting wall (accounting for your expansion gap and the tongue overhang). The first two or three rows cannot be reached by the standing flooring nailer — face-nail these rows using a drill or nail set, then fill the holes with wood putty. This is slow, precise work where the miter saw earns its place: every end joint must be cut clean and square.
Step 4 — Engage the pneumatic nailerOnce you are four to five rows out from the wall and the nailer mallet head can swing freely, switch to the pneumatic nailer. Set the air pressure per the tool manual (typically 80–90 PSI for 3/4-inch solid oak). Strike the nailer plunger with the rubber mallet; the nailer drives an L-cleat through the tongue at a 45-degree angle. Work row by row, staggering end joints by at least 6 inches and ideally 12 inches between adjacent rows. A common beginner mistake is spacing end joints randomly without measuring — it creates a telegraphed, sloppy look.
Step 5 — Rip cuts and door casingsThe final rows along the opposite wall require rip cuts — long, narrow cuts along the board's length. This is where the circular saw with a clamped straightedge guide or a table saw does the work. The oscillating multi-tool handles undercutting door casings so the flooring slides underneath cleanly rather than leaving a visible gap. It is one of the more underrated tools on this list and available at most GTA rental yards for $30–$45 per day.
Step 6 — Finish nailing and transitionsMirror the first rows: face-nail, putty, and let dry. Install transitions, reducers, and thresholds using manufacturer-specific hardware. In Toronto homes where hardwood meets tile at a bathroom doorway, a T-molding or reducer needs to be glued or screwed to the subfloor — not fastened to the hardwood itself.
Permits and ESA note: A straightforward hardwood installation does not require a building permit in Toronto or elsewhere in the GTA. If you are installing electric radiant mats beneath the hardwood, however, the electrical connection requires an ESA permit and inspection under Ontario's Electrical Safety Code. See our heated floor cost guide for what that adds to a project budget.DIY vs. Professional Installation: What the Tool List Reveals
The tool list is the honest answer to whether hardwood installation is a realistic DIY project. If you already own a miter saw and a circular saw, the incremental rental cost is manageable and the project is achievable for a careful homeowner over a long weekend. If you need to rent or buy everything, the economics shift considerably.
In 12-plus years of GTA flooring work across Toronto, Vaughan, Markham, and Oakville, the most common callback after DIY installations involves three things: boards that are not tight enough (insufficient nailer pressure or skipped rows), visible end-joint clustering (poor planning before cuts), and gaps at walls caused by skipping the expansion gap. All three come down to either the wrong tool or the right tool used incorrectly. A 4.9-star reputation across 498 reviews is built on cleaning up exactly these situations.
The cost reality in 2026Professional installation of 1,000 sq. ft. of solid hardwood in Toronto, Mississauga, or North York runs $3.50–$6.00 per sq. ft. for labour only — roughly $3,500–$6,000. The tool rental route costs $400–$600 in equipment plus your time. That gap is real, but it assumes no callbacks, no damaged boards (budget 10% waste on materials), and a result you are satisfied with long-term. Engineered hardwood, which can float instead of nail-down, requires a far simpler tool list and may be worth considering if tool access is the main obstacle. See our engineered hardwood vs. laminate comparison for a breakdown of what each option demands in practice.
Frequently Asked Questions
Do I need a special nailer for hardwood floors, or can I use a regular finish nailer?
A standard finish nailer is not a substitute for a dedicated flooring cleat nailer. Finish nailers drive straight nails that do not anchor the tongue properly and can split the groove of the adjacent board. A flooring nailer drives angled L-cleats or staples specifically sized for 3/4-inch solid hardwood. Renting the correct tool from a GTA equipment yard costs $55–$90 per day and is not a step worth skipping to save money.
How long does it take to install hardwood floors in a typical Toronto home?
A 1,000 sq. ft. floor takes an experienced DIYer roughly two to three days: half a day for acclimation checks and subfloor prep, one full day for nailing field rows, and half a day for rip cuts, face-nailing, and transitions. Professionals with a two-person crew typically complete the same job in one long day. Rooms with many angles, closets, or stair nosings add time for both scenarios.
Is a moisture meter really necessary, or can I skip it?
Skip the moisture meter and you are gambling with the most expensive part of the project — the wood itself. Solid hardwood installed over a subfloor that is more than 4% drier or wetter will move after the seasonal humidity shift. In the GTA, where homes swing from 20% relative humidity in winter to 60% or more in summer, that movement shows up as gapping or cupping within the first year. A basic pin-type moisture meter costs $35–$50 at hardware stores in Etobicoke, Brampton, or Scarborough.
Can I install hardwood floors over radiant heating in my Toronto home?
Yes, with conditions. Solid hardwood thicker than 3/4 inch is not recommended over radiant heat due to expansion stress. Engineered hardwood (3/8–1/2 inch) is the safer choice for heated subfloors. If you are installing any electric radiant mat beneath hardwood, the connection to a thermostat or line voltage requires an ESA permit — this is not optional under Ontario's Electrical Safety Code. The tool list for a heated floor also adds a continuity tester and floor-probe thermometer to verify mat integrity before covering it.
Need a Quote in the GTA?
If the tool list looks manageable but the installation itself feels like too much, or you want a professional assessment of your subfloor before committing to a rental, renohouse.ca serves Toronto, Etobicoke, Mississauga, Vaughan, Brampton, Markham, Scarborough, North York, Richmond Hill, and surrounding GTA communities. Call 289-212-2345 for a free, no-pressure quote on hardwood floor installation or subfloor prep — you will get a straight answer on whether the job suits a confident DIYer or needs a professional crew.