# How to Remove Tile Backsplash Without Wrecking Your Drywall
Quick answer. Removing a kitchen or bathroom tile backsplash yourself costs $0–$150 in tools and takes 2–6 hours for a typical 30–50 sq ft area. Hiring a GTA contractor for professional removal runs $200–$500 in 2026, depending on tile type, adhesive, and wall condition behind the tile.What Tile Backsplash Removal Costs in the GTA (2026)
Most homeowners in Toronto and surrounding areas tackle backsplash removal as part of a kitchen refresh or full renovation. Cost is driven by three things: tile material (ceramic is forgiving; natural stone is not), how the tile was set (mastic adhesive vs. thinset mortar), and what is behind it (drywall, cement board, or plaster).
For DIY removal, your main expense is renting or buying tools. A cold chisel and mallet runs $20–$40 at a Rona or Home Depot in Etobicoke or Mississauga. A multi-tool oscillating kit — the single tool that makes this job far less destructive — rents for $40–$60 per day at most GTA tool rental shops, or costs $80–$150 to buy outright. Budget $50–$200 total for a DIY approach on a standard kitchen.
Professional tile removal in the GTA runs $3–$8 per square foot for labour alone in 2026. A 40 sq ft kitchen backsplash lands between $120 and $320 in labour. Add disposal fees of $50–$100 and minor drywall patching of $100–$300 if the substrate gets damaged — which it often does — and a realistic all-in professional removal budget is $300–$700 for a typical Toronto kitchen. Bathroom backsplashes with smaller surface areas typically come in at $150–$400.
| Scenario | Approx. Cost (GTA, 2026) |
|---|---|
| DIY — tools only | $50–$200 |
| Pro removal, ceramic, good wall condition | $200–$400 |
| Pro removal, natural stone or epoxy grout | $350–$600 |
| Pro removal + drywall patch and skim coat | $400–$800 |
| Pro removal + full drywall section replacement | $500–$1,200 |
One detail that catches Scarborough and North York homeowners off guard: older homes built before 1980 often have tile set directly on plaster or original drywall with no moisture barrier. In those cases, full drywall replacement after removal is nearly certain. Budget for it upfront rather than discovering it mid-job.
How to Remove a Tile Backsplash Step by Step
This process applies to standard ceramic or porcelain tiles set with mastic or thinset on drywall — the most common setup in GTA kitchens built or renovated between 1990 and 2015.
Need professional renovation?
Call RenoHouse at 289-212-2345 or get a free estimate today.
Get Free Estimate →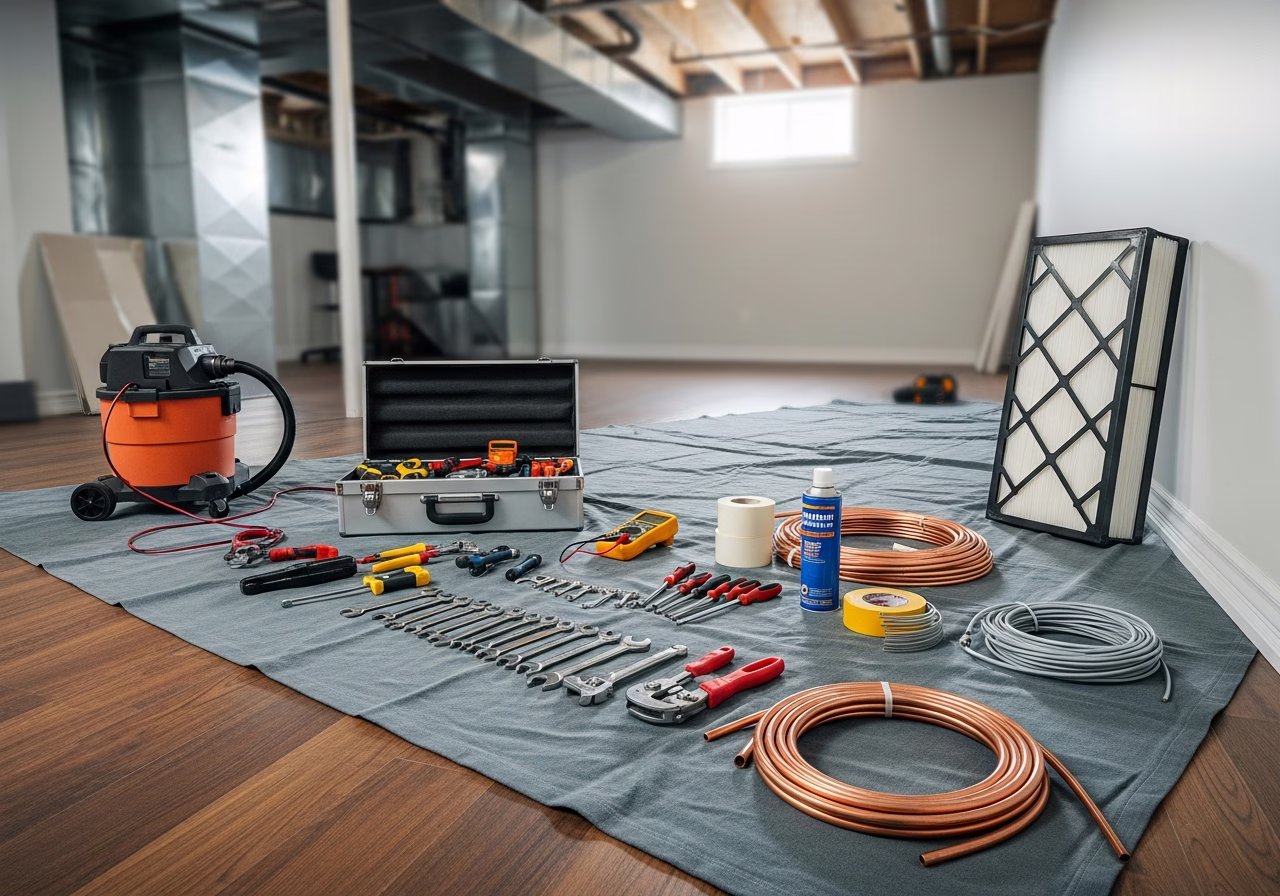
When DIY Makes Sense — and When to Call a Contractor
DIY tile backsplash removal is reasonable when the tile is ceramic or porcelain, the home was built after 1985, there is no visible moisture or mold, and you are comfortable working slowly and methodically near kitchen plumbing and electrical. A patient approach with the right tools limits wall damage significantly.
Hire a professional when the tile is natural stone — marble, travertine, or slate. These materials are heavier, set deeper, and far more likely to fracture backing materials during removal. Also call a contractor if there is any sign of moisture: dark grout staining, a soft wall surface, or a musty smell behind base cabinets. Opening that wall may reveal a plumbing issue that needs proper assessment before anything else happens. Contractors with over a decade of GTA experience know when a repair is purely cosmetic and when it points to something water-related or structural.
Glass mosaic tile sheets deserve a separate note. The mesh backing bonds differently than standard tiles, and thin glass chips unpredictably under a chisel. Most experienced Vaughan and Richmond Hill contractors quote glass mosaic jobs by inspection rather than by square foot, because adhesive age, backing type, and wall construction make difficulty hard to estimate remotely.
If backsplash removal is part of a larger kitchen renovation — new cabinets, countertops, or a layout change — the removal cost is typically absorbed into the overall project quote. As a standalone job, most GTA contractors apply a minimum mobilization charge of $250–$350 for a small single-trade call.
Frequently Asked Questions
Will removing tile backsplash always damage the drywall?
Not always, but partial damage is common. Tiles set with mastic over paper-faced drywall frequently pull the surface paper on removal, leaving a rough patch that needs skim coating before anything new goes up. Tiles set on cement board come off more cleanly. On plaster walls — found in many pre-1970 homes in Etobicoke and North York — removal is slower work, but plaster is generally more forgiving than modern drywall paper facing.
Do I need a permit to remove a kitchen backsplash in Toronto?
No permit is required for tile backsplash removal anywhere in the GTA. It is cosmetic work on an interior wall surface. If removal reveals a plumbing or structural problem that requires repair, those repairs may trigger permit requirements depending on scope — but the tile removal itself does not. Switching off the circuit at the panel before working near outlets is a basic safety step, not a permit condition for the tile work.
How long does backsplash removal take?
A standard kitchen backsplash of 30–50 sq ft takes a careful DIYer 4–8 hours including cleanup and adhesive removal. An experienced contractor covers the same area in 2–4 hours. Natural stone installations or walls with multiple old tile layers can double those estimates. If you plan to retile the same day, budget additional time for drywall patching and allow joint compound to dry fully — typically 24 hours — before applying new tile adhesive.
Can I tile directly over old tile instead of removing it?
Technically yes, but it is not recommended for backsplashes in most GTA kitchens. A second tile layer increases wall thickness, which causes problems at electrical outlets, switch plates, and cabinet edges. It also conceals any moisture or adhesion issues in the original installation. Most tilers and renovation contractors in Toronto will push back on this approach unless the original tile is perfectly flat and fully bonded, and the added thickness has been accounted for in all adjacent trim and fixtures.
Need a Quote in the GTA?
Renohouse.ca handles tile backsplash removal as a standalone job or as part of a larger kitchen or bathroom renovation across Toronto, Etobicoke, Mississauga, Brampton, Vaughan, Markham, Scarborough, and the rest of the GTA. With 12 years of local renovation experience and a 4.9-star rating across nearly 500 reviews, the crew gives straight answers on wall condition and realistic costs before any tile comes off. Call 289-212-2345 or request a free quote online.


