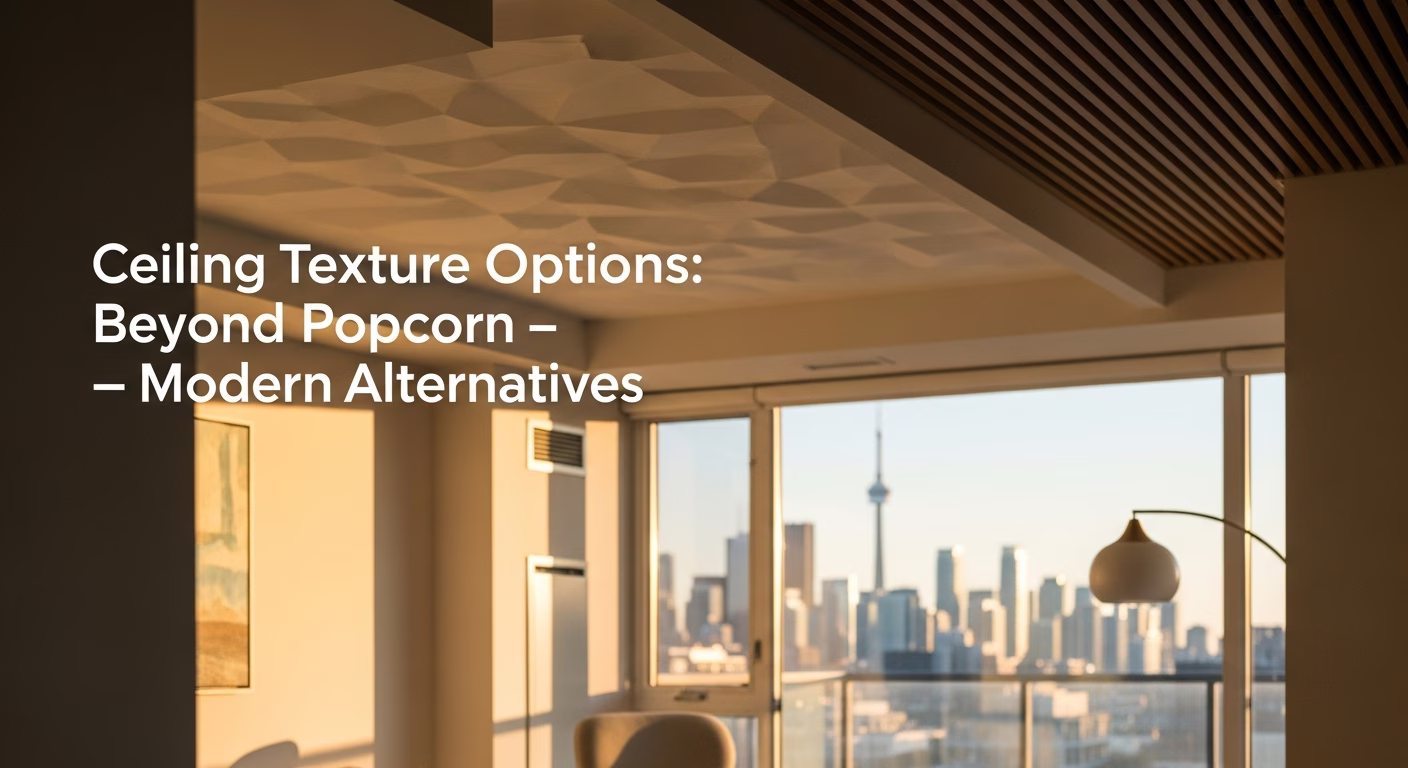
# Complete Popcorn Ceiling Removal Guide Toronto 2026
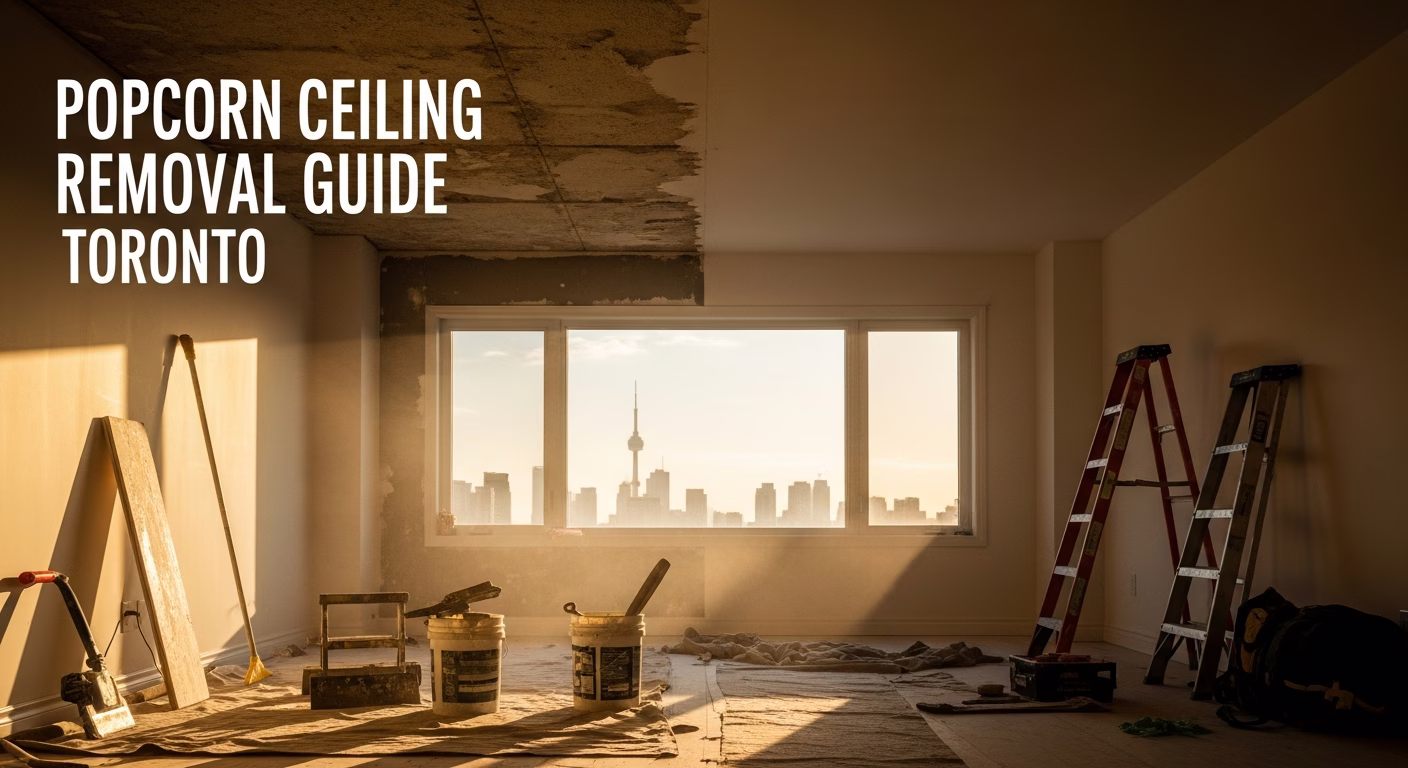
Quick answer. If you own a home in Toronto built between the 1950s and 1980s, there's a strong chance you're staring up at a popcorn ceiling right now. That bumpy, cottage-cheese-like texture was once the go-to finish for builders across Scarborough, North York, Don Mills, Etobicoke, and Mississauga.If you own a home in Toronto built between the 1950s and 1980s, there's a strong chance you're staring up at a popcorn ceiling right now. That bumpy, cottage-cheese-like texture was once the go-to finish for builders across Scarborough, North York, Don Mills, Etobicoke, and Mississauga. Decades later, it's one of the most common renovation targets in the GTA — and for good reason.
Popcorn ceiling removal is one of the single most impactful upgrades you can make to a home. It modernizes interiors instantly, increases perceived ceiling height, improves lighting, and can add measurable resale value. Toronto real estate agents consistently report that homes with smooth, modern ceilings sell faster and attract higher offers than those with dated textured finishes.But removing a popcorn ceiling isn't as simple as grabbing a scraper and going to work. In Toronto, asbestos testing is a critical first step — many popcorn and stipple ceilings applied before 1990 contain asbestos fibres that become dangerous when disturbed. Skipping this step can expose your family to serious health risks and land you in violation of Ontario workplace safety regulations.
This guide covers everything you need to know about popcorn ceiling removal in Toronto in 2026: the full process from start to finish, realistic costs, asbestos testing requirements, DIY vs. professional options, alternatives to removal, and how to choose the right contractor. Whether you're renovating a single bedroom or transforming an entire house, you'll find the answers here.
---
What Is a Popcorn Ceiling?
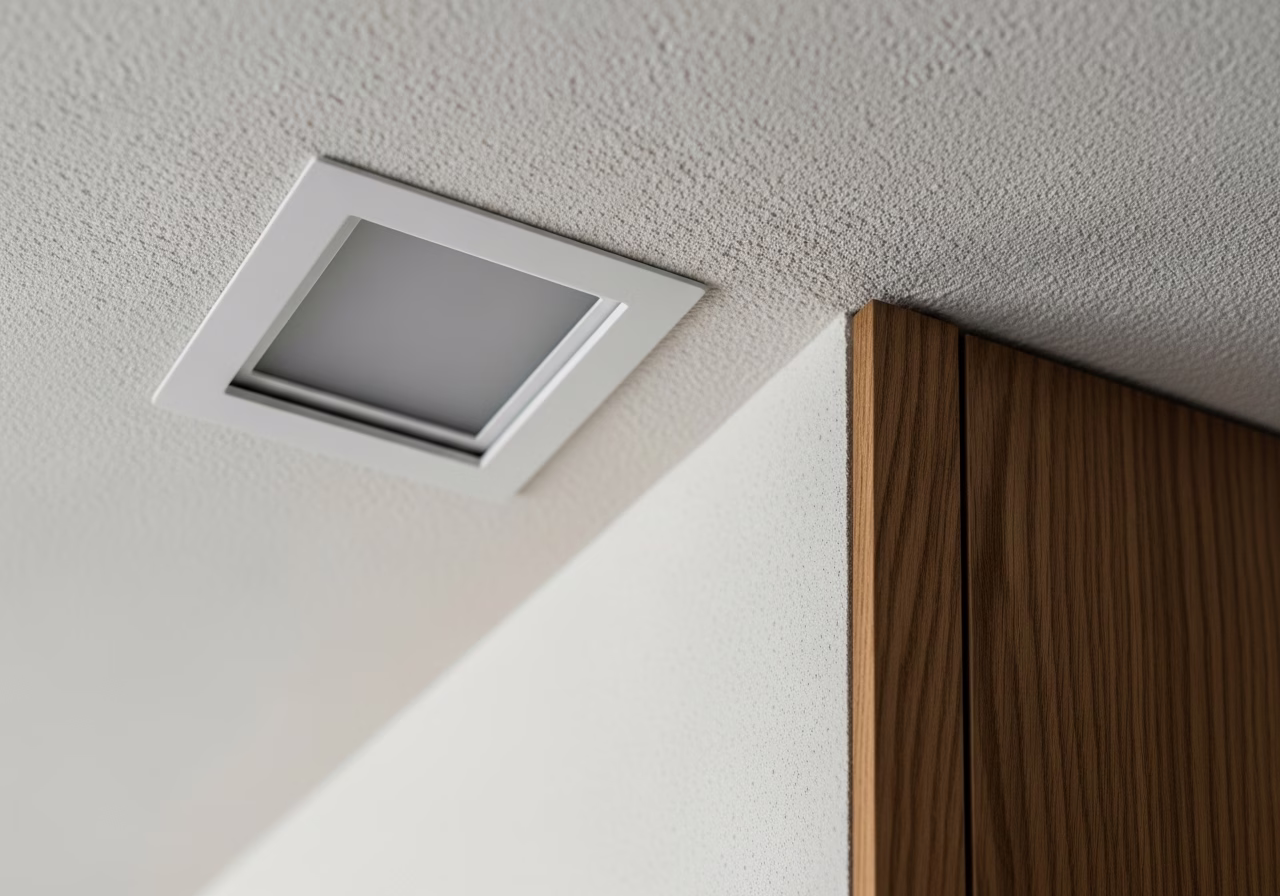
A popcorn ceiling — also called a stipple ceiling, stucco ceiling, or textured ceiling depending on who you ask — is a spray-on or trowel-applied ceiling finish that creates a rough, bumpy texture. The name "popcorn" comes from the finish's resemblance to popped kernels, though the texture can range from fine stipple to heavy, chunky bumps.
Why Were Popcorn Ceilings So Popular?
Popcorn ceilings dominated residential construction in North America from the late 1950s through the 1980s. Toronto's massive suburban expansion during this era — think entire neighbourhoods in Scarborough, Don Mills, North York, and Etobicoke going up almost overnight — relied on popcorn texture for several practical reasons:
- Speed and cost: Spraying texture onto a ceiling is dramatically faster than finishing drywall to a smooth Level 5 finish. Builders could complete ceilings in a fraction of the time, which mattered enormously during Toronto's housing boom.
- Hides imperfections: Textured ceilings mask drywall joints, nail pops, and uneven surfaces. Builders didn't need to tape and mud to perfection — the texture covered everything.
- Acoustic dampening: The bumpy surface absorbs more sound than a flat ceiling, reducing echo. This was a genuine selling point in the era before open-concept layouts became standard.
- Aesthetic trends: In the 1960s and 1970s, textured ceilings were simply fashionable. They matched the era's design preferences.
What's Inside a Popcorn Ceiling?
The composition of popcorn ceiling texture varies by era and manufacturer:
- Vermiculite: A naturally expanded mineral that creates the bumpy texture. Many vermiculite products contained trace amounts of asbestos.
- Polystyrene: Styrofoam-like particles mixed into the spray compound. Common in later formulations (post-1980s).
- Paper fibre and calcium compounds: Used as binders and texture agents.
- Asbestos: The critical concern. Asbestos was a common ingredient in popcorn ceiling texture manufactured before 1990 in Canada. It was valued for its fire resistance and durability. While the use of asbestos in spray-on textures was restricted in the late 1970s in the United States, Canadian regulations lagged — meaning Toronto homes built or renovated through the late 1980s may still contain asbestos in their ceiling texture.
Canadian Terminology
In Toronto and across Canada, you'll hear several terms used interchangeably:
| Term | Description |
|---|---|
| Popcorn ceiling | The most common North American term. Refers to the bumpy, spray-applied texture. |
| Stipple ceiling | The preferred Canadian term, especially among contractors. Often describes a slightly finer texture applied with a roller or brush. |
| Stucco ceiling | Another Canadian term. Not to be confused with exterior stucco — this refers to any textured ceiling finish. |
| Textured ceiling | A general catch-all term for any non-smooth ceiling finish. |
| Cottage cheese ceiling | An informal, descriptive term used by homeowners. |
Regardless of what you call it, the removal process and concerns are the same.
---
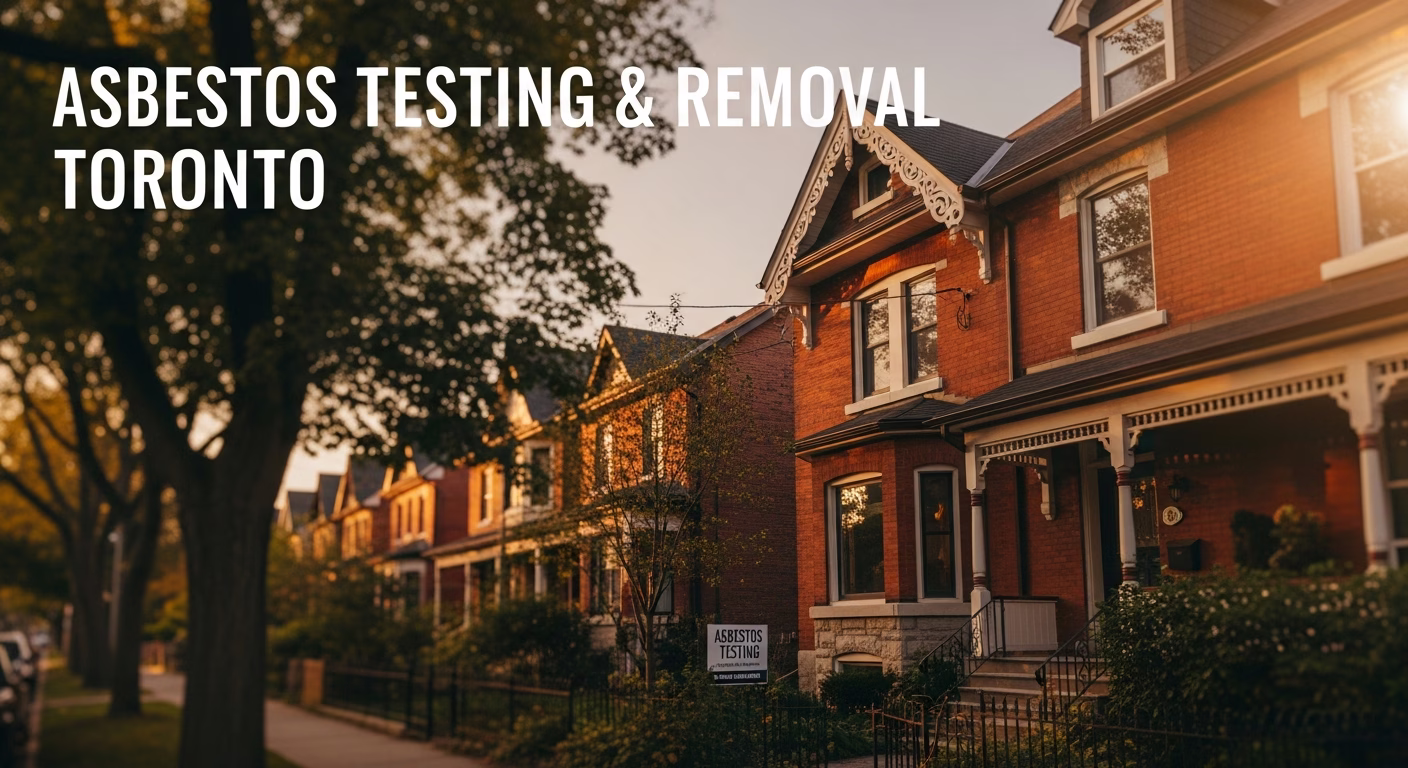
Asbestos Testing Before Popcorn Ceiling Removal
This is not optional. If your Toronto home was built before 1990, you must test your popcorn ceiling for asbestos before any removal work begins. This isn't just a recommendation — it's a legal and health imperative.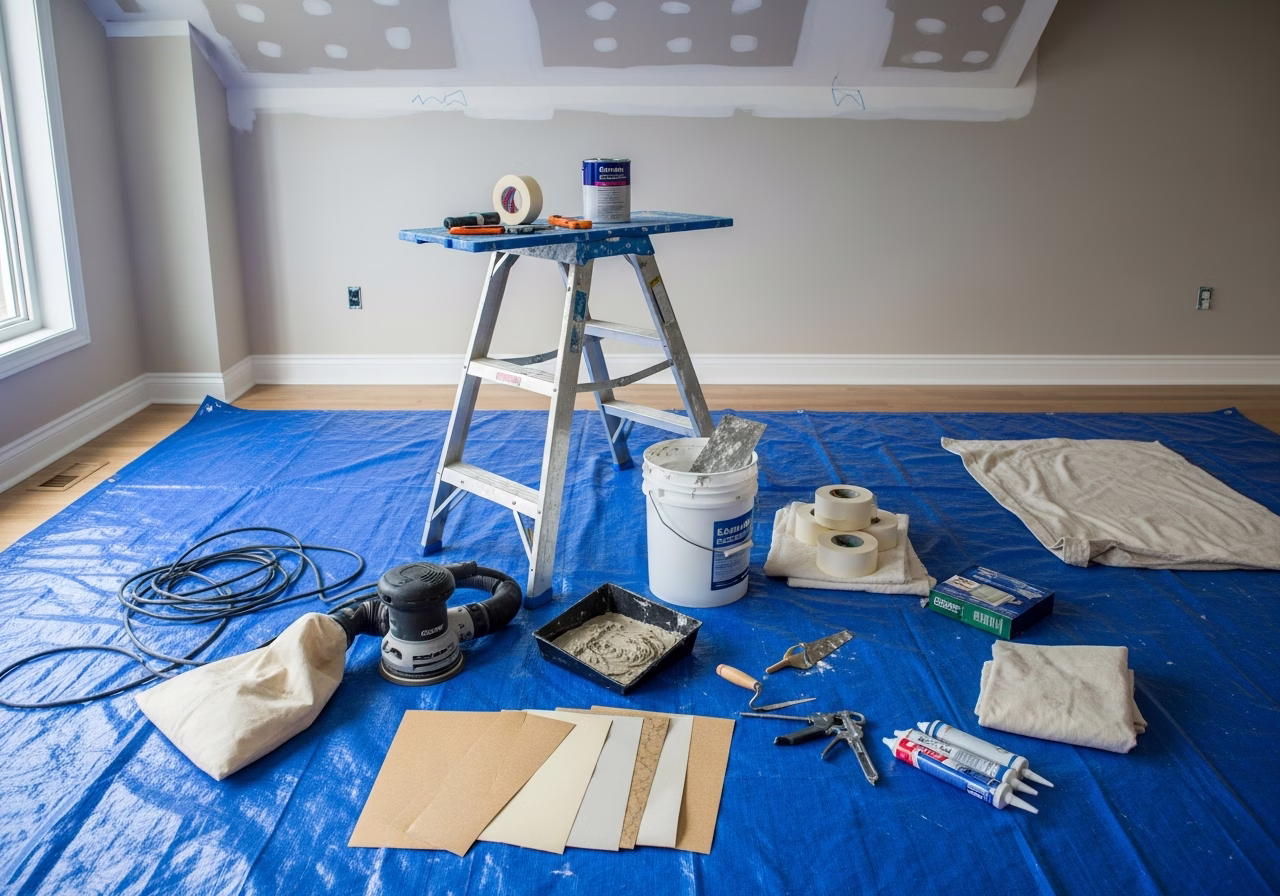
Why Asbestos Testing Is Critical
Asbestos fibres are microscopic and become airborne when ceiling texture is disturbed — scraped, sanded, drilled, or even aggressively bumped. Once airborne, these fibres can be inhaled deeply into the lungs, where they cause:
- Asbestosis: Chronic scarring of lung tissue
- Mesothelioma: An aggressive cancer of the lung lining
- Lung cancer: Significantly elevated risk with asbestos exposure
The danger is that you cannot identify asbestos by looking at a ceiling. A textured ceiling containing 5% chrysotile asbestos looks identical to one made of harmless polystyrene. Only laboratory analysis can confirm or rule out asbestos content.
Ontario Regulations and Requirements
Under Ontario's Occupational Health and Safety Act (OHSA) and Ontario Regulation 278/05 (Designated Substances — Asbestos on Construction Projects and in Buildings and Repair Operations), there are strict rules governing asbestos disturbance:
- Type 1 Operations (minor disturbance, intact material): Basic precautions required.
- Type 2 Operations (moderate disturbance, including ceiling scraping): Requires a certified supervisor, containment, HEPA filtration, and specific disposal protocols.
- Type 3 Operations (large-scale removal of friable asbestos): Full containment, air monitoring, certified workers, and third-party clearance testing.
Popcorn ceiling removal typically falls under Type 2 or Type 3, depending on the area involved and the asbestos concentration. The Ontario Ministry of Labour (MOL) can issue stop-work orders and significant fines for non-compliance.
How to Get Your Ceiling Tested
The testing process is straightforward:
- 1. Collect a sample: Using a spray bottle, wet a small area (about 2" × 2") of the ceiling texture. While damp, carefully scrape or cut a small piece into a sealed ziplock bag. Wear a disposable mask and gloves. Mist the area to prevent fibre release.
- 2. Send to a certified lab: Toronto has several accredited testing laboratories that analyze bulk building material samples for asbestos.
- 3. Wait for results: Most labs offer standard turnaround of 3–5 business days, with rush service (24–48 hours) available for an additional fee.
Toronto Asbestos Testing Labs and Costs
| Service | Cost | Turnaround |
|---|---|---|
| Standard bulk sample analysis | $30–$50 per sample | 3–5 business days |
| Rush analysis | $60–$100 per sample | 24–48 hours |
| On-site sample collection by a professional | $100–$200 (includes 1–2 samples) | Same day collection |
What to Do with Results
- No asbestos detected: You can proceed with DIY or professional removal using standard safety precautions (dust control, respiratory protection, drop cloths).
- Asbestos detected: Stop. Do not attempt DIY removal. You need a certified asbestos abatement contractor. See the Asbestos Popcorn Ceiling Removal section below.
---
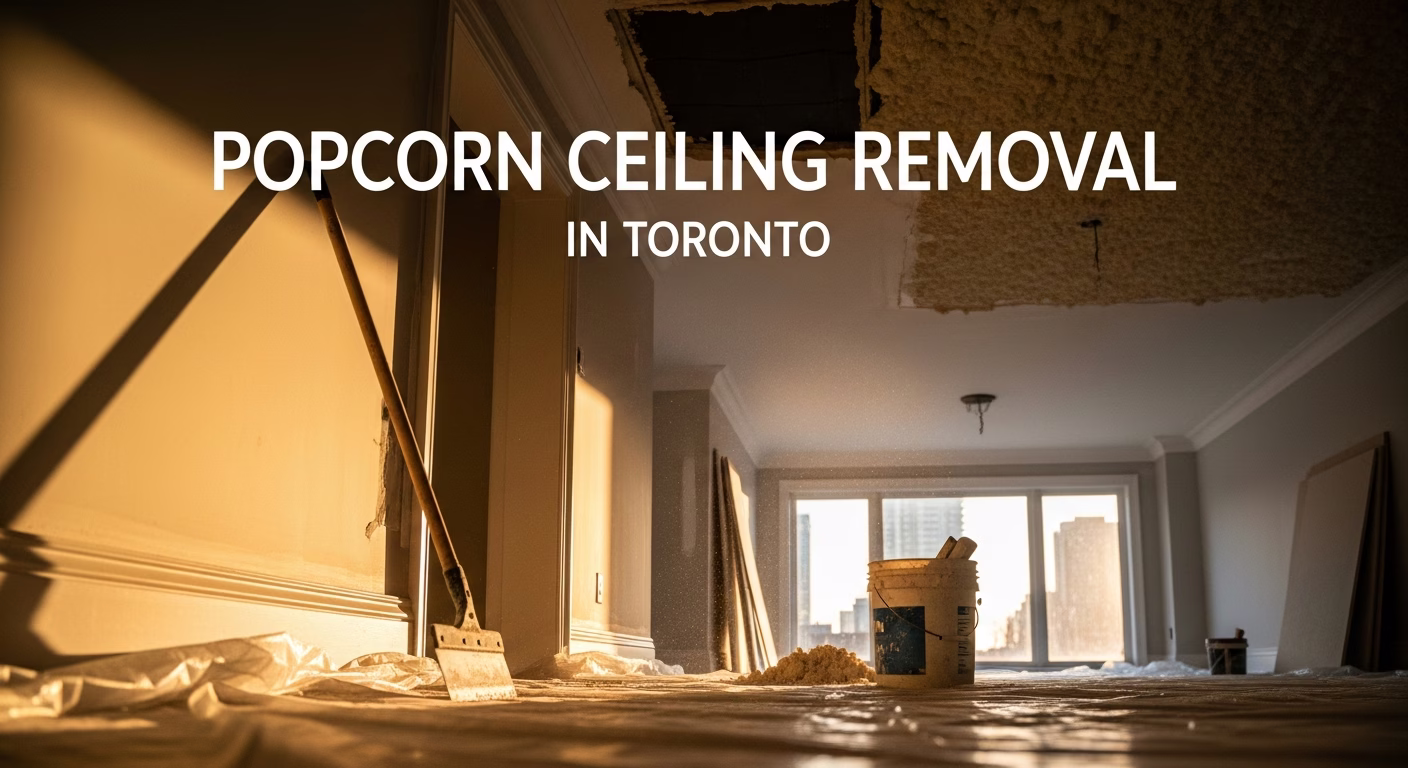
Popcorn Ceiling Removal Process
Once you've confirmed your ceiling is asbestos-free, the removal process follows a well-established sequence. Whether you're doing it yourself or hiring a professional, these are the steps involved in a standard popcorn ceiling removal.
Step-by-Step Process
Step 1: Test for Asbestos
As covered above, this is always the first step. No exceptions.
Step 2: Prepare the Room
Proper preparation makes the difference between a clean project and a disaster:
- Remove all furniture or move it to the centre and cover with heavy plastic sheeting.
- Cover the floor with 6-mil poly sheeting, taped to baseboards. Some contractors use rosin paper under the poly for extra protection.
- Protect walls: Run painter's tape along the ceiling-wall junction. Cover walls with poly if you want maximum protection.
- Remove light fixtures and ceiling fans: Cap the electrical boxes with wire nuts and cover with tape. Turn off the circuit at the breaker panel.
- Seal HVAC vents: Cover all supply and return vents with plastic and tape to prevent dust from entering your ductwork.
- Set up lighting: With ceiling fixtures removed, you'll need portable work lights. LED shop lights on stands work well.
Step 3: Wet the Ceiling
This is the key technique that makes scraping manageable:
- Use a garden sprayer (pump-type) filled with warm water and a small amount of dish soap or fabric softener (helps penetration).
- Mist a section of about 4' × 4' at a time. Don't drench it — you want the texture saturated, not the drywall paper soaked through.
- Wait 10–15 minutes for the water to penetrate and soften the texture.
- Test a small area: The texture should scrape off easily in sheets. If it crumbles or resists, mist again and wait longer.
Step 4: Scrape
- Use a 6" to 12" drywall knife (not a razor scraper — you want a flat, wide blade).
- Hold the blade at a low angle (about 15–20 degrees) to the ceiling.
- Push in long, steady strokes, letting the blade slide under the softened texture.
- Work in the direction of the drywall joints when possible.
- Don't gouge: If you dig into the drywall paper, you'll create more repair work. Let the water do the heavy lifting.
- Collect the scrapings in bags or on the poly-covered floor.
Step 5: Skim Coat
After scraping, the ceiling will be rough with residual texture, ridges, and likely some nicks in the drywall paper:
- Apply a thin skim coat of all-purpose joint compound using a 12" or 14" drywall knife.
- Feather the edges to avoid creating visible ridges.
- Allow to dry completely (typically overnight in a well-ventilated room).
- Apply a second skim coat if needed for a smooth finish.
Step 6: Sand
- Once the skim coat is fully dry, sand the entire ceiling using a pole sander with 120–150 grit sandpaper or sanding screen.
- Use a bright work light held at a raking angle to reveal imperfections. This side-lighting technique is essential for achieving a truly smooth finish.
- Sand lightly — you're smoothing, not removing material.
- Dust control: Wear a P100 respirator and eye protection. Consider using a sanding screen connected to a shop vac.
Step 7: Prime
- Apply a high-quality stain-blocking primer (PVA primer for new drywall, or shellac-based primer if there are water stains).
- Priming seals the skim coat, provides a uniform base for paint, and reveals any remaining imperfections you can touch up before painting.
- Allow primer to dry completely per manufacturer instructions.
Step 8: Paint
- Apply two coats of ceiling paint using a roller with a 3/8" to 1/2" nap.
- Use a flat or matte sheen — it's the most forgiving on ceilings.
- Roll in one direction for each coat, alternating direction between coats, to minimize roller marks.
Timeline
| Room Size | Scraping | Skim Coat & Sanding | Priming & Painting | Total |
|---|---|---|---|---|
| Small bedroom (100 sq ft) | 2–3 hours | 1 day (drying time) | 1 day | 2 days |
| Large bedroom (150 sq ft) | 3–4 hours | 1 day | 1 day | 2 days |
| Living room (250 sq ft) | 4–6 hours | 1–2 days | 1 day | 2–3 days |
| Whole house (1,200 sq ft ceiling) | 2–3 days | 2–3 days | 1–2 days | 5–8 days |
*Timeline assumes one person working. Professional crews of 2–3 can cut these times significantly.*
---
Popcorn Ceiling Removal Cost
Understanding the popcorn ceiling removal cost in Toronto requires considering several variables. Here's a realistic breakdown based on 2026 GTA market rates.
Base Cost: Non-Asbestos Removal
For standard popcorn ceiling removal (no asbestos), Toronto contractors typically charge:
| Cost Component | Price Range |
|---|---|
| Scraping & removal | $1.50–$3.00/sq ft |
| Skim coat to smooth finish | $1.00–$2.00/sq ft |
| Priming & painting | $0.75–$1.50/sq ft |
| Total (removal + finishing) | $2.00–$5.00/sq ft |
Factors That Affect Cost
Several factors push your cost up or down within this range:
- Ceiling height: Standard 8' ceilings are easiest. 9'–10' ceilings require scaffolding and take more time, adding 15–25% to costs.
- Texture thickness: Heavy, chunky texture takes longer to remove than a light stipple. Some 1960s Toronto homes have extremely thick application.
- Ceiling condition: Water damage, cracks, or previous repairs may require additional drywall work.
- Room accessibility: Second-floor rooms, stairwells, and rooms with limited access cost more.
- Fixtures and obstacles: Complex ceiling layouts with pot lights, ceiling fans, soffits, or beams add time and cost.
- Finish level: A basic scrape-and-paint is cheaper than a full Level 5 smooth finish.
- Painted-over texture: If the popcorn texture has been painted (especially with oil-based or multiple layers of latex), it becomes much harder to remove. Water can't penetrate paint effectively, so removal requires dry scraping or chemical strippers. This can double the removal cost.
Room-by-Room Cost Estimates (Toronto, 2026)
| Room | Ceiling Area | Low Estimate | Mid Estimate | High Estimate |
|---|---|---|---|---|
| Bedroom (10' × 12') | 120 sq ft | $240 | $420 | $600 |
| Master bedroom (14' × 16') | 224 sq ft | $448 | $784 | $1,120 |
| Living room (16' × 20') | 320 sq ft | $640 | $1,120 | $1,600 |
| Kitchen (12' × 14') | 168 sq ft | $336 | $588 | $840 |
| Basement rec room (20' × 24') | 480 sq ft | $960 | $1,680 | $2,400 |
| Whole house (avg 1,200 sq ft) | 1,200 sq ft | $2,400 | $4,200 | $6,000 |
*Low = DIY materials only. Mid = professional crew, standard finish. High = professional, Level 5 finish, complex rooms.*
Asbestos Adds Significant Cost
If your ceiling contains asbestos, costs jump dramatically:
| Scenario | Cost Per Sq Ft | Whole House (1,200 sq ft) |
|---|---|---|
| Non-asbestos removal + finish | $2–$5 | $2,400–$6,000 |
| Asbestos removal + finish | $8–$20 | $9,600–$24,000 |
The premium covers certified workers, containment setup, HEPA air filtration, regulated disposal, air clearance testing, and compliance documentation. See the next section for details.
---
Asbestos Popcorn Ceiling Removal
If testing reveals asbestos in your popcorn ceiling, the project shifts from a standard renovation to a regulated abatement operation. This is not an area for cutting corners — the health risks are severe, and Ontario regulations carry real enforcement teeth.
Who Can Remove Asbestos Ceilings?
In Ontario, asbestos removal must be performed by certified abatement contractors with:
- Workers trained under the OHSA and holding valid asbestos worker certificates
- A competent supervisor on-site at all times
- Appropriate licensing and insurance (minimum $2 million liability is standard)
- Experience with Type 2 and Type 3 asbestos operations
The Asbestos Removal Process
A certified abatement project typically follows this sequence:
Need professional ceiling renovation?
Call RenoHouse at 289-212-2345 or get a free estimate today.
Get Free Estimate →- 1. Pre-removal assessment: The contractor reviews the asbestos test results, inspects the site, and develops a removal plan.
- 2. Notification: For Type 3 operations, the contractor must notify the Ontario Ministry of Labour at least 14 days before work begins.
- 3. Containment: The work area is sealed with 6-mil polyethylene sheeting — floor, walls, and doorways. A decontamination chamber is set up at the entry point.
- 4. Negative air pressure: HEPA-filtered negative air units maintain negative pressure inside the containment, preventing fibres from escaping to the rest of the home.
- 5. Wet removal: Workers in full protective equipment (Tyvek suits, P100 half-face or full-face respirators, gloves, boot covers) wet the texture and carefully scrape it into lined drums or double-bagged poly bags.
- 6. Cleanup: All surfaces within the containment are HEPA-vacuumed and wet-wiped. Poly sheeting is carefully folded inward and bagged.
- 7. Air clearance testing: An independent environmental consultant (not the removal contractor) takes air samples to confirm fibre levels are below the Ontario occupational exposure limit (0.1 fibres per cubic centimetre).
- 8. Waste disposal: Asbestos waste is transported in sealed, labelled containers to an approved disposal facility. In the GTA, several licensed landfills accept asbestos waste.
- 9. Documentation: The contractor provides clearance certificates, disposal manifests, and a project completion report.
Asbestos Removal Costs in Toronto (2026)
| Cost Component | Range |
|---|---|
| Containment setup | $500–$1,500 |
| Removal labour (per sq ft) | $5–$12/sq ft |
| HEPA air filtration equipment | $200–$500/day |
| Air clearance testing | $300–$600 |
| Waste disposal | $500–$2,000 |
| Finishing (skim coat, prime, paint) | $2–$5/sq ft |
| Total per sq ft | $8–$20/sq ft |
For a typical Toronto home with 1,200 sq ft of ceiling area, expect to pay $9,600 to $24,000 for full asbestos popcorn ceiling removal and finishing. The wide range reflects the asbestos concentration, ceiling accessibility, and number of rooms involved.
Ontario Regulations to Know
- O. Reg. 278/05: The primary regulation governing asbestos work on construction projects. Defines Type 1, 2, and 3 operations with specific requirements for each.
- O. Reg. 490/09: Designated Substances regulation requiring building owners to identify asbestos-containing materials.
- MOL enforcement: Ministry of Labour inspectors can visit any construction or renovation site. Fines for asbestos violations can reach $100,000 for individuals and $1,500,000 for corporations under the OHSA.
---
Popcorn Ceiling Repair
Not every popcorn ceiling needs complete removal. If your ceiling is in generally good condition but has localized damage, popcorn ceiling repair may be a more practical and cost-effective option.
When to Repair Instead of Remove
Repair makes sense when:
- Small areas of damage: Water stains, cracks, or patches where texture has fallen off, covering less than 10–15% of the ceiling area.
- Matching existing texture: You're renovating one room and need to blend new drywall into an existing textured ceiling in adjacent areas.
- Budget constraints: Full removal and finishing for a whole house can cost $4,000–$6,000+. Targeted repairs may cost a few hundred dollars.
- Asbestos-containing ceilings: If the ceiling contains asbestos but is in good condition and undisturbed, encapsulation or spot repair may be preferable to full removal.
Popcorn Ceiling Repair Process
- 1. Test for asbestos before disturbing any existing texture.
- 2. Remove loose or damaged texture from the affected area. If asbestos-free, mist and scrape. If asbestos-containing, use wet methods with appropriate PPE.
- 3. Repair the substrate: Fill cracks, patch drywall as needed, and let repairs cure.
- 4. Match and apply new texture: Purchase spray-on ceiling texture (available in aerosol cans at hardware stores) or mix and apply drywall compound to match the existing pattern. Matching texture is an art — practice on scrap drywall first.
- 5. Prime and paint the repaired area. Painting the entire ceiling ensures a uniform colour match.
Repair Costs
| Repair Type | Cost |
|---|---|
| Small patch (under 4 sq ft) — DIY | $20–$50 (materials) |
| Small patch — professional | $150–$300 |
| Water stain repair (prime + repaint section) | $100–$250 |
| Multiple patches (3–5 areas) — professional | $300–$600 |
| Texture matching entire room after renovation | $200–$500 |
---
DIY vs Professional Popcorn Ceiling Removal
One of the biggest decisions Toronto homeowners face is whether to tackle popcorn ceiling removal themselves or hire a professional crew. Here's an honest comparison.
When DIY Makes Sense
DIY removal is reasonable when all of the following are true:
- ✅ Your ceiling has been tested and confirmed asbestos-free
- ✅ The texture has not been painted over (or only with one coat of latex)
- ✅ You're comfortable working on ladders or scaffolding for extended periods
- ✅ You have basic drywall finishing skills (or are willing to accept a less-than-perfect result)
- ✅ You have the time — expect a full weekend per room
When to Hire a Professional
Hire a professional if any of these apply:
- ❌ Asbestos is present (mandatory — hire certified abatement)
- ❌ The texture has been painted with multiple coats or oil-based paint
- ❌ You want a flawless, smooth Level 5 finish
- ❌ High ceilings (9'+), cathedral ceilings, or complex ceiling geometry
- ❌ Large areas (whole house) — the physical toll of overhead scraping is brutal
- ❌ The home is occupied and you need rooms returned to service quickly
DIY Tools and Materials
| Tool/Material | Approximate Cost |
|---|---|
| Garden pump sprayer | $15–$25 |
| 12" drywall knife | $15–$20 |
| 6" drywall knife | $8–$12 |
| Pole sander + sanding screens | $25–$40 |
| Joint compound (5-gallon bucket) | $20–$30 |
| 6-mil poly sheeting (roll) | $25–$40 |
| Painter's tape (multiple rolls) | $15–$25 |
| P100 respirator | $25–$40 |
| Safety glasses | $5–$10 |
| Stain-blocking primer (1 gallon) | $30–$45 |
| Ceiling paint (1 gallon) | $35–$50 |
| Total for one room | $220–$340 |
Time Investment
| Task | DIY Time (per avg room) | Professional Crew |
|---|---|---|
| Prep and protection | 2–3 hours | 1 hour |
| Scraping | 4–8 hours | 1–2 hours |
| Skim coat + drying | 1–2 days | 1 day |
| Sanding | 2–4 hours | 1 hour |
| Priming + painting | 3–5 hours | 2–3 hours |
| Total | 2–4 days | 1–2 days |
The Honest Truth About DIY
Scraping popcorn ceilings is physically punishing work. You're reaching overhead for hours, dealing with wet plaster raining down on you, and the skim coating stage requires genuine skill to achieve a smooth result. Many Toronto homeowners start a DIY removal project in one room, discover how difficult it is, and call a contractor to finish the rest of the house.If you're confident and have the time, DIY can save you $1,500–$3,000 on a whole-house project. If you value your weekends and want a professional finish, the investment in a good crew is well worth it.
---
Alternatives to Popcorn Ceiling Removal
Full removal isn't the only option. Several alternatives let you cover or transform a popcorn ceiling without the mess of scraping — and some are especially appealing when asbestos is present, since they avoid disturbing the existing texture entirely.
Cover with New Drywall
Installing a new layer of 1/4" or 3/8" drywall directly over the existing popcorn texture is one of the most popular alternatives in Toronto:
- Cost: $3–$5/sq ft (installed, taped, mudded, sanded, primed, and painted)
- Pros: Completely hides the old texture; excellent for asbestos ceilings (encapsulation); results in a perfectly smooth surface
- Cons: Adds weight to the ceiling framing (typically not an issue for standard joists); reduces ceiling height by approximately 1/2"–5/8" (with compound); requires re-cutting electrical boxes for lights and fixtures
- Timeline: 2–3 days for an average room
This is often the best solution for asbestos-containing ceilings because it encapsulates the hazardous material without disturbing it.
Ceiling Tiles
Ceiling tiles offer a decorative alternative that installs over existing texture:- Drop ceiling / suspended ceiling tiles: A metal grid system hung below the existing ceiling, with tiles dropped into the grid. Common in basements. Cost: $3–$7/sq ft.
- Decorative styrofoam ceiling tiles: Lightweight tiles glued directly to the popcorn texture. Available in numerous patterns (tin look, coffered, smooth). Cost: $2–$5/sq ft including adhesive.
- PVC ceiling tiles: Moisture-resistant and easy to clean. Good for kitchens and bathrooms. Cost: $4–$8/sq ft.
Ceiling tiles are a fast, relatively inexpensive option, though some styles can look dated. Modern decorative tiles have improved significantly in aesthetics.
Wood Planks and Shiplap
Tongue-and-groove wood planks or shiplap installed over popcorn ceilings create a dramatic, upscale look:
- Cost: $5–$12/sq ft (material and installation)
- Pros: Stunning visual impact; hides any ceiling imperfections; adds character
- Cons: Higher cost; adds weight; changes the room's style significantly
- Best for: Feature ceilings in living rooms, bedrooms, or covered porches
Skim Coat Over Texture
Rather than scraping, some contractors apply a thick skim coat directly over the popcorn texture:
- Cost: $2–$4/sq ft
- Pros: No scraping mess; faster than removal
- Cons: Results are not always as smooth as scraping + skim coat; the existing texture bumps can telegraph through if the skim coat is too thin; adds weight
- Best for: Light stipple textures; ceilings where the texture is well-adhered
California Ceiling (Knockdown Texture)
A california ceiling — also called knockdown texture — is a popular middle ground between popcorn and smooth:
- The technique involves applying joint compound in a random pattern, then lightly flattening ("knocking down") the peaks with a wide knife before it dries.
- Result: A subtle, organic texture that's far more modern than popcorn but more forgiving of imperfections than a dead-smooth finish.
- Cost: $1.50–$3.00/sq ft when applied after popcorn removal; $2–$4/sq ft when applied over existing texture
- Pros: Hides minor imperfections; easier to achieve than Level 5 smooth; contemporary look
- Cons: Still a ceiling texture — some buyers and designers prefer fully smooth ceilings
---
After Removal: Finishing Options
Once the popcorn is gone, you'll need to choose your final ceiling finish. The right choice depends on your home's style, your budget, and your tolerance for imperfections.
Smooth Finish (Level 5)
The gold standard. A Level 5 smooth finish means the entire ceiling surface has been skim-coated, sanded, and primed to create a perfectly flat, uniform surface with no visible imperfections.
- Best for: Modern and contemporary homes; open-concept spaces with abundant natural light (which reveals every flaw); high-end renovations
- Cost: Included in the $2–$5/sq ft removal estimates above; as a standalone finish over drywall, $1.50–$3.00/sq ft
- Difficulty: High — this is where professional skill really shows. A poorly executed Level 5 finish looks worse than a well-done texture.
California Ceiling / Knockdown
As described above, this gives a subtle, modern texture that's currently very popular in Toronto renovations. Many GTA homeowners choose a california ceiling as a practical compromise — it looks clean and modern but is more forgiving of minor drywall imperfections.
Light Orange Peel Texture
A fine, subtle texture that resembles the surface of an orange:
- Applied with a spray gun at lower pressure
- Cost: $1–$2/sq ft
- Best for: Homeowners who want some texture (hides imperfections) without the heavy look of popcorn
Paint Recommendations
Whatever finish you choose, ceiling paint matters:
- Sheen: Flat/matte is standard for ceilings. It minimizes the appearance of imperfections and doesn't create distracting reflections from lighting.
- Quality brands available in Toronto: Benjamin Moore Waterborne Ceiling Paint, Sherwin-Williams ProMar Ceiling Paint, or PPG Manor Hall Ceiling
- Colour: Bright white is most common and makes rooms feel larger and brighter. Consider a very slight warm tint (like Benjamin Moore "Chantilly Lace" OC-65) for a softer look.
- Primer: Always prime bare drywall or skim coat before painting. Use PVA primer for new drywall or a shellac-based primer (like Zinsser BIN) over water stains.
---
Cost Comparison: Removal vs. Cover vs. Repair vs. Alternatives
Here's a side-by-side comparison to help you decide the best approach for your Toronto home. All costs are per square foot and include materials and professional labour.
| Option | Cost/Sq Ft | Whole House (1,200 sq ft) | Finish Quality | Asbestos Safe? | Timeline |
|---|---|---|---|---|---|
| Full removal + smooth finish | $2–$5 | $2,400–$6,000 | ⭐⭐⭐⭐⭐ | ❌ Must test first | 5–8 days |
| Asbestos removal + finish | $8–$20 | $9,600–$24,000 | ⭐⭐⭐⭐⭐ | ✅ Certified crew | 7–14 days |
| Cover with new drywall | $3–$5 | $3,600–$6,000 | ⭐⭐⭐⭐⭐ | ✅ Encapsulates | 4–7 days |
| Ceiling tiles (decorative) | $2–$8 | $2,400–$9,600 | ⭐⭐⭐ | ✅ Covers without disturbing | 2–4 days |
| Wood planks / shiplap | $5–$12 | $6,000–$14,400 | ⭐⭐⭐⭐ | ✅ Covers without disturbing | 3–5 days |
| Skim coat over texture | $2–$4 | $2,400–$4,800 | ⭐⭐⭐ | ⚠️ Minor disturbance | 4–6 days |
| Popcorn ceiling repair (patches) | $1–$3 | $200–$600 (spot repairs) | ⭐⭐ | ⚠️ Test affected areas | 1–2 days |
| DIY removal (materials only) | $0.50–$1 | $600–$1,200 | ⭐⭐⭐ (depends on skill) | ❌ Must test first | 8–14 days |
---
How to Choose a Ceiling Contractor in Toronto
Hiring the right contractor is the single most important decision you'll make in this project. Here's how to evaluate candidates.
What to Look For
- 1. Specialization: Choose a contractor who specializes in ceiling work — not a general handyman. Ceiling finishing requires specific skills that general contractors often lack.
- 2. Portfolio and references: Ask to see before-and-after photos of completed popcorn ceiling removal projects. Request 2–3 references from recent Toronto clients.
- 3. Insurance: Verify they carry a minimum of $2 million in general liability insurance and WSIB coverage for their workers. Ask for certificates — legitimate contractors provide them readily.
- 4. Written estimates: Get detailed, written quotes from at least 3 contractors. The quote should break down costs by task (removal, skim coat, painting) and specify the finish level included.
- 5. Asbestos credentials: If asbestos is involved, verify the contractor holds current asbestos abatement certifications and has trained, certified workers. Ask for their MOL notification history.
- 6. Timeline and scheduling: Professional crews should provide a clear timeline and start/end dates. For a whole-house project, expect 1–2 weeks.
- 7. Warranty: Reputable contractors offer a workmanship warranty (typically 1–2 years) covering cracks, peeling, or defects in the finished ceiling.
Red Flags
- ❌ No written contract or vague verbal agreements
- ❌ Demands large deposits upfront (10–15% deposit is normal; 50%+ is a red flag)
- ❌ Can't provide proof of insurance or WSIB
- ❌ Suggests skipping asbestos testing ("it's probably fine")
- ❌ Significantly cheaper than all other quotes (cutting corners on preparation or materials)
- ❌ No physical business address or only a cellphone number
- ❌ Pressure to sign immediately or "price only good today" tactics
Where to Find Ceiling Contractors in Toronto
- Referrals: Ask neighbours, friends, or your real estate agent. Word of mouth remains the most reliable source in the GTA.
- HomeStars and Houzz: Review platforms where you can read verified reviews from Toronto homeowners.
- Professional associations: Members of the Ontario General Contractors Association (OGCA) or local trade groups tend to maintain higher standards.
- Specialized ceiling companies: Search for contractors who focus specifically on popcorn ceiling removal in Toronto rather than those offering it as one of dozens of services.
---
10 Mistakes to Avoid When Removing Popcorn Ceilings
Learning from others' mistakes can save you thousands of dollars and significant headaches. Here are the most common errors Toronto homeowners make:
1. Skipping Asbestos Testing
The #1 mistake — and the most dangerous. Scraping an asbestos-containing ceiling without containment contaminates your entire home with microscopic fibres that lodge in carpets, furniture, HVAC ducts, and lungs. Testing costs $30–$50 per sample. There is no rational excuse to skip it.2. Scraping a Painted Ceiling Without Preparation
If the popcorn texture has been painted over, water cannot penetrate the paint to soften the texture underneath. Attempting to wet-scrape a painted popcorn ceiling results in frustration, gouged drywall, and a much bigger mess. Solution: Test a small area first. If water beads up, you'll need to either dry-scrape (extremely difficult), use a chemical paint remover, or opt for a cover-up method instead of removal.
3. Soaking the Drywall
There's a fine line between "moistened texture" and "saturated drywall." Over-wetting causes the paper face of the drywall to delaminate, bubble, and tear — creating hours of additional repair work. Mist, don't drench, and work in small sections.
4. Inadequate Room Preparation
Wet ceiling texture scrapings are essentially liquid plaster. They get everywhere. Homeowners who skimp on floor and wall protection spend far more time on cleanup than they save on prep. Use 6-mil poly on everything.
5. Using the Wrong Tools
Razor scrapers, putty knives, and narrow blades make the job harder and damage the drywall. Use a wide (10"–14") drywall knife for efficient, damage-free scraping.
6. Expecting a Smooth Ceiling After Scraping
Scraping removes the texture — it does not create a smooth finish. The ceiling after scraping will be rough, uneven, and scarred. A skim coat is always necessary to achieve a presentable result. Budget time and money for this step.
7. Poor Lighting During Finishing
Overhead room lighting hides imperfections. Use a portable halogen or LED work light held at a low angle during skim coating and sanding. This raking light reveals every bump, ridge, and scratch so you can fix them before painting.
8. Rushing the Drying Time
Joint compound must dry completely — not just surface-dry, but through the full thickness — before sanding or applying another coat. In Toronto's humid summer months, this can take 24+ hours. Rushing leads to cracking, bubbling, and poor adhesion.
9. Not Priming Before Painting
Bare joint compound absorbs paint unevenly, creating a blotchy, inconsistent finish called "flashing." Always prime skim-coated surfaces before painting. This is a non-negotiable step.
10. Hiring the Cheapest Contractor
In the GTA, popcorn ceiling removal quotes can range from $1.50/sq ft to $5+/sq ft. The cheapest quote almost always means corners are being cut — less prep, thinner skim coat, no primer, rushed work. A poorly finished ceiling is visible from every angle in every room, every day. Pay for quality.
---
Frequently Asked Questions
How much does popcorn ceiling removal cost in Toronto?
For non-asbestos ceilings, expect to pay $2 to $5 per square foot for professional removal including skim coat and painting. A typical Toronto home with 1,200 sq ft of ceiling costs $2,400 to $6,000. If asbestos is present, costs increase to $8 to $20 per square foot for certified abatement.
Is popcorn ceiling removal worth it?
Yes. Removing popcorn ceilings is one of the highest-ROI renovations you can make. Toronto real estate professionals estimate smooth ceilings can add $5,000 to $15,000 in perceived home value for an average GTA property, making it well worth the $3,000–$6,000 investment for a whole-house removal.
How do I know if my popcorn ceiling has asbestos?
You cannot determine asbestos content by visual inspection. The only reliable method is laboratory testing. Collect a small sample (while wearing a mask and after misting the area) and send it to an accredited lab. If your home was built before 1990, testing is strongly recommended. Cost: $30–$50 per sample.
Can I remove popcorn ceiling myself?
Yes, if and only if the ceiling tests negative for asbestos. DIY removal is physically demanding but straightforward: wet the texture, scrape, skim coat, sand, prime, and paint. Budget 2–4 days per room and expect a learning curve on the skim coating. Total DIY cost is approximately $200–$350 per room for materials.
What is a stipple ceiling?
Stipple ceiling is the Canadian term for what Americans typically call a popcorn ceiling. It refers to any textured ceiling finish with a bumpy, stippled surface. In Toronto, contractors and homeowners use "stipple" and "popcorn" interchangeably. The removal process is identical regardless of the term used.What is the difference between popcorn ceiling and stucco ceiling?
In Canadian usage, stucco ceiling and popcorn ceiling refer to the same thing — a textured, bumpy ceiling finish. This is different from exterior stucco, which is a cement-based wall finish. The confusion arises because "stucco" is used differently in Canadian interior finishing than in other construction contexts.
How long does popcorn ceiling removal take?
For a single room, expect 1–2 days with a professional crew or 2–4 days as a DIY project (including drying time for skim coat). A whole-house project (1,200+ sq ft of ceiling) typically takes a professional team 5–8 working days.
Can I just paint over popcorn ceiling?
You can paint a popcorn ceiling to freshen it up, but painting does not eliminate the texture or modernize the appearance. It also makes future removal significantly more difficult because the paint seals the texture and prevents water penetration during the scraping process. If you plan to remove the texture eventually, avoid painting over it.
What are the alternatives if I don't want to scrape?
The most popular alternatives are: covering with new 1/4" drywall ($3–$5/sq ft), installing decorative ceiling tiles ($2–$8/sq ft), applying wood planks or shiplap ($5–$12/sq ft), or skim coating over the existing texture ($2–$4/sq ft). Covering with new drywall is particularly attractive for asbestos-containing ceilings as it encapsulates the hazardous material.
Do I need a permit for popcorn ceiling removal in Toronto?
Standard popcorn ceiling removal does not require a building permit in Toronto, as it is considered a cosmetic renovation that does not alter the structure. However, if the project involves electrical work (moving light fixtures, adding pot lights), plumbing, or structural modifications, those components may require permits. Asbestos abatement requires notification to the Ontario Ministry of Labour but not a municipal building permit.
---
Transform Your Ceilings — Get a Free Estimate
Ready to say goodbye to outdated popcorn ceilings? Whether you're renovating a single room in your Scarborough bungalow or transforming an entire North York split-level, professional ceiling removal and finishing will modernize your home and increase its value.
Here's how to get started:- 1. Test for asbestos if your home was built before 1990 ($30–$50 per sample)
- 2. Get 3 quotes from specialized ceiling contractors
- 3. Choose your finish — smooth, california ceiling, or light texture
- 4. Enjoy your transformed space — most projects complete in under two weeks
Looking for more renovation guidance? Check out our basement renovation guide for Toronto homeowners for tips on transforming another high-impact area of your home.
Get Your Free Ceiling Estimate →*Serving homeowners across the Greater Toronto Area, including Scarborough, Don Mills, North York, Etobicoke, and Mississauga.*
Sources & References
Authoritative sources cited in this guide:
- Ontario Building Code 9.10 (Fire) — Fire safety provisions
- Health Canada — Asbestos — Pre-1985 popcorn ceiling info
Continue Reading